What's new
Carbonite

South Africa's Top Online Tech Classifieds!
Register a free account today to become a member! (No Under 18's)
Home of C.U.D.

Behemoth is Coming... Full Scratch Case Build (Sponsored)

AztekSA

Member
Rating - 98.2%
54   1   1
Joined
May 16, 2014
Messages
1,013
Reaction score
30
Points
1,285
Age
30
Location
Cape Town
Hi Guys

So if you kept track of my Magmus Log you would have seen me mention a new build I am doing.
Although Magmus was one of a kind it still used a case which many people have modded before.
As such I wanted to do something really unique and decided that I will be doing a full custom case designed from scratch.

Let me start off by stating that I have decided to keep the case design very simple. Originally I was going to go absolutely mad, but I instead decided to keep it plain but have the finishes be absolutely top notch.

So after many hours of designing and then redesigning I have finally pulled the trigger on most of the parts. So I think It's time to get this project log started.

Let me start off by thanking ASUS ROG South Africa for helping me out with 2x GTX 980 Poseidons. Thanks to them this case will have the power to melt faces.

Here are the specs of the build so far:

Main Components
CPU: Intel Skylake i7 6700k
Mobo: Asus Z170 Maximus 8 Hero
Ram: 16 GB G.Skill Ripjaw V 3200mhz (2 kits of 2x4gb)
GPU: 2x ASUS GTX 980 Poseidons
PSU: Coolermaster Silentpro Hybrid 1050W with Custom red, black and grey cables
SSD: 128 GB Samsung 850 Pro for OS, 2x 128GB Corsair GTS in Raid 0 for some games
HDD: 2x WD Caviar Red 1tb in Raid 1 for storage and Redundancy

Watercooling Components
Radiators: 2x XSPC EX360
Fittings: 10x Bitspower Enhanced 12mm OD rigid Fittings (Black Sparkle) for Windowed Area. 10x EK HDC 12mm OD fittings (Matte Black) for hidden psu and radiator area
Pumps: 2x D5 Pumps with Dual EK Acetyl Pump Top
CPU: EK Supremacy EVO Clear Nickle
Ram: EK Monarch Clear Nickle
Reservoir: Custom made acrylic reservoir
GPU's: They're Poseidons :p

Just some more info on the name. I originally wanted to build something smaller than the Cosmos S, but quickly realized that shorter doesn't mean smaller :p. Overall the dimension of the case is as follows:
Length: 590mm
Width: 499mm
Height: 440mm

So yeah the fact is this thing is going to be massive, hence why I think the name is suites it perfectly. Behemoth

I'll update shortly with the designs I have made and how I went about planning the case. I hope you guys enjoy the log, and please do share it cause the more views I get the better the chances that I will do this more often :D

[MENTION=29209]iamgigglz[/MENTION] [MENTION=25697]Duck_bomb[/MENTION] [MENTION=28096]Guntribe[/MENTION] [MENTION=8442]Off-The-Chart[/MENTION] [MENTION=18288]shimmie[/MENTION] [MENTION=421]Battletoad[/MENTION]
 
Pics, pics, we need pics!

Even if it is only the concept drawing on a napkin :D
 
nee wat, ek dink ek kort n moerse Carb vacation :(

die sadness raak nou net te veel :( :(
 
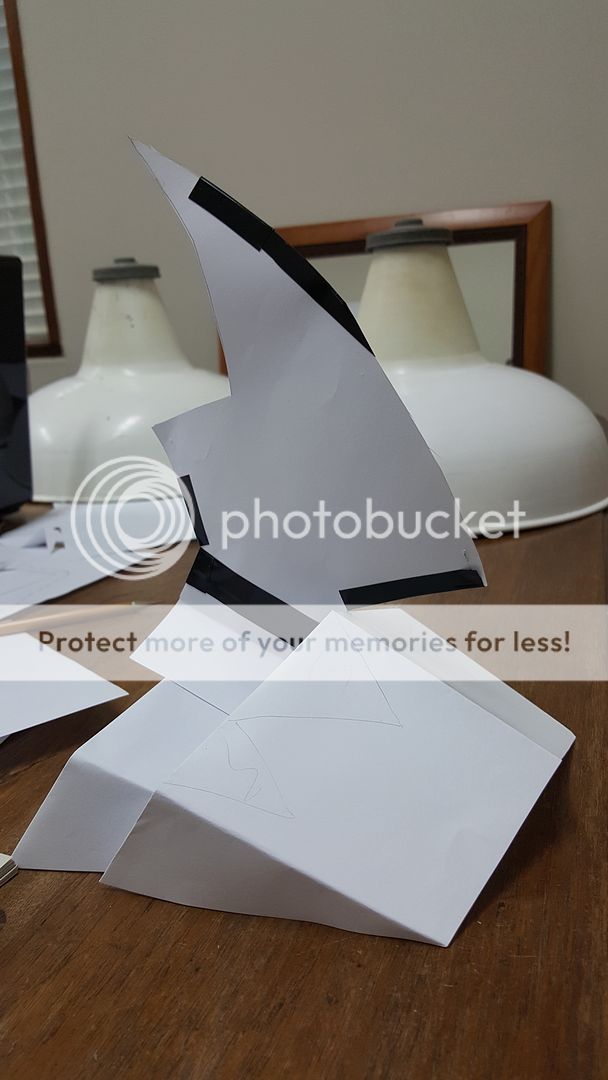
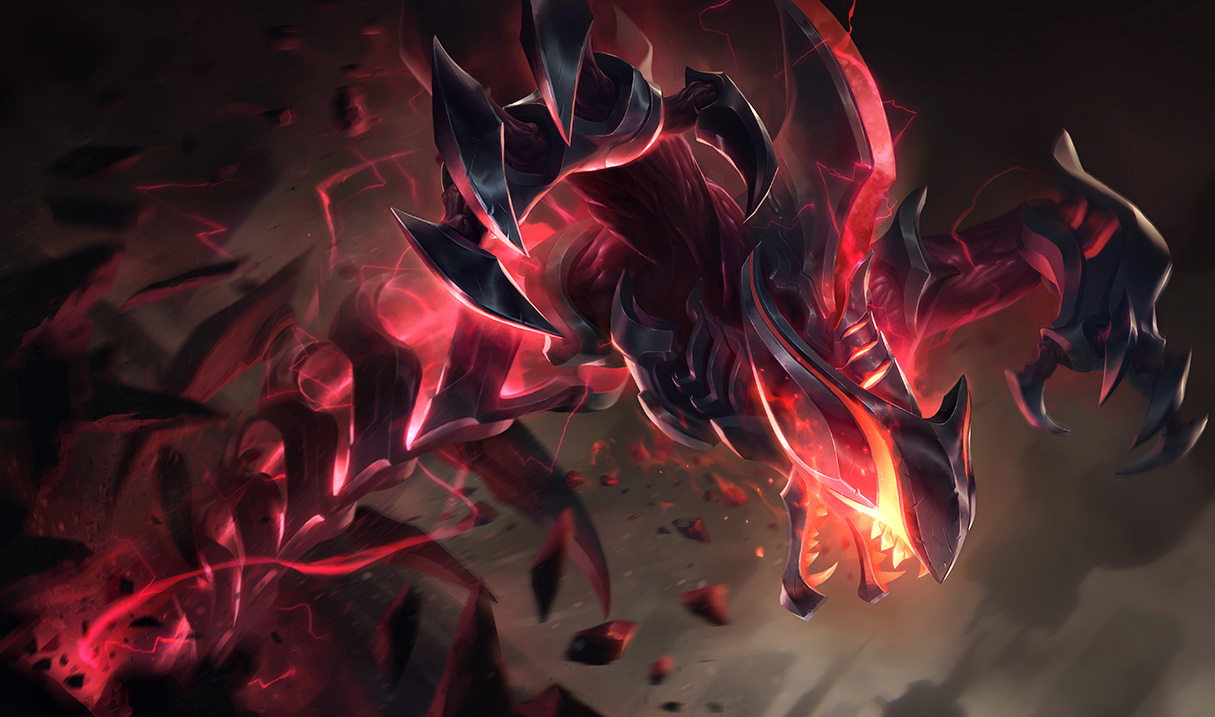
Ok guys so as I stated in the previous post when I originally started with the design of this case I wanted to do something quite flashy. Because of this my original design ideas were based on Rek Sai from League of Legends (Eternum Skin). I however quickly realised that doing so would make the case look fairly cluttered and as a whole in my opinion fairly unbalanced.

To give you an idea of where my early design ideas were going here's some pics of very early prototypes.


je9scJc.jpg


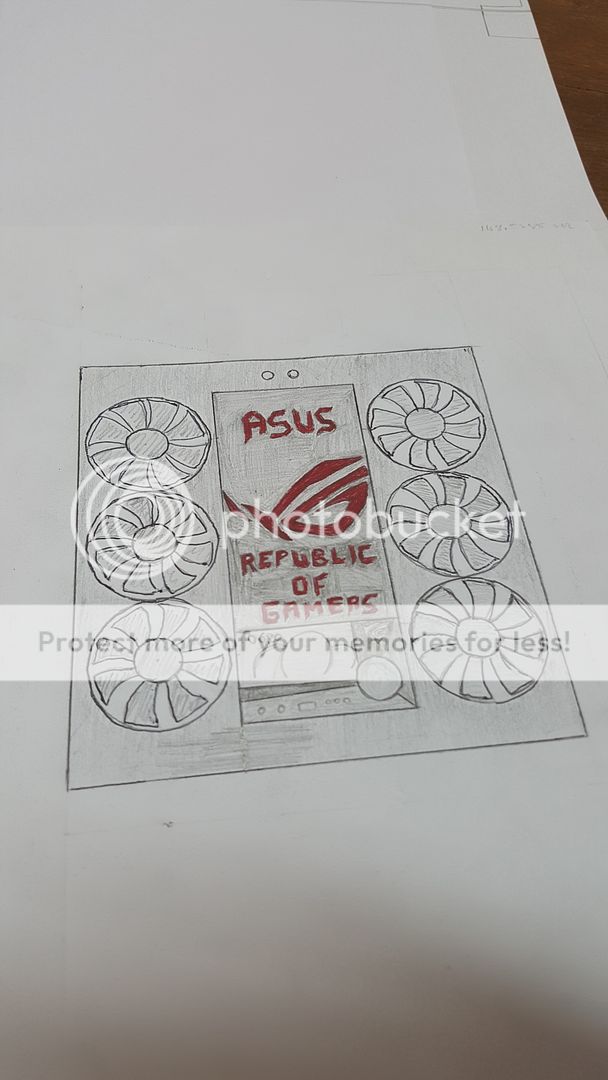
Soon after scratching this idea I received news from Asus that they were willing to sponsor me. Because of this I decided to try an incorperate their brand into the case.
Add to this the fact that I wanted to design something that was simpler but no less unique or captivating to look at I ended up with the face of Behemoth.


So yeah that should give you guys a quick little idea of where the prelimanary ideas came from. I will go a bit more in depth tonight as the internet at my current location is siff. Making it a mission to upload all the images I wanted to for the design phase. Stay tuned till then :cool:
[MENTION=171]WiZard[/MENTION]
 
DAAAAAAMN Making people lekker jealous
 
I demand that you record the making of that face

I love watching metal fabrication (except if you have no clue what you doing :p )
 
I demand that you record the making of that face

I love watching metal fabrication (except if you have no clue what you doing :p )

Hahaha I hope you not referring to the cardboard prototype. Cause the face of behemoth is the last pic. Like I said wanted to simplify the design, in terms of the last pic. Most of the work will be done via laser cutting and then folding the plate. So not much in terms of fabricating. If you look at the original face design it would have been the same process. Instead of doing a ridiculous amount of work with fabricating I decided to rather put in the work with 3d design. The finish with laser cutting is far superior to what I could achieve by hand.

There is still some fabricating done in term of welding of the frame etc. But nothing hectic. I'm gonna save the hectic fabricating for when I eventually do a cylindrical m-itx build in the shape of an Enigma Code Box. :p
 
Did a 1:1 scale top view in order to get an idea of how everything will be laid out. This thing is massive.


Doing so allowed me to get exact dimension for the frame. Allowing me to get breaker out the welder and square tubing. I decided to use 20mm square tubing which is quite large but insure that the frame is strong after welding.


Originally had one of the guys in the workshop weld it, but he did a terrible job and the frame ended up skew. So instead I decided to get my hands dirty and redid it myself.


Once I was happy with the frame I could finalize the dimensions for the panels before moving on to the 3d designs.


Will post pictures of the different 3d designs that I've done tomorrow.

Let me know what you guys think.
 
yes I was referring to the last pic of just the face

thought you were going to be doing some "by hand" bending :( :p

was just about to say that that 1st pic of the welding looked a bit, um.... :)

just remember: lotsa bevels and visible nuts and bolts :D
 
yes I was referring to the last pic of just the face

thought you were going to be doing some "by hand" bending :( :p

was just about to say that that 1st pic of the welding looked a bit, um.... :)

just remember: lotsa bevels and visible nuts and bolts :D

Aaaah ok. Doesn't make sense to bend this one by hand as it's a simple 90 bend. Most of the other panels are flat. In order to make it easy to get inside the case. And yes there will be lots of bolt. 40 on the front panel alone :p

Was originally going to go with red anodized bolts (cap screws to be exact) but think this may take away from the logo which will have the custom res with red coolant in it. I want any red to really pop. So have decided to instead go with stainless steel cap screws. Let me know what you think.
 
ah ok, now I see how it's just the big 90 bend...

thought you were going to give it some nice bevels and stuff :( :)

and yeah, cap screws all the way

gotta love SW:

28rjjp2.jpg
 
Last edited:
with that design it would probably look nice to mount the 360 radiators outside on the front.
i think it would give the front a nice, mean look
my 2c

sounds like it will be an awesome machine.
when you're done with the pc, do you actually sell it with a crane to move? :D
 
with that design it would probably look nice to mount the 360 radiators outside on the front.
i think it would give the front a nice, mean look
my 2c

sounds like it will be an awesome machine.
when you're done with the pc, do you actually sell it with a crane to move? :D

I thought about doing this but. i decided to keep things looking sleek. I'm using jetflos so they give an amazing effect when the rad is mounted inside. surprisingly it only weighs about 13kg. Quite light when one thinks that a Storm Trooper weighs close to 20 empty.
 
So I'll be honest with you guys.... Some parts are back from laser cutting, but I'm gonna be a bastard and make you wait for those pics :p
 
ah ok, now I see how it's just the big 90 bend...

thought you were going to give it some nice bevels and stuff :( :)

and yeah, cap screws all the way

gotta love SW:

28rjjp2.jpg

The stainless cap screws are gonna look flippen nice. Only problem is sourcing 6-32 unc 30mm ones for the rads. Tried a hell of a lot of places. So far only found 25mm in stainless, but got 30 in black.
 
So to give you guys an idea of the size of the thing. Here's a comparison of the frame only to the Magmus Chassis :p


And before I delay it any more here are the 3D Designs done using Autodesk Inventor:

Front Panel Before Folding:


Front Panel After Folding:


Side Panels With Mounts for Exhaust Fans


Top and Bottom Plates


90, 180 and 45 Degree Mandrels for bending tube (will be 3D printed)


And Finally the motherboard backplate with built in cable combs and waterchannel (Still to be Finalized) This backplate consists of 4 different sheets of acrylic epoxied together with chloroform


Hope you guys approve. Tomorrow I will be posting some pics of the parts that I have so far that will be going into the case and from there we will move on to the laser cut panels etc.
 
tell me about it

re-thread them?

It's a fairly common thread overseas but not so common in South Africa, It will be even harder finding a die to re-thread them than finding the actual bolts :p Took long enough to source a G1/4" tap. But managed to find one at Toolquip & Allied (Ask for 1/4" BSP (Also know as BSPP or BSP Parallel), don't get the BSPT as that's a tapered thread)

Will probably go with the black ones if I cant find stainless as they will blend into the panel once it's painted.
 
It will be even harder finding a die to re-thread them than finding the actual bolts :p

huh? I am pretty sure the el-cheapo kit I got at builders has a tap for both M3 and M4

(oh, I meant the rads not the screws)

and obviously if you gonna import it ain't gonna be an issue
 
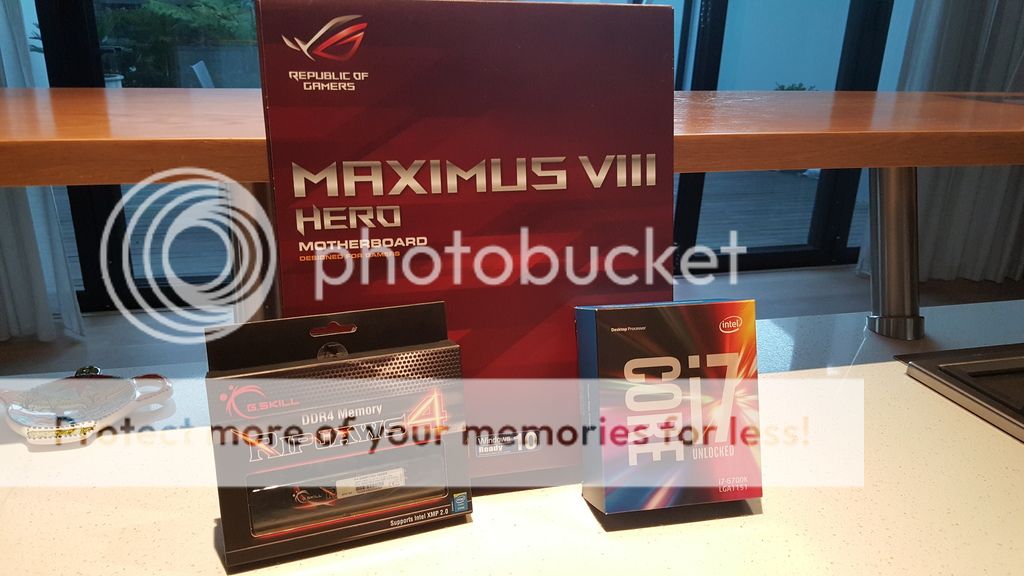
So here's a first look at some of the parts that will be going into this system.


Originally I was going to use a 4x4gb 2400mhz Ripjaw 4 Kit, but one of the dimms was DOA.

So lets have a look at the motherboard


I really like the new color scheme that asus is going for with the gunmetal heatsinks. I rate the Maximus 8 Formula is going to be ridiculous when it does eventually come out.

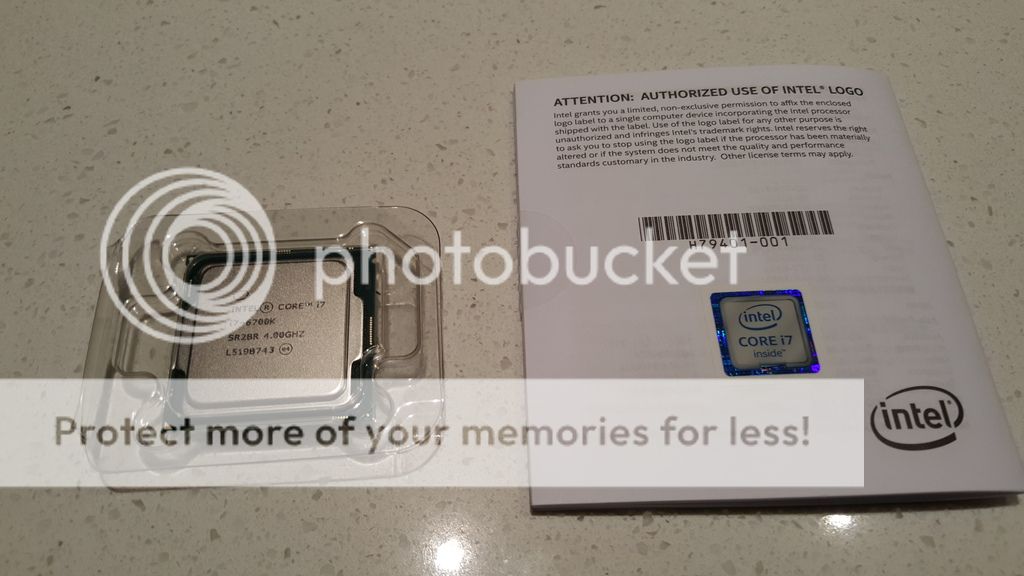
Next up the Processor


Not much to see here, must say I like the new look of intels packaging.

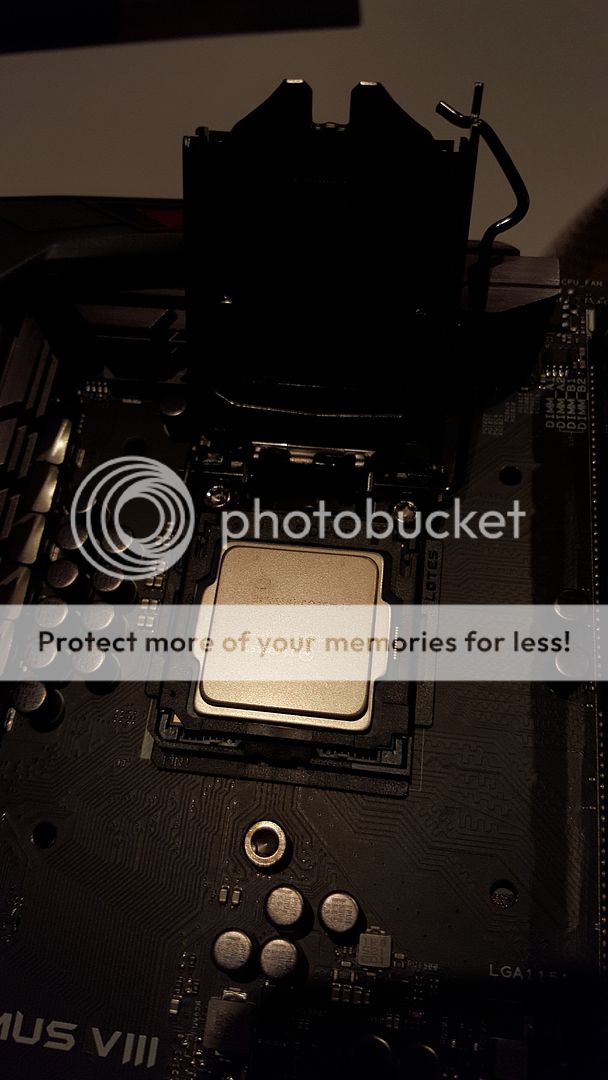
The board comes with a CPU installation tool, the idea being that it should stop people from bending pins. Although I have faith in my ability to install a cpu without it, I decided to use it to give you guys an idea of how it works.


So basically it fits over the cpu socket while still alowing the retention bracket to close.

Moving on I went and fetched the replacement Ram yesterday. Wootware were bringing in the new Ripjaw V Kit's so i decided to grab 2X4gb kits running at 3200mhz


I thought that the Ripjaw 4's heatsink was pretty damn ugly. Must say the Ripjaw V's is a lot better.
 
Last edited:

Users who are viewing this thread

Back
Top Bottom