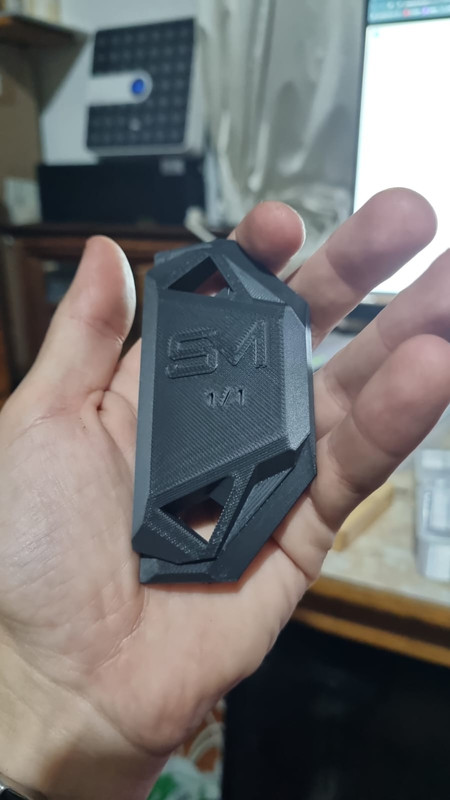
What's new
Carbonite

South Africa's Top Online Tech Classifieds!
Register a free account today to become a member! (No Under 18's)
Home of C.U.D.

[SPONSORED] - PROJECT OKULA

Vertical mount GPU?


  • Total voters
    8
  • Poll closed .

SphinxMods

Lemme watercool it!
Joined
Jul 7, 2016
Messages
1,091
Reaction score
440
Points
4,635
Rating - 100%
79   0   0
Wishing everyone a happy new year, may it be a great one!

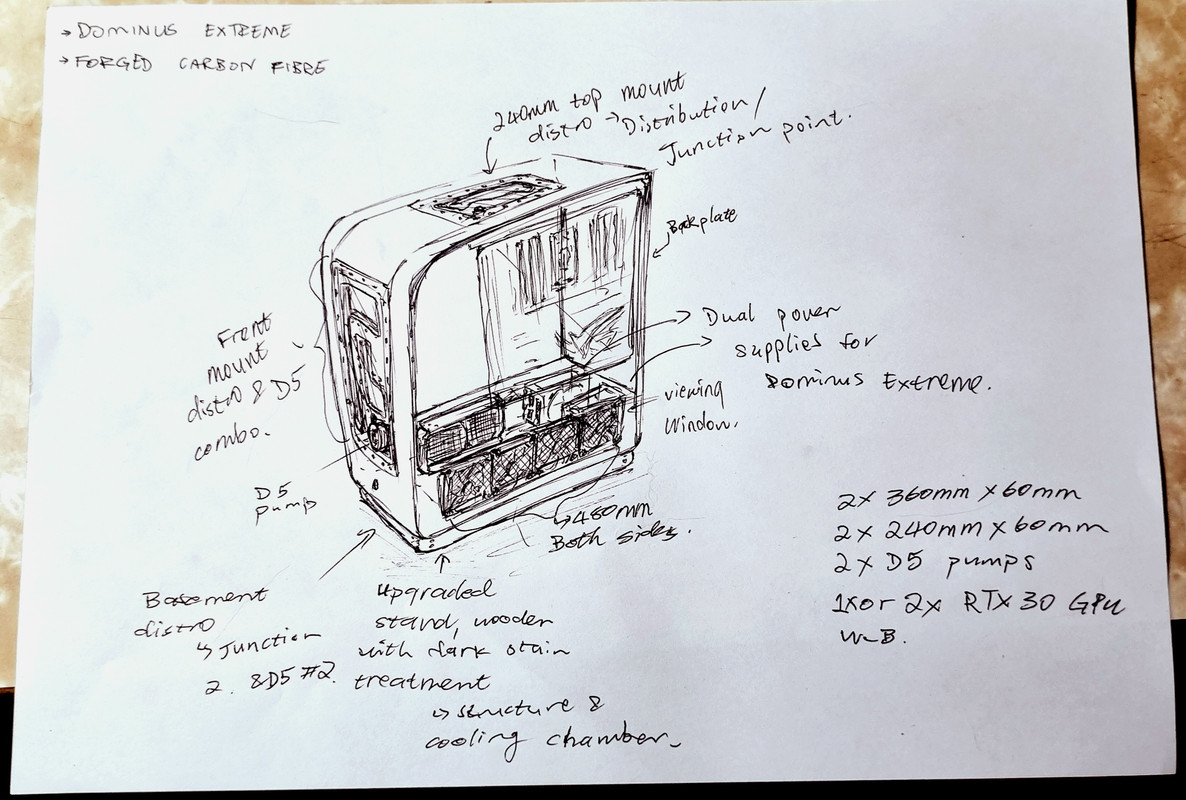
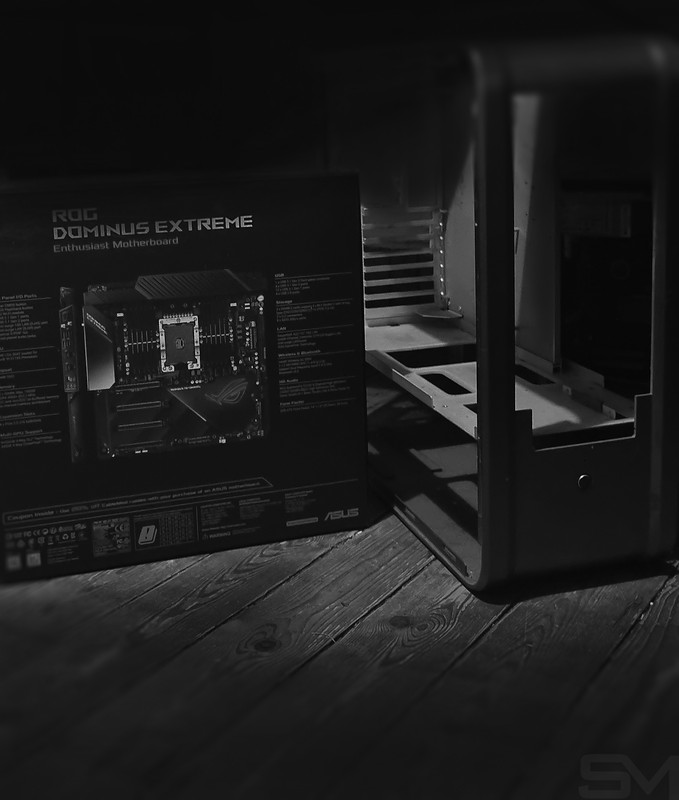
Time to finish up the TJ-07, life has had its ups and downs, but I've made the decision to build a monster worthy of the Silverstone TJ-07 chassis.

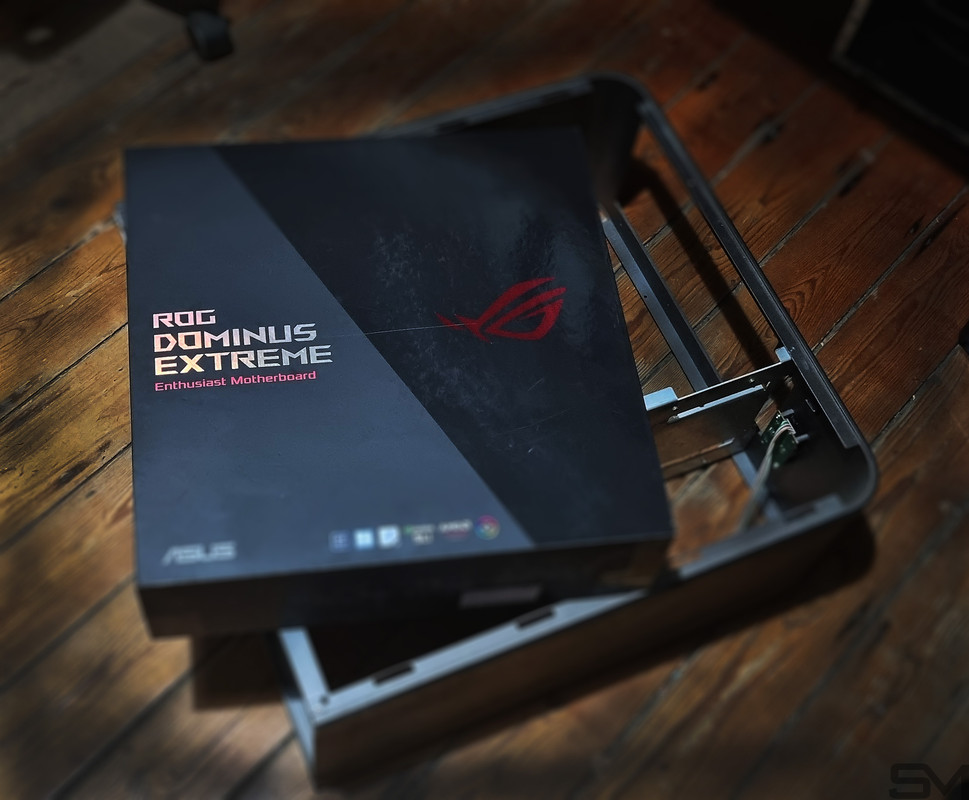
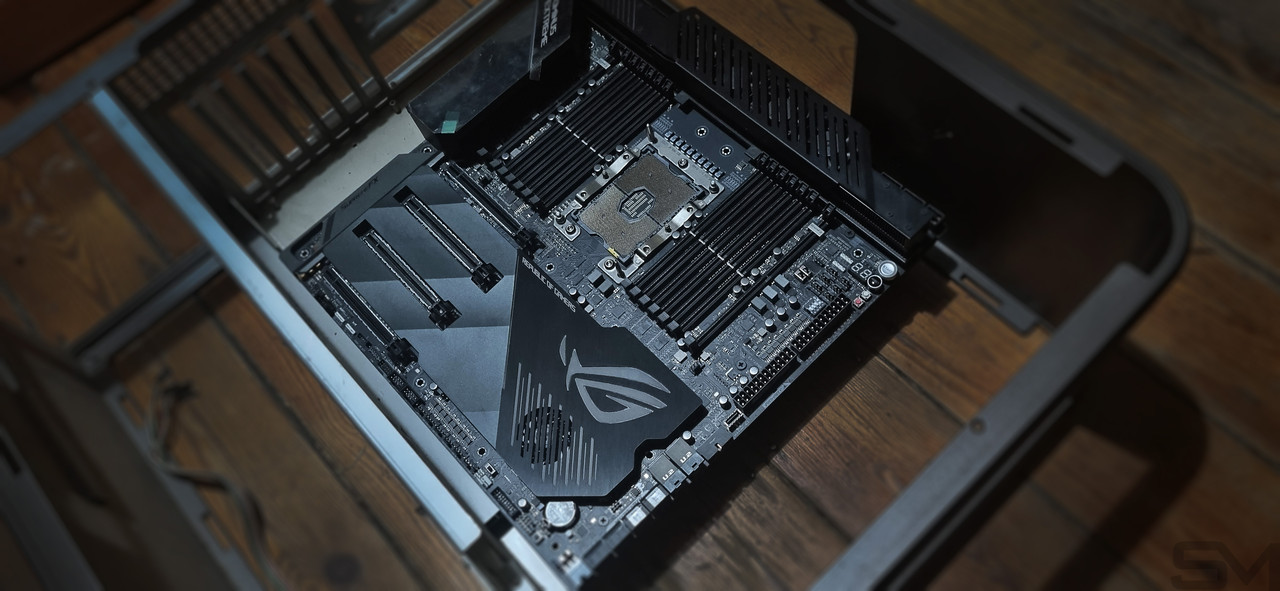
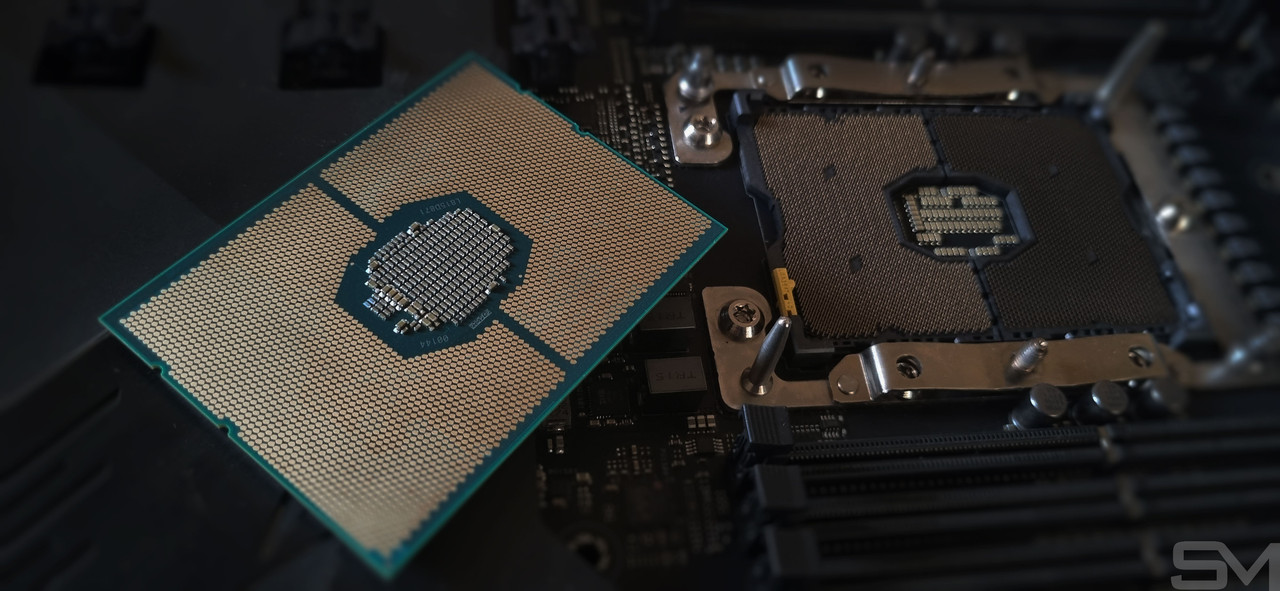
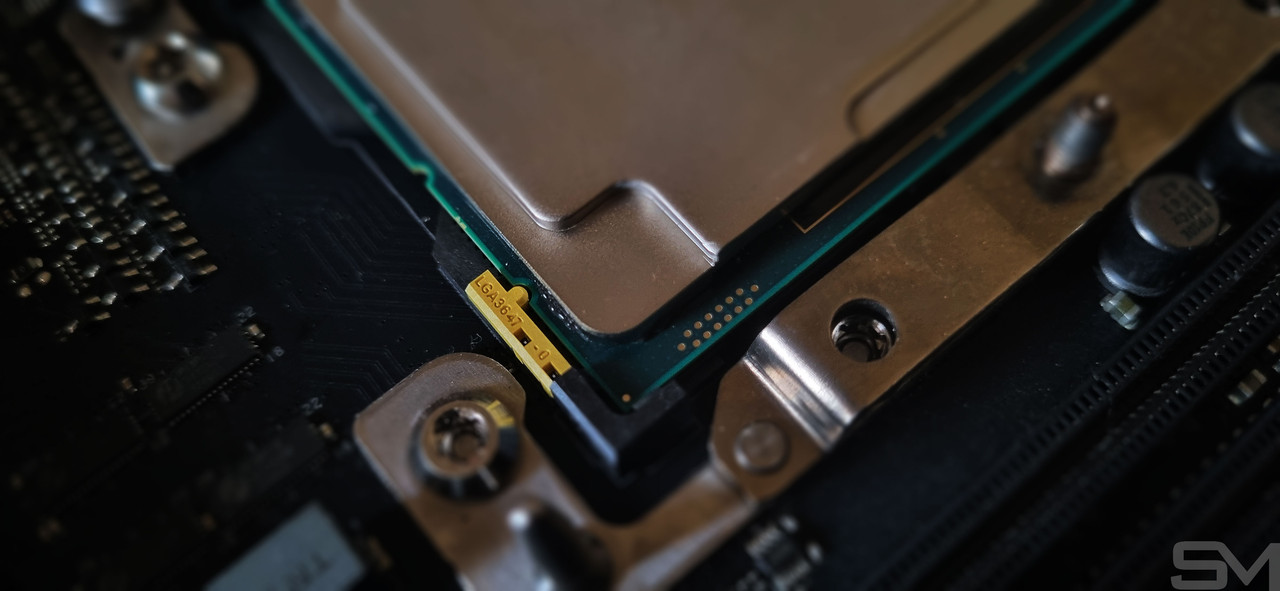
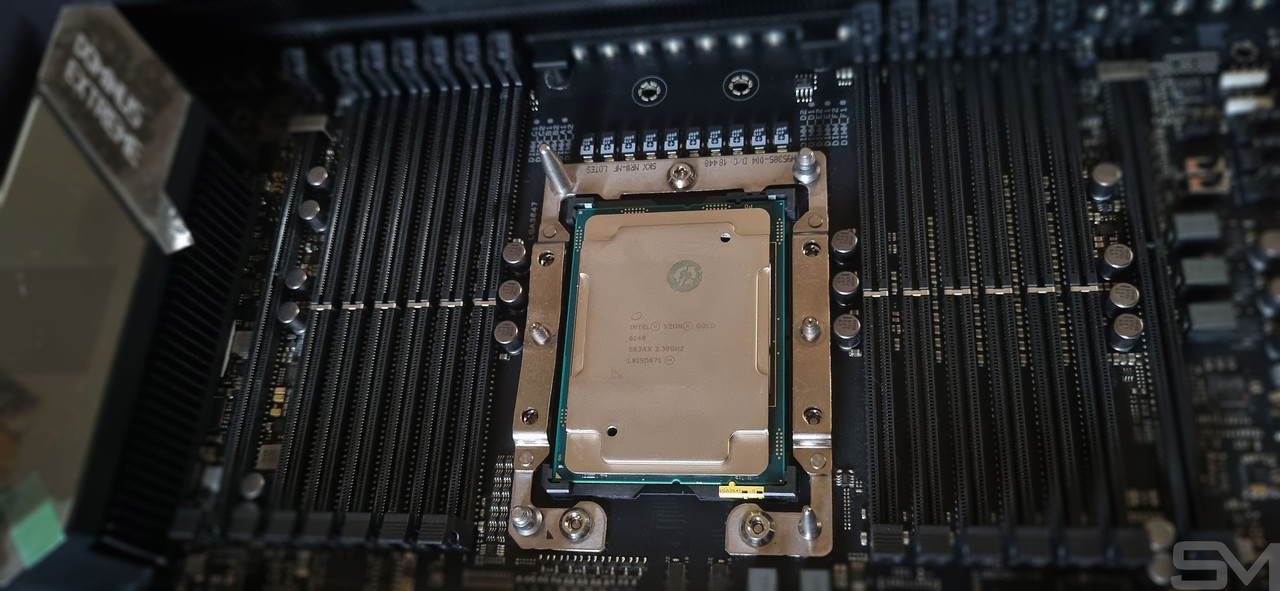
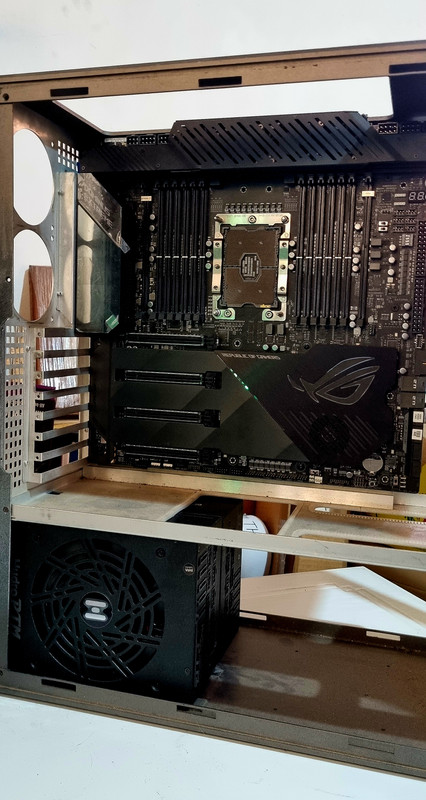
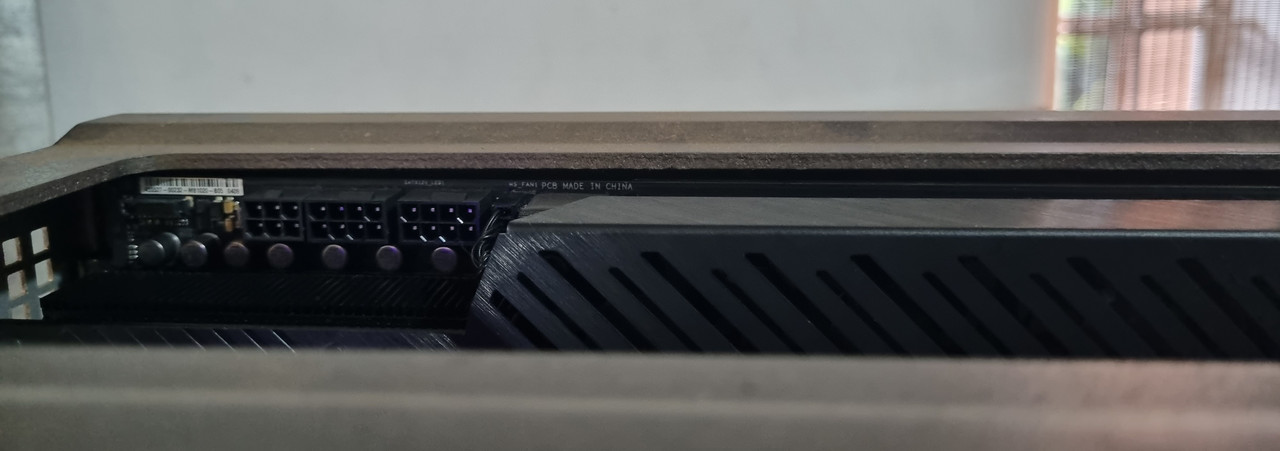
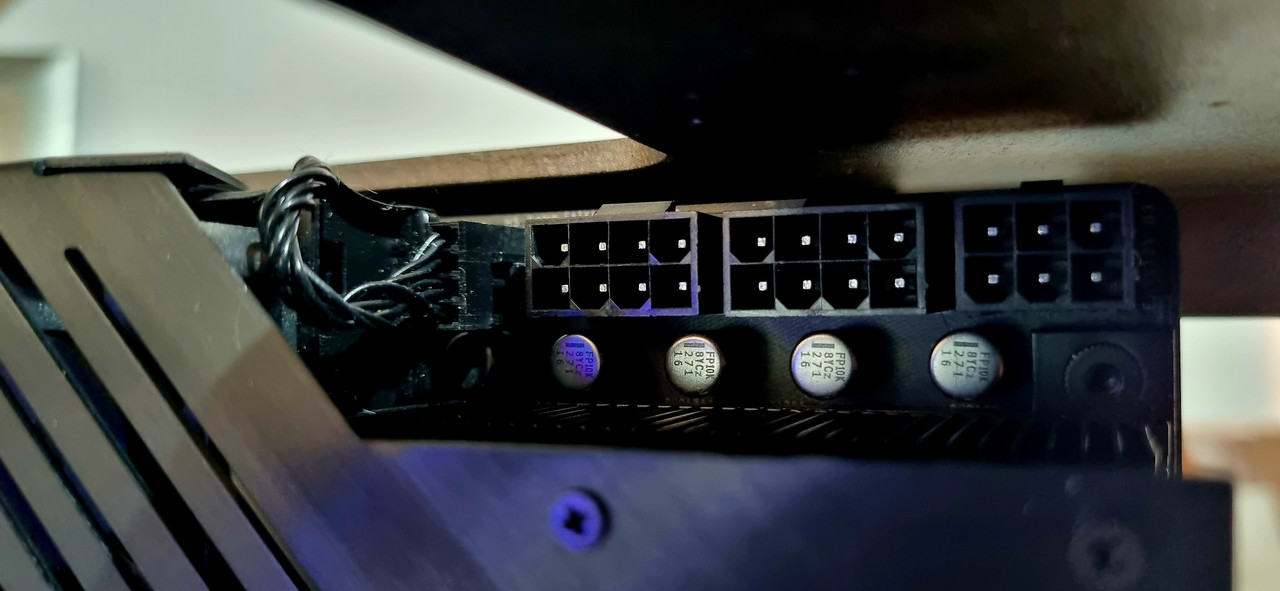
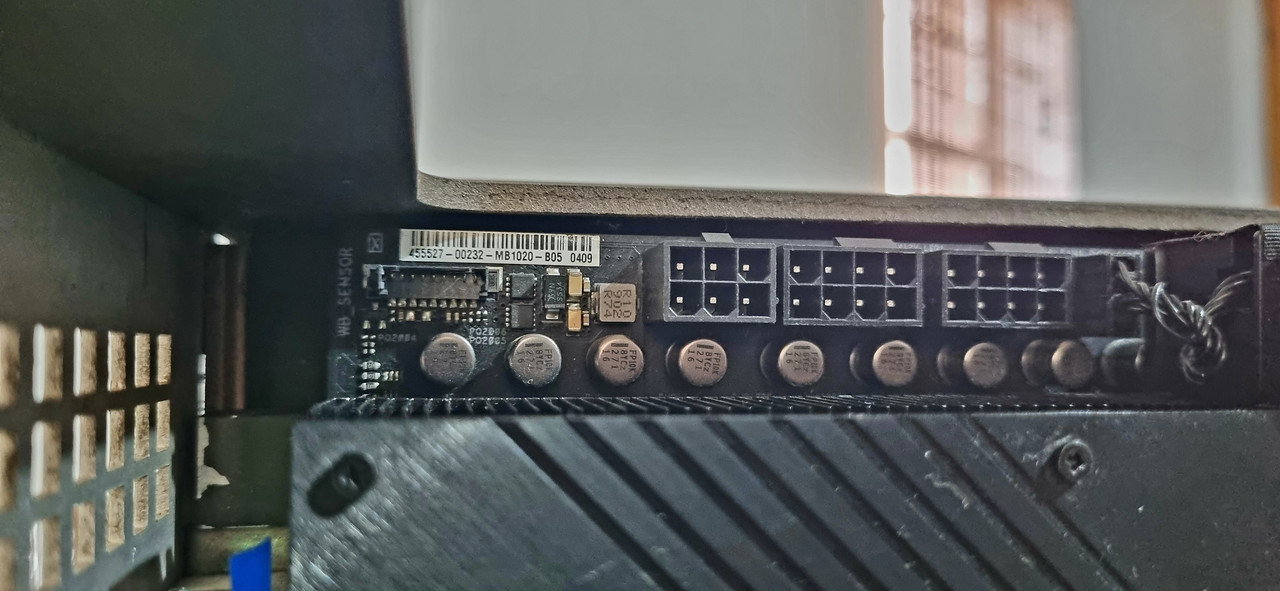
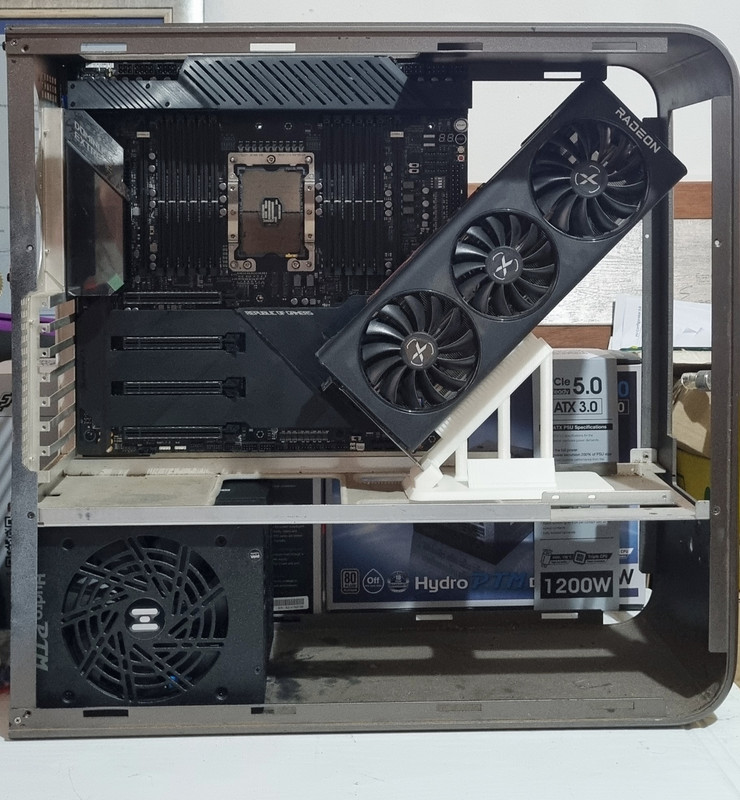
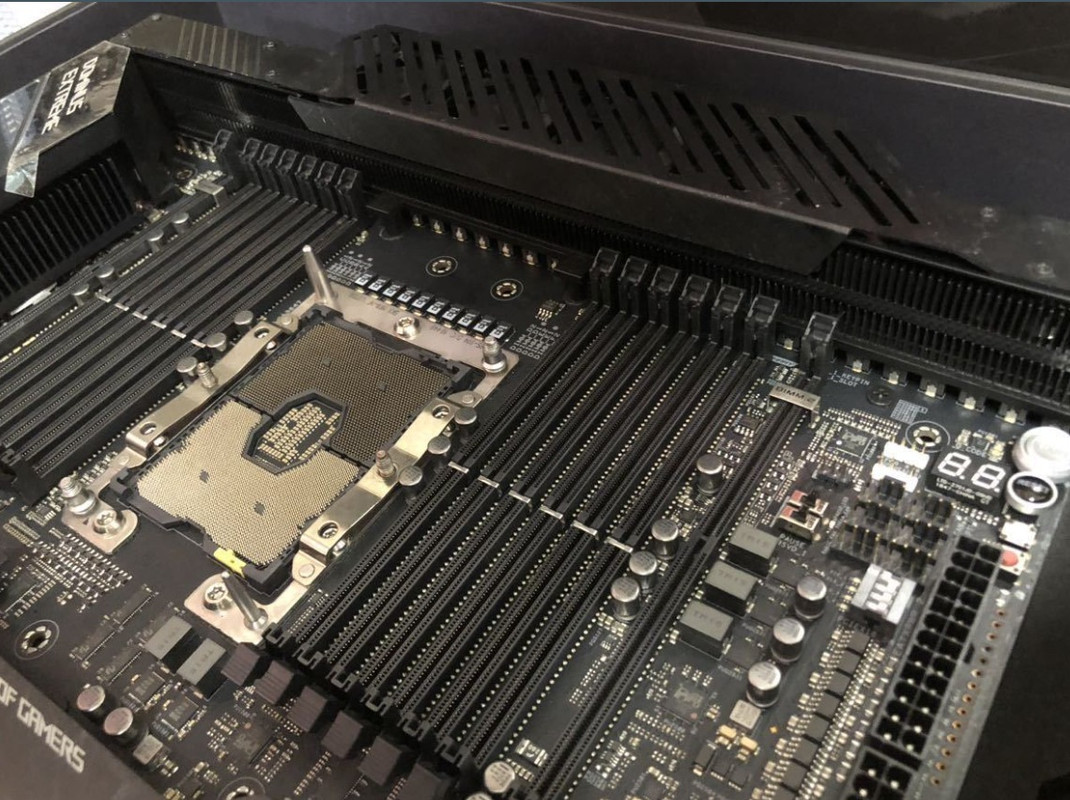
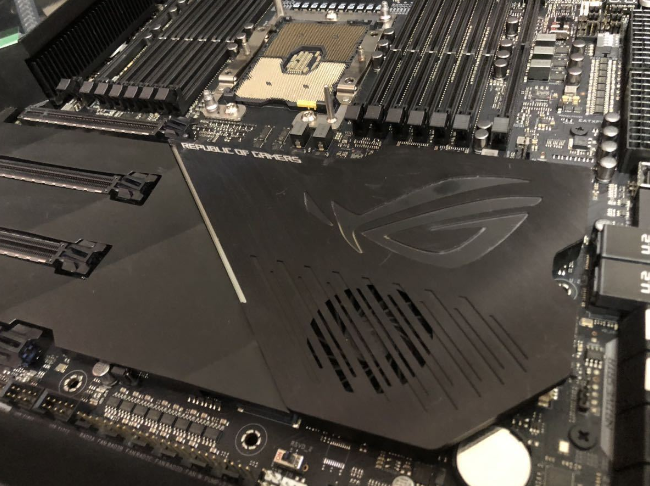
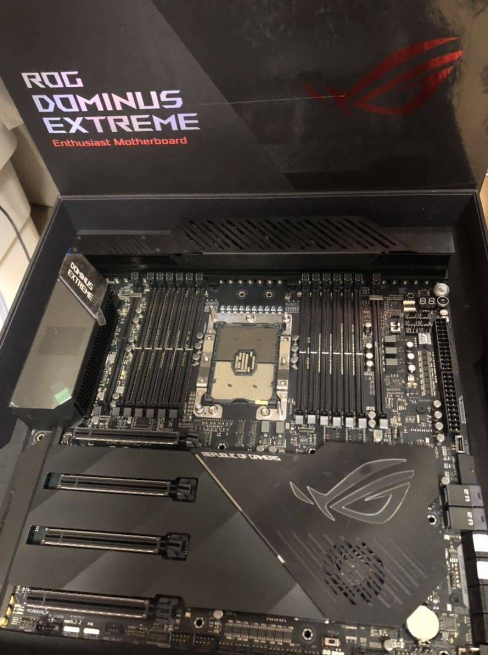
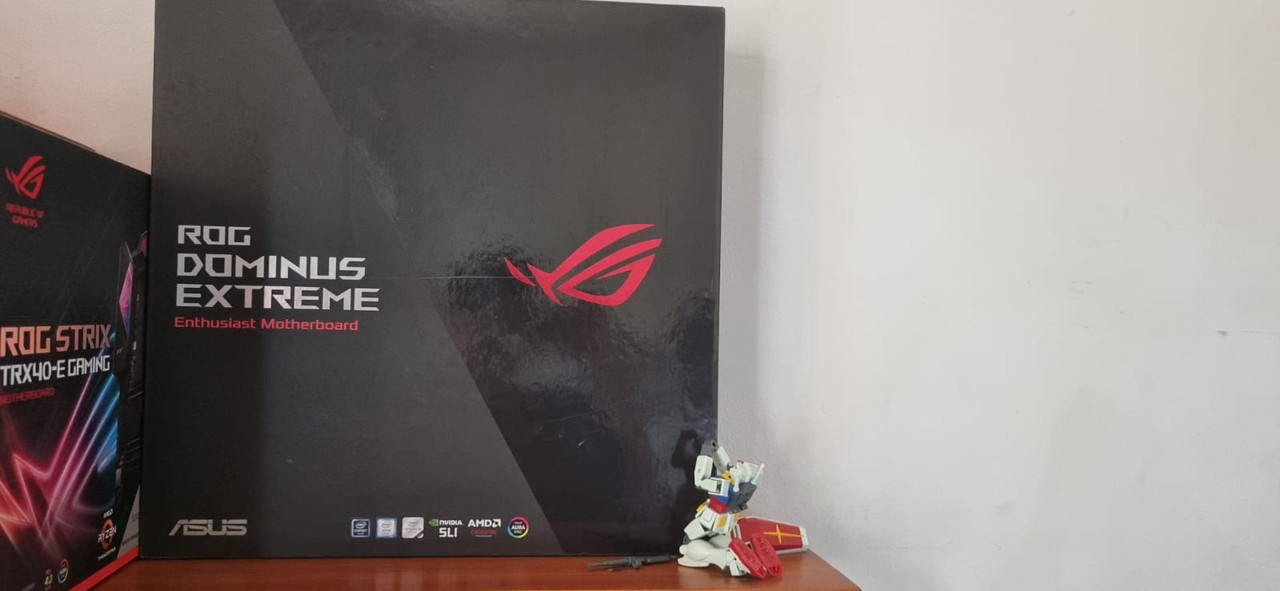
Below I've managed to secure the VERY rare, ASUS ROG Dominus Extreme motherboard, in all its glory...

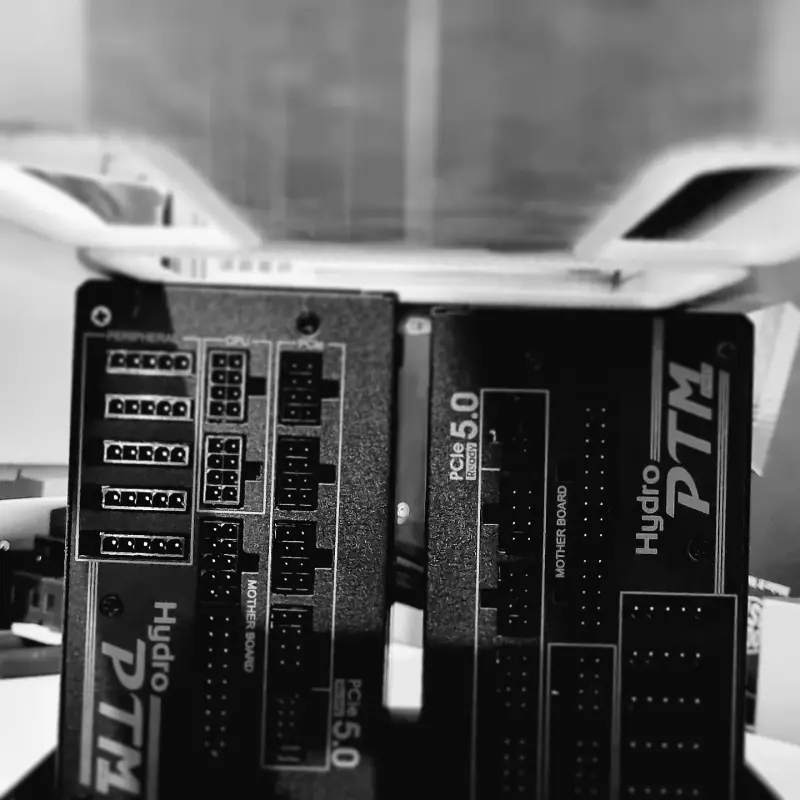
We will be water-cooling this machine, and my intention is for it to be a show build PC to bring back some sexy water-cooling to events like rAge, as I've missed it.

02.jpg


04.png


03.png


01.jpg


Drawings and designs will be updated by the weekend.

Hope everyone has a great week!
 
Last edited:
Carried on with the design spec, going for a rock solid machine and a lot of nostalgia on the board and chassis.

Rough idea, with some minor tweaks, we'll be raising it another 70mm with a wooden base, and dark stain with emphasis on the grain for aesthetics.

The new base will be housing some further water-cooling hardware as the Dominus will be taking a lot of space as it measures 35.5cmx35.5cm (EEB form factor).

03.jpg


As this is a continuation till completion project, we'll be keeping the custom paint colour that itself is quite unique.

Proj-TJ07-05.jpg

Proj-TJ07-04.jpg


Water-cooling runs will be with Mayhem's 16mm OD glass tubing for short runs such as GPU / CPU.

20220711-172340.jpg

20220711-172300.jpg

20220711-172302.jpg
 
Last edited:
Proud to announce the name and theme for this build, Project Okula.

Playing on the words, and optical illusions, I'm going to be working on ways to make the interior of the chassis play optical illusions.

OKULA.jpg
 
Project-Okula.jpg


Hardware Update, the current build list is:

- Processor: Intel® Xeon® Gold 6140 Processor (18 core, 36 thread)
- Motherboard: ASUS ROG Dominus Extreme
- Power Supply: 2x FSP Hydro PTM Pro ATX3.0(PCIe) 1200w Fully Modular PSU
- Memory: 96GB (12x 8GB DDR4-3600MHz) TeamGroup Vulcan Z - Grey
- Storage: 2x WD Blue SN580 500GB NVMe SSD
- GPU: XFX RX6800 16GB

Project-Okula.gif
 
Last edited:
Evening all,

Managed to get the Tj07 out of storage, so I'm beginning to work on spacing, brackets, etc.

Below is some eye candy and to show how massive the ROG Dominus board really is, such an exciting system! :D

Dominus-TJ07-02.jpg

Dominus-TJ07-01.jpg

Dominus-TJ07-03.jpg

Dominus-TJ07-05.jpg

Dominus-TJ07-06.jpg
Dominus-TJ07-04.jpg
 
FSP were kind enough to provide not one, but two FSP Hydro PTM Pro 1200W PCIe 5.0 Power Supplies, thanks guys!

Link: Hydro PTM PRO

Going to be using both units to power the Dominus :cool:

Dominus-TJ07-07.jpg

Dominus-TJ07-08.jpg
 
Hope everyone's having a great start to their long weekend!

I've put some time aside to carry on with the build, and I'm getting quite excited as the build progresses.

The ROG Dominus Extreme board is installed, and fits like a glove 😲

20240329-164626.jpg


Just check these clearances!

20240329-162815.jpg

20240329-162826.jpg

20240329-162831.jpg

IMG-20240329-232536-297.webp


I'll be using my XFX Speedster Swift 319 Radeon RX6800 16GB GPU for this build:

IMG-20240329-232536-370.webp

20240329-172300.jpg
 
Hope eveyone had a good long weekend.

I've used my Creality K1 3D printer for some test pieces, and it's given me some further inspiration for the basement area of the chassis, I'll post rough design ideas later.

Enjoy the timelapses :)

I made two of these brackets from thingiverse, with some slight modification:

ezgif-com-speed.gif


Power supply spacer, this sits under the power supplies to ensure both units are sitting perfectly parallel to the base of the chassis:

1711915847-ezgif-com-speed.gif
 
Hi everyone,

My 3D printer is back in action, after the hot end fan stopped working, got some time in between evenings and have made 2x 24pin covers out of Carbon Fibre filament, layer height to 0.1mm.

TJ-07-PUS-Combiner-Frame-3-D-Printing.gif


In the right lighting conditions, the filament has a cast iron effect to it which works so well for this build.

20240428-202527.jpg


Below is what the final product looks like:

24-Pin-Cover-2.jpg


The 1 / 1 inscription will be inlaid with gold paint, revealing the black and gold colour scheme for this build.

I've been looking for something of note to dedicate my take on a black and gold theme.

Liquid will be black UV, reservoirs will be positioned in a way to resemble boiling oil for added effect.

Hardline water-cooling parts that I've ordered from @BykskiZA, excited for the parts to get here!

CPU Block for the Intel Xeon Gold 6140 18-Core 36 Thread chip
Motherboard VRM Block (based on availability, scarce parts so will take a bit of time to source)
GPU Block for the RX6800 16GB GPU
16mm OD gold fittings
16mm OD glass tubing (this will look amazing, as it won't scratch as easily as PETG or ABS).
Black UV coolant
2x D5 pumps

In the interim, planning is well under way for the power supply combiner frame for the rear, which will also be out of carbon fibre filament.

TJ-07-PSU-Combiner-Frame.png


When it's mounted to the TJ-07, it will be mounted vertically like this:

TJ-07-PSU-Combiner-Frame-2.png


Once it's installed, I'll do checks for rigidity and update if necessary.
 
Last edited:
Got the water block from @BykskiZA and it looks amazing with the board.

This also allowed me to do a POST test to make sure everything checks out, success!

Untitled-1.jpg

20240630-234512.jpg

Untitled-2.jpg
 
Just received the Bykski GPU Waterblock for the XFX RX6800, here's some glamour shots!

20240731-103452.jpg


20240731-104618.jpg

20240731-112706.jpg

20240731-112657.jpg


So I'll be doing the vertical mount on this build, here's a hint of how it might look (roughly):

Untitled-2.jpg


Well underway, got a few things to sort out on the brackets to secure the motherboard and GPU in place.

Afterwards, I'll begin work on the 'sub-basement' cooling chamber which will be located under the two power supplies.

Untitled-1.jpg
 
Want to just provide a little update.

I've fixed my 3D printer (again, but it's very stable now yay), and printed my own basement cover.

On the right hand side, you'll notice a fan bracket. This bracket I've had to cut in half, in order for it to fit, but it also adds rigidity to the aluminum frame (section cut from the original), to support the bottom of the motherboard.

The fan bracket will house the 200mm D5 pump & reservoir combo which will be located on this frame.

IMG-20240806-205313-010.webp

IMG-20240806-205312-927.webp


I'm planning on building the 'sub-basement' cooling chamber this weekend.
 
Last edited:
Another short update, I've printed the GPU vertical mount.

However, I've noticed that I need to sort out lateral movement of the GPU (as most vertical brackets suffer from), so I'm working on sorting this. In addition, I need the bracket I'm working on to help with vertical support, as the bracket sags a bit from the weight of the GPU.

Note: Hence the janky little box under the vertical mount.

20240807-010904.jpg

20240807-012336.jpg
 
Update time!

I bought the Bykski 200mm D5 Pump/Res Combo unit for the build: Bykski Silent PARX Pump (330L/H) / Acrylic Reservoir Combo - (CP-PARX-X-CT60) - 200mm - Bykski

I was going to go with a distro block, but that will need to be at a different time, as I need to get the build completed in time for rAge this year.

I've printed this pump bracket from thingiverse: 120mm Pump Bracket Mount

Timelapse from the printer (love this feature):

Pump-Bracket.gif


The pump/res combo will be mounted on the bracket I've installed to the right of the Dominus Extreme:

20240813-175912.jpg

20240813-175901.jpg

20240813-181111.jpg

20240813-181144.jpg
 
Great work it looks very nice!

Quick question; where do you host your images? Having thumbnails open up to full size over the tab rather than in a new tab?
 
Finally got my fan controller from Japan, the good old Zalman ZM-MFC3: zalman | PSU, Cases, CPU Coolers

Perfect for pairing with the TJ07, I'll be populating the PWM headers with the radiator fans, and temp probes will be populated as well, with at least one being water temperature.

20240826-204232.jpg


This will be mounted in the front of the chassis at the bottom most slot, I'm currently working on a bracket for it to mount into the chassis.
 
Last edited:
Hi everyone, hope you're all doing well.

It's been a long time since my last upload, and as it goes, with work and life, time hasn't been on my side as of late to put towards finishing the build.

However, in the last hour (so to speak), I reached out to Cooler Master to see if they would be interested in being a part of this build so that it can still be finished on time for rAge expo this year, and boy did they come through!

They've graciously provided the HAF 700 to be used: Cooler Master HAF 700 Full Tower PC Case

With their support, this has helped me immensely to get back on track, we're now in the final stretch.

All that needs to be done is some fancy Dremel/grinder work to make a section for the second PSU to be mounted, then mount for the second 360mm radiator.

Below are the latest shots of what to expect, I'm so stoked and cannot wait to have it at the expo!

HAF700-Announcement-4.jpg

HAF700-Announcement-9.jpg


A closeup shot of everything mocked up, first time seeing everything with the gold Bykski fittings from @VanguardPC:

HAF700-Announcement-3.jpg

HAF700-Announcement-2.jpg

HAF700-Announcement-5.jpg

HAF700-Announcement-7.jpg


HAF700-Announcement-8.jpg


And of course, a build log is not complete without the impactful B/W shot with some sexy blur action.

HAF700-Announcement-1.jpg
 
I've decided to add my signature dragon skin to the build, with black undertone and gold veins.

Still got quite a way to go, but I'm stoked with the overall effect!

Top panel:

Okula-Texture-1.jpg

Okula-Texture-2.jpg

Okula-Texture-3.jpg


Front panel:

Okula-Texture-4.jpg

Okula-Texture-5.jpg


So far what the exterior looks like, front view:

Okula-Texture-6.jpg

Okula-Texture-7.jpg
 
Update time!

I've got my order of EZDIY universal cable extensions from @VanguardPC, I've used the grey and black ones from them, oh and cable combs are included!

It's the nylon braid, much like MDPC-X that we used to get from Beyond Customs.

Link: 16AWG PSU Cable Extension 6 Cables-Black/Grey | Vanguard PC

Below update on how the cables look, matching the 96GB memory in a dark grey.

IMG-20241111-WA0008.jpg

20241111-123053.jpg


I've also decided to replace the vertical GPU mount with a Bykski universal GPU mount, as I was getting lateral movement on the 3D printed one that I was just not happy proceeding with.

The system is starting to fill up nicely with all the components fitting into their designated spots:

20241111-163608.jpg


Next thing to sort out is the mounting of the second power supply, and the drain port for the bottom radiator.

After that, it will be plumbing the 14mm OD frosted tubing, and filling with Mayhems XT1 black coolant.
 
Happy Sunday!

I've mounted the second FSP 1200W power supply in the HAF700, and the clearances are very close.

It's quite interesting, if Cooler Master has an additional power supply mount above the standard bottom mount, it could have easily been a dual power supply chassis.

20241116-212346.jpg


Panel has had dragon skin and clear coat applied.

20241117-105232.jpg


Just have a few small trim pieces to apply the dragon skin to, then waiting on a shipment from @VanguardPC for more Mayhems XT1 UV Black coolant which should arrive early this upcoming week.

Getting closer to rAge expo 2024, and I'm so excited to have the build on display!
 
Back
Top Bottom