naughty
Epic Member
Hi People
here goes my first thread here. Some of you guys may know me from PC Format or Systemshock and you may have seen this mod there so theres nothing new for you to see. For the others who dont visit those places here is a description of the rig i built to replace my aging socket 775 celeron setup. The system is comprised of the following hardware :
Gigabyte Sumo 5115 case
Antec High Current Gamer 750 watt power supply
Asus P8Z68-V pro/Gen3 motherboard
Intel i5-3570k "Ivy Bridge" CPU
Corsair H100 Liquid cooling
16 gigs Kingston Hyper X DDR3 1600 Ram
Gigabyte Radeon HD6970 OC edition
Lite-on Blu-Ray writer
Western Digital Raptor X hard drive
Win 7 Pro 64 bit operating system
i ran out of cash so hence i decided to re-use my old Raptor hard drive - future plans include getting either two small SSD's in RAID or one larger SSD as the O/S drive and then using one of my 2TB drives for storage
so on to the pictures
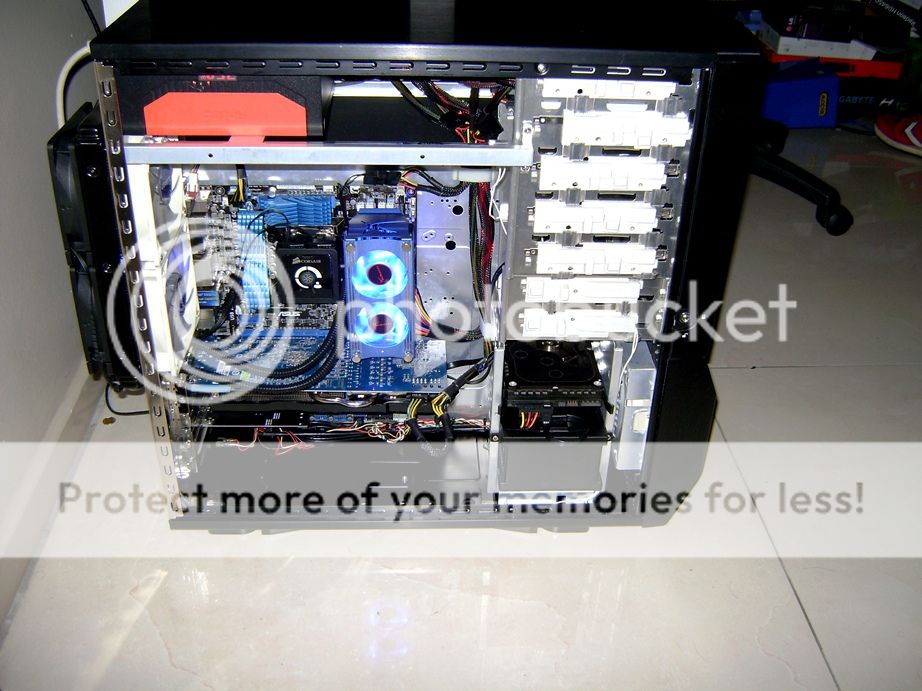
the insides of the Rig without the side panel - note that i will be doing lots more cable management .... i have lots of plans on how to hide the cables even though the case does not really have a great layout to allow for cable management
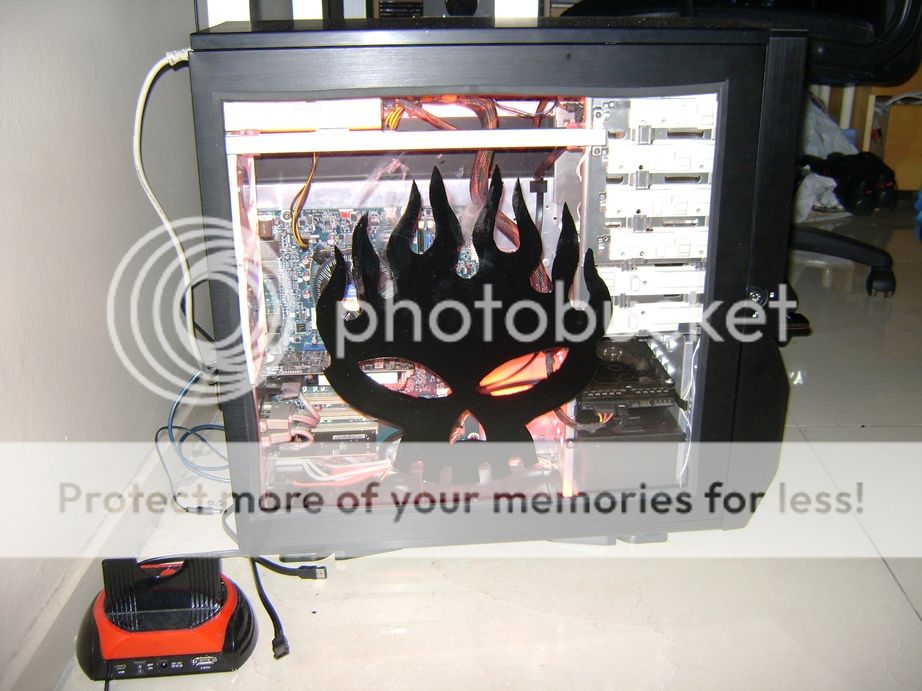
then this is the side panel attached with the room lights on
room lights switched off
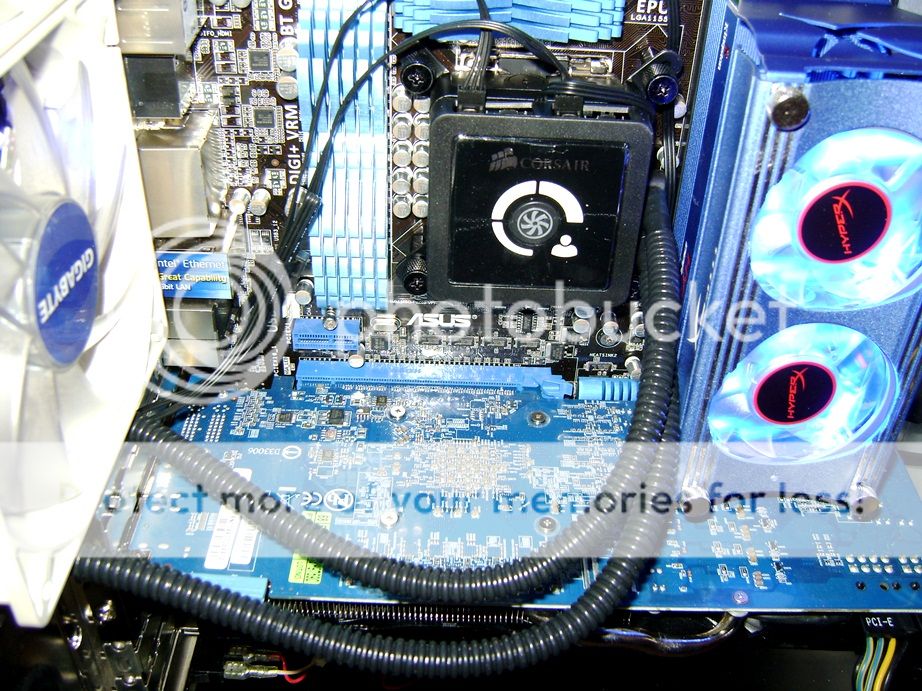
the ram has its own cooling
closeup of the insides
insides with the case lighting switched on
rear of the case showing the liquid cooling
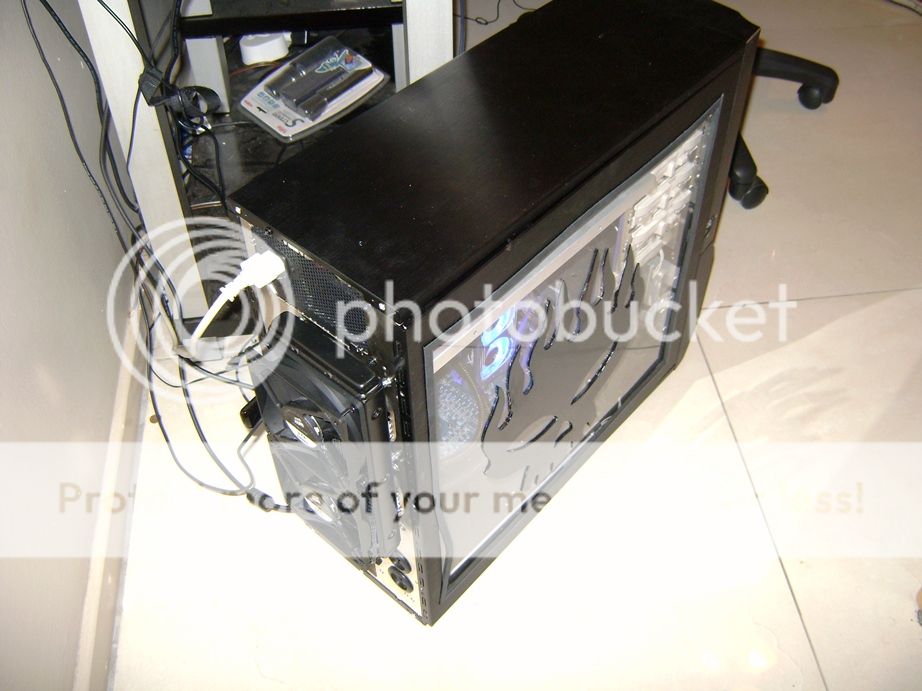
now in these last two pics you can see that the side panel window is edged with u-channel rubber which seems to be coming loose - this was deliberately left unglued because i dropped some superglue on the perspex of the window - so i will also be redoing that somehow so the side panel will improve when i have the time
here goes my first thread here. Some of you guys may know me from PC Format or Systemshock and you may have seen this mod there so theres nothing new for you to see. For the others who dont visit those places here is a description of the rig i built to replace my aging socket 775 celeron setup. The system is comprised of the following hardware :
Gigabyte Sumo 5115 case
Antec High Current Gamer 750 watt power supply
Asus P8Z68-V pro/Gen3 motherboard
Intel i5-3570k "Ivy Bridge" CPU
Corsair H100 Liquid cooling
16 gigs Kingston Hyper X DDR3 1600 Ram
Gigabyte Radeon HD6970 OC edition
Lite-on Blu-Ray writer
Western Digital Raptor X hard drive
Win 7 Pro 64 bit operating system
i ran out of cash so hence i decided to re-use my old Raptor hard drive - future plans include getting either two small SSD's in RAID or one larger SSD as the O/S drive and then using one of my 2TB drives for storage
so on to the pictures
the insides of the Rig without the side panel - note that i will be doing lots more cable management .... i have lots of plans on how to hide the cables even though the case does not really have a great layout to allow for cable management
then this is the side panel attached with the room lights on
room lights switched off
the ram has its own cooling
closeup of the insides
insides with the case lighting switched on
rear of the case showing the liquid cooling
now in these last two pics you can see that the side panel window is edged with u-channel rubber which seems to be coming loose - this was deliberately left unglued because i dropped some superglue on the perspex of the window - so i will also be redoing that somehow so the side panel will improve when i have the time
Last edited:
")