What's new
Carbonite

South Africa's Top Online Tech Classifieds!
Register a free account today to become a member! (No Under 18's)
Home of C.U.D.

The Anti Compensator Project: A Monochrome Hadron Air Build..

keenan

Member
Rating - 0%
0   0   0
Joined
Jan 15, 2013
Messages
29
Reaction score
20
Points
1,185
Age
43


Hello guys.

Allas, after a 7 year hiatus I am back with another "little" project. Please note that this is more about the journey toward the final result than it is about wooing anyone with any sort of skill I definitely don't have ;)

Please do not expect the latest and greatest hardware on the cusp of the silicon high end. As you can see from the case, it's old and dated, but it should make for a pretty clean canvas and a lot of learning along the way..

The main use and purpose of this build will be as an un-intrusive gaming PC fit for the living room.

The hardware so far..

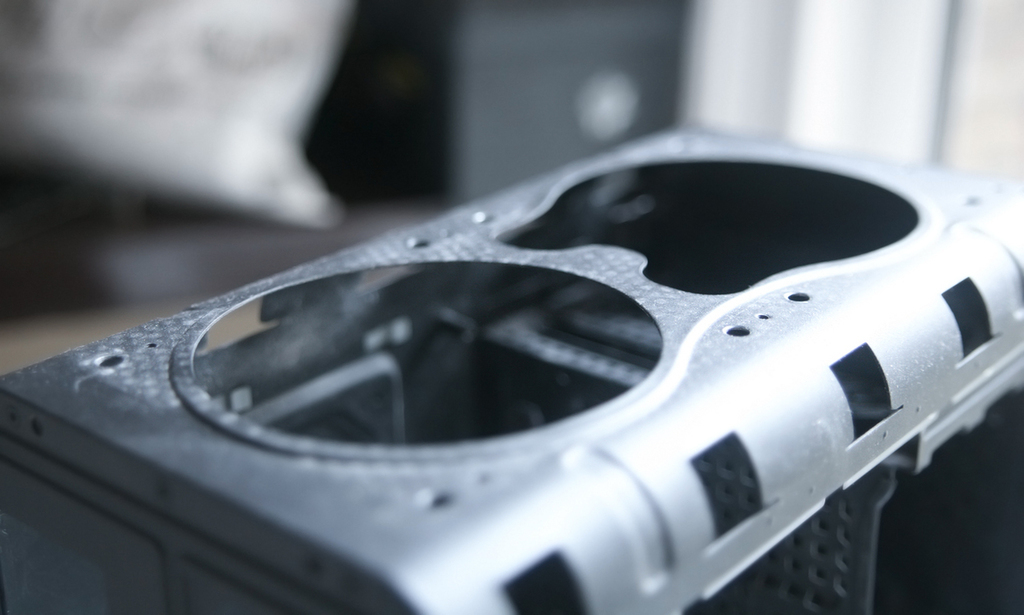
A very old and well used Hadron Air from EVG"A". Please refer to the front of the case for an explanation in regards to the emphasized "A".. :D

Anywho, I am going to try my best to do a clean, fairly monochrome build that's fully water cooled with 2 X 240 radiators (top and bottom)


Here are some sample photos to get this log going..


Alright, first we need to accept that this case is no spring chicken!! Saying that, we will definitely need to get all the speed we can from it..

Now, the first rule of "more speed" is always "less weight"...right?

Or is it racing stripes? ;)

Anyway, time to shed some excess weight..

First of all, there are some unsightly edges we can see here, but we will definitely take care of that later..


With so little room on the inside, this drive cage will also have to go!


Luckily one of these grommets are already gone, so I'll only need to remove one.. :D


Now what does these screws do??


Aha, another bit gone.. giving us an eye full of its voluptuous rounded figure.. :eek:

 
Today was slow, but I've made some more progress in removing the last bits taking up unnecessary space, but first I inevitably found some more screws..


Removing them loosens the front case foot so the bottom panel can also be removed..


Looking behind the rear side panel it's also very clear that there's not even a single milimeter space between it and the motherboard tray. :eek:


Alright, so in order to remove the drive cage I first had to remove the front panel, but figuring out how was somewhat of a discovery in itself.. :confused:

Turns out it's just a thin layer of glued acrylic, so prying it off was pretty intense and just a tiny bit stressful, but not impossible..


Where were we? Oh yes..


All bare and ready for stage 2 weight reduction.. :D

 
It's been a long wait for some of the tools to arrive and I suspect it will be quite a bit of longer to get all the fittings, but I'm sure I will find things to keep me busy!

So, a new player has entered the chat..


May I present.... the cheapest Jigsaw available online in the UK, but I think the cuts are "pretty" straight.

If they're not then it's definitely because of the jigsaw and absolutely not due to my lack of skill!


Now that the top is done I still have to mask the bottom and take care of the unpainted side panel latches.


However, with the unnecessary metal removed the radiators can be alligned to the side which should allow for a few more millimeters of room in the rear..

It's definitely all about the milimeters!!


Luckily, with an abundance of holes to choose from, it's easy to find the perfect spot for the radiators..


Last edited:
Well, it's been quite a productive morning so far.

I have managed to finish cutting out the bottom of the case as well as all of the side panel trim. The latter had to be done with the Dremmel and once again chewed through the blades like they were made of paper.

For such a small case it is definitely build like a tank..


This has however left some very jagged edges which will need some refining..


Luckily, I can always count on Sir Faithfull over here!


As well as a visit from a little friend..

 
Last edited:
Holy mother your photography skills are next level.

Don't even care about the pc just admiring the photography
Thank you very much for the nice comment!. I assure you, there is very little to it, but I am glad my photos are of a soothing nature.. ;)

Anyway, this is turning out to be quite the morning..

The postman just dropped off a very non-suspicious looking box!


Opening it obviously calls for a bladed object of equal size and stigma!


Inside however are the most fitting items I could have hoped for in regards to this build!


These Slim fans from Akasa are only 15mm thick, but still manage to push over 50 CFM of air/1.36 mm-H²O static pressure at a very modest 30dB!!

Also included are some extension cables and a very low profile 5 port PWM hub that will be used to run all the fans off a single fan header.

We will definitely put it to the test ;)


With this I would like to say a massive thanks to Ivan and the people at Akasa for their continued support. Whether it's due to colour scheme or size, their product always seem fit in perffectly!

Thanks guys, it's all very much appreciated..

 
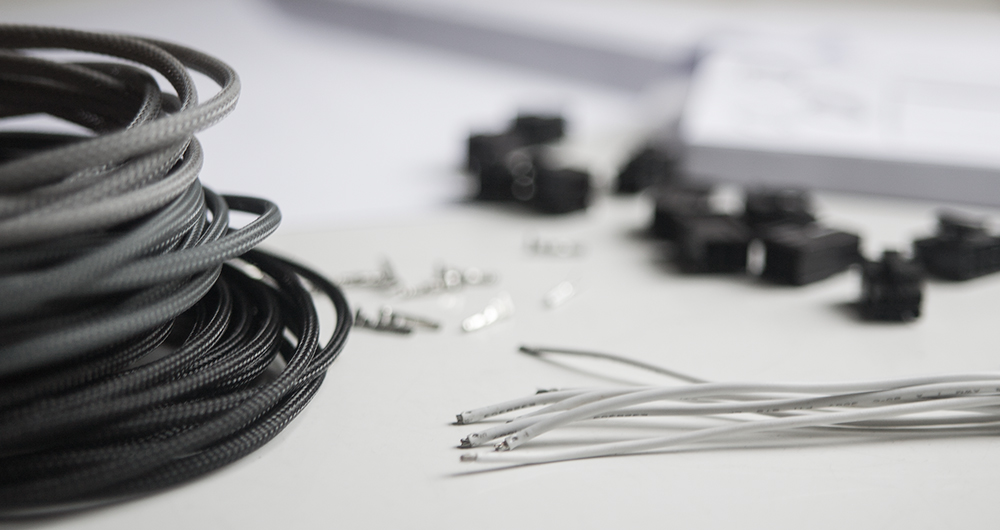
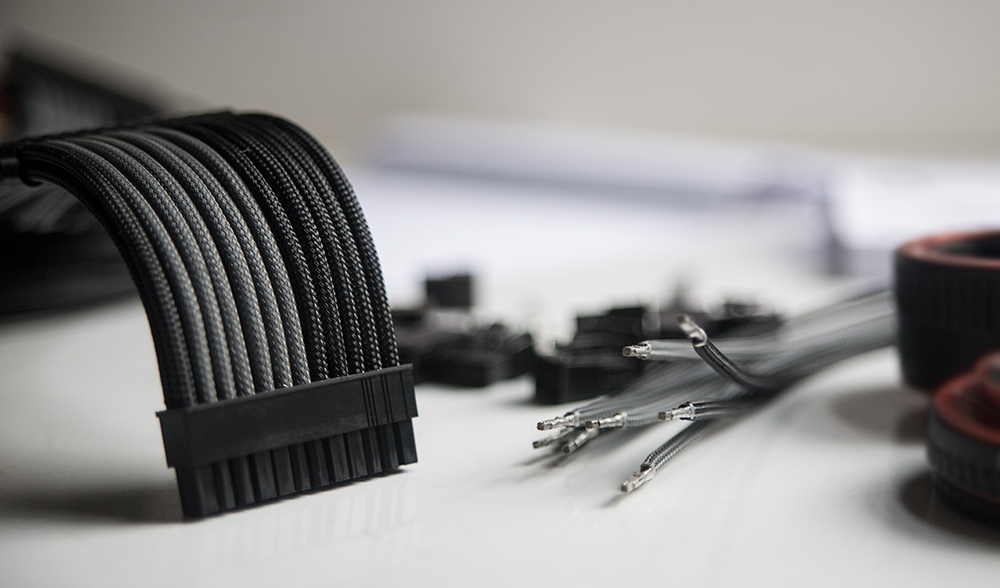
Alright, it's been a busy few days, but I have managed to get some of the cables done and after so many years my fingers had definitely forgotten their involvement in the matter..

They soon remembered though.. :eek:

Anyway, I had plenty of black and grey to make the perfect monochrome pairing.

img_9139wyj50.jpg


img_91400qj43.jpg


img_9142pok6k.jpg


img_91509zjid.jpg


img_9151p4jku.jpg


img_9154zgjof.jpg


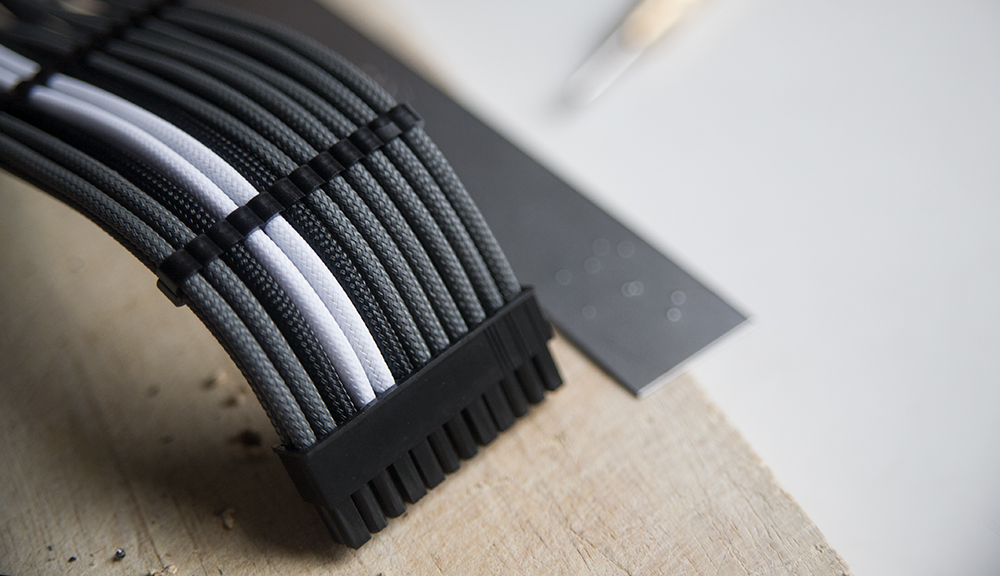
However, while I liked the faded look of the 24pin, I felt it definitely needed something to define the pattern so I added some minimal white.

I definitely like the contrast more, but I might change it for a light grey once rebuilding starts..

img_9187bmkjmf.jpg


img_9198bemk8h.jpg
 
wait what? you fit sleeving AND the wire into a pin?

where did you buy the pins and which gauge wire are you using?
 
wait what? you fit sleeving AND the wire into a pin?

where did you buy the pins and which gauge wire are you using?

The connectors are all standard PSU ones. We have quite a few places that sell them over here in the UK, but in South Africa they might be somewhat harder to find.

Unless normal online retailers stock them?

The wire is 16 AWG and the sleeve is all 4mm.

I hope that helps..

If not, feel free to ask more questions. I'm more than happy to help wherever I can..
 
oh wait, another one of those foreigners flexing here :mad:


:p

lol, have done my share of sleeving so at least know some stuff

what is the outer diameter of your 16AWG?
 
oh wait, another one of those foreigners flexing here :mad:
Nee genade, glad nie! Ek is so Suid Afrikaans soos wat jy kry!! :)

Just keeping it English as it's the global number 1..

I posted my previous build on the forums a good few years ago so I thought I would do the same again with this old thing!

Regarding the wire..

I just bought 16 awg, no questions asked, but I can measure the total thickness later if that would help..

The wire really isn't that thick or thin for that matter. Highly likely standard PSU wire I would imagine ;)

hahahaha ek joke net :D
(seker omdat dit mooier lyk as myne :( )

maybe your pins have the longer 'wings' or maybe I should just actually try it before I say mine can't do it :p
 
Definitely +1 on the photography skills as others have said (y)

Very keen to see how your build eventually turns out. I've always wanted a Hadron, but they were quite scarce and hard to come by in SA at the time they were launched.
 
My ou, jou fotografie is rerig great. Kannie wag om te sien hoe hierdie build gaan lyk. Respect.

Baie dankie man, dis beslis te danke aan 'n stok ou kamera and half gebreekte lens.. ;)

Cant wait to see how this build comes out...

Let's hope it's all worth the wait..

Fokken legit dude!
Wow amazing skills, both with the tools and with your camera!

Baie dankie man, ek is bly julle geniet die build so ver.

hahahaha ek joke net :D
(seker omdat dit mooier lyk as myne :( )

maybe your pins have the longer 'wings' or maybe I should just actually try it before I say mine can't do it :p

The pins are shown in the 3rd photo! Stop going on about "wings" and go make your own cable.. ;)

Definitely +1 on the photography skills as others have said (y)

Very keen to see how your build eventually turns out. I've always wanted a Hadron, but they were quite scarce and hard to come by in SA at the time they were launched.

Same here, I was thinking of getting the Hadron H2O, but the larger top just doesn't look all that great.

I saw this one "used" on Reddit for £20, so it's not really all that heart wrenching chopping it to bits! :)
 
The pins are shown in the 3rd photo! Stop going on about "wings" and go make your own cable.. ;)

nou net een probeer....

nee wat, dis ok. ek sal maar met die heatshrinkless metode bly vir eers

om te probeer om die sleeving EN die pin in die crimper te hou, werk net nie met my hobbit hande

btw, waarvoor is die eerste 'non-sleeved' kabels?
 
nou net een probeer....

nee wat, dis ok. ek sal maar met die heatshrinkless metode bly vir eers

om te probeer om die sleeving EN die pin in die crimper te hou, werk net nie met my hobbit hande

btw, waarvoor is die eerste 'non-sleeved' kabels?
Daar is twee maniere om te sleeve.

Daai gekrimpte kabels sonder sleeve is die eerste manier. As jy dit eers krimp kan jy die sleeve na die tyd met 'n lighter smelt en aan jou krimp vas rol met jou vingers..

Soos die..


Die ander metode is om die sleeve saam met die kabel te krimp.

Om mee te begin is die eerste metode baie makliker, maar jou vingers suffer!
 
Alright, today I have finally received some more items for this build.

First of all, some hardware!

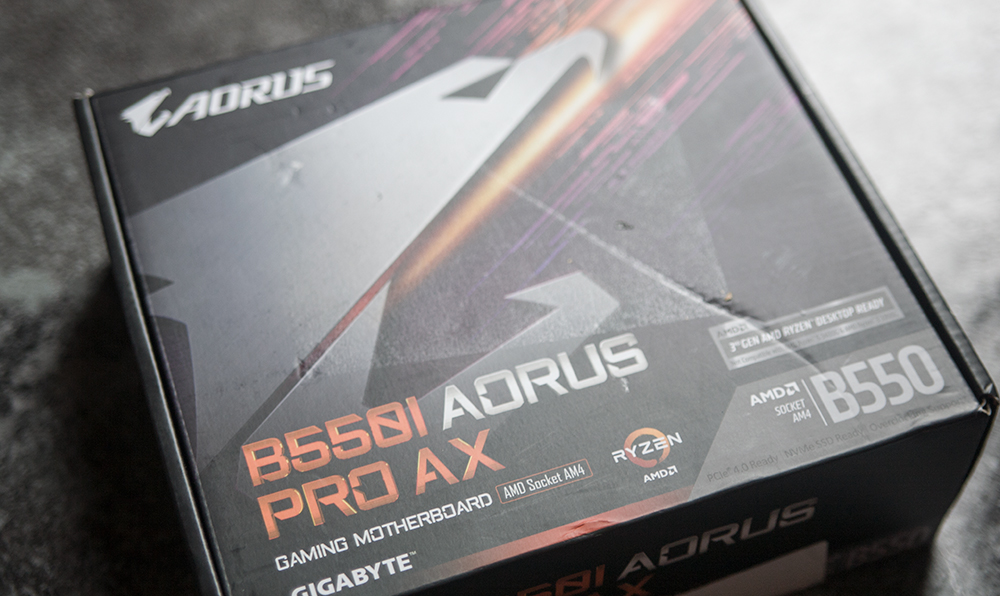
From the beginning I was set on using a B450 motherboard, but the one I liked the most was from Gigabyte and sadly that was the one that had the worst reviews due to shortcomings on the VRM's. However, there was a great offer on the newer B550 recently so I saw it as a sign.

Anyway, here it is..

img_9215m3j7k.jpg


img_9216ofkm5.jpg


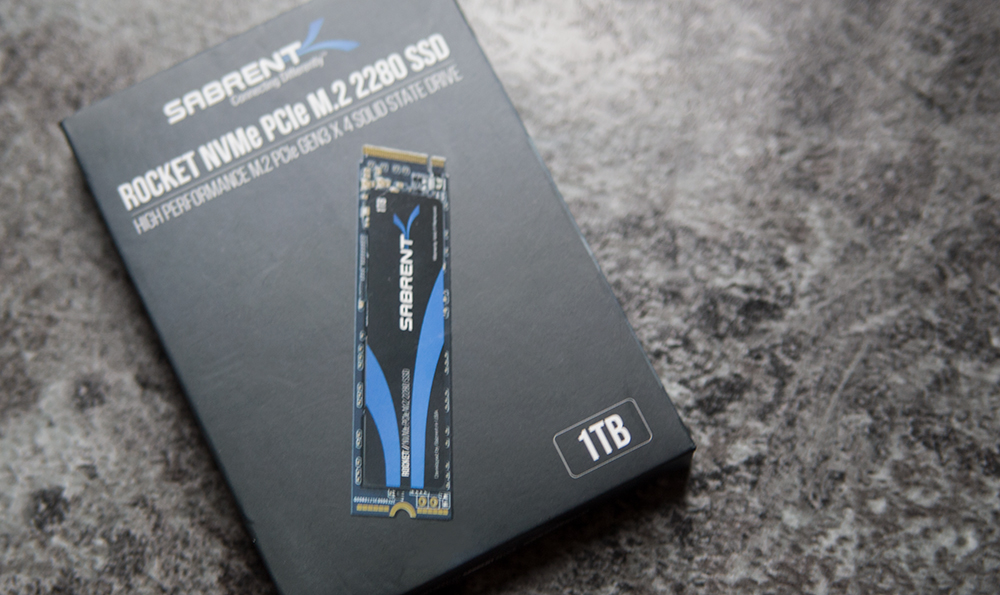
Also, given that the case no longer has a drive cage, I will only use solid state storage. Now, I realize the B550 motherboard is Pci-e Gen 4 ready, but I went for something that is without a doubt the best bang for buck..

img_92209qjrg.jpg


img_9223fbkje.jpg


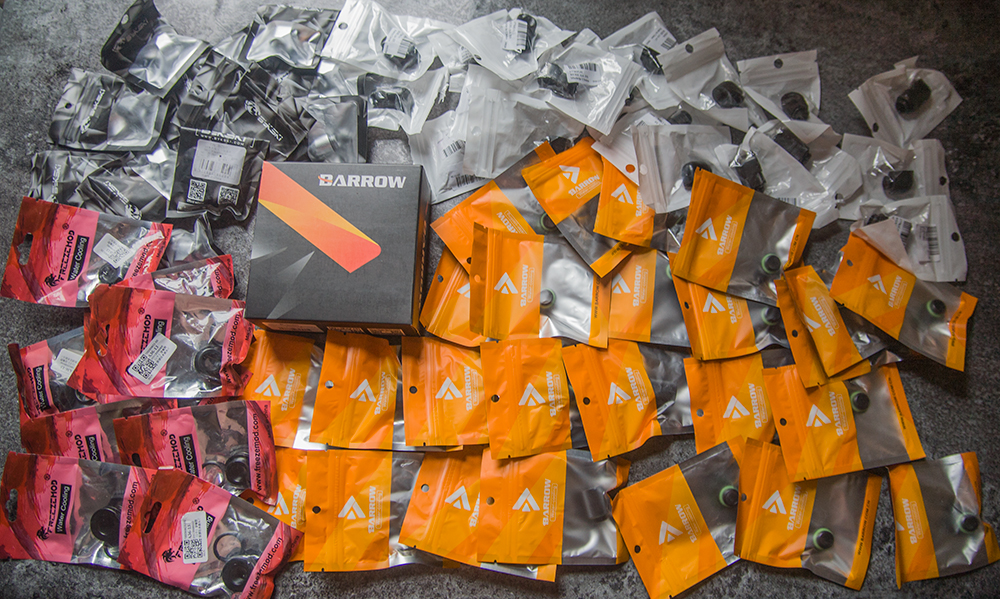
Further more I have finally received the first of the water cooling packages all the way from the other side of the world. Given the current state of the world and the fact the Christmas is upon us, I am rather impressed with the time it's taken to get here..

Anyway, I do plan on using every single fitting in this photo...and a few more!

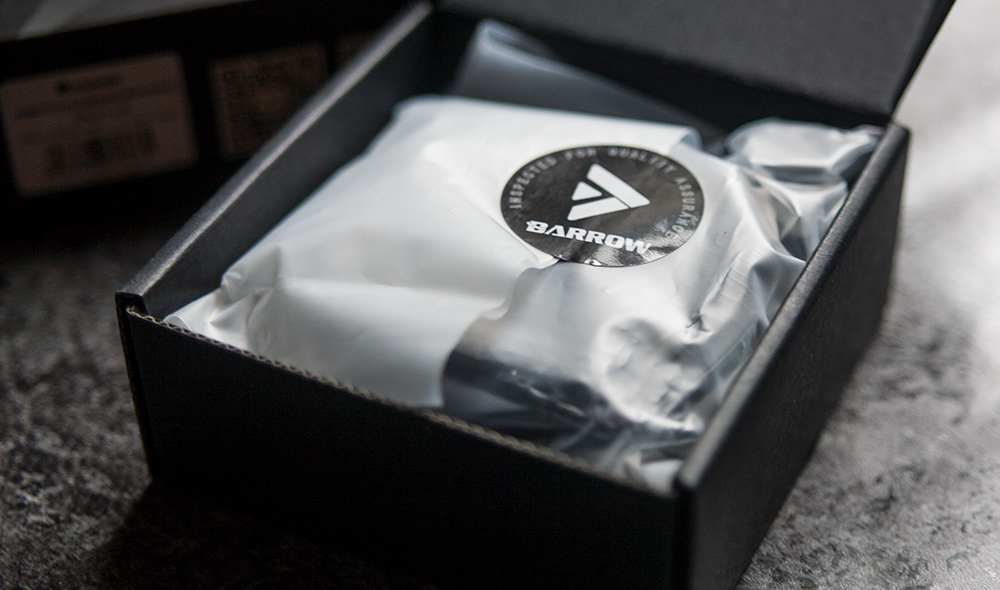
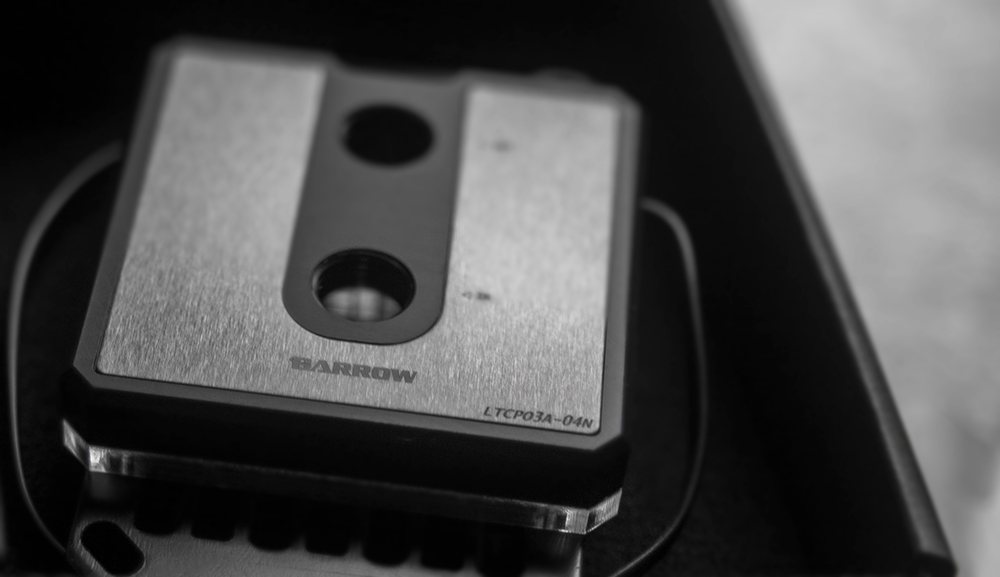
Also, yes I am a big fan of Barrow..

img_92245ok4n.jpg


The main reason for that is the overall quality compaired to the low cost of their products of which I am definitely in love with this waterblock!!

img_92262vkif.jpg


img_9228j4jj2.jpg


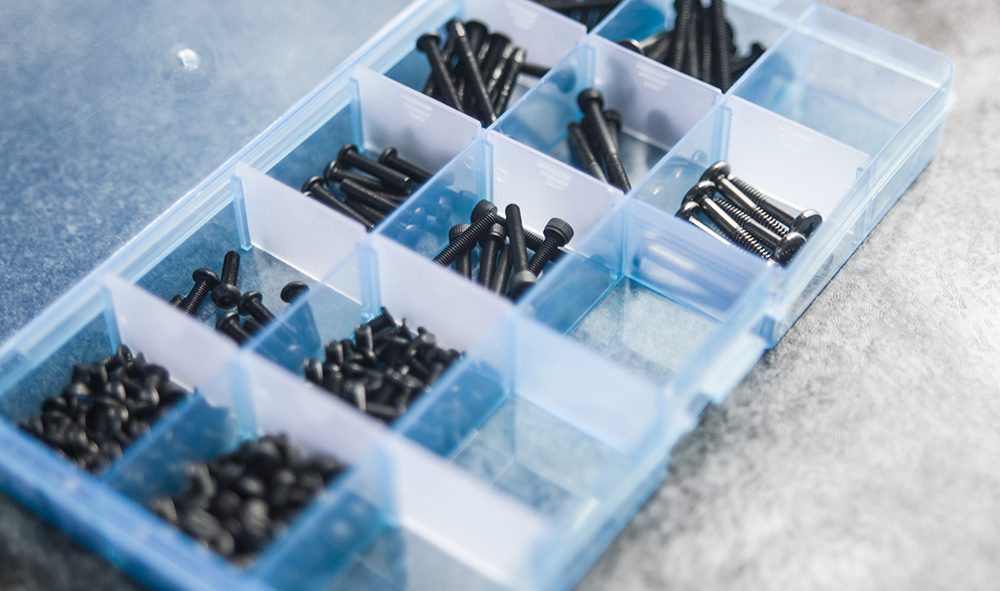
Also, some screws neatly sorted, until the next time i open the organizer..

img_922938jml.jpg


As well as some plexiglass already cut to shape and size.

img_9231nwjrd.jpg


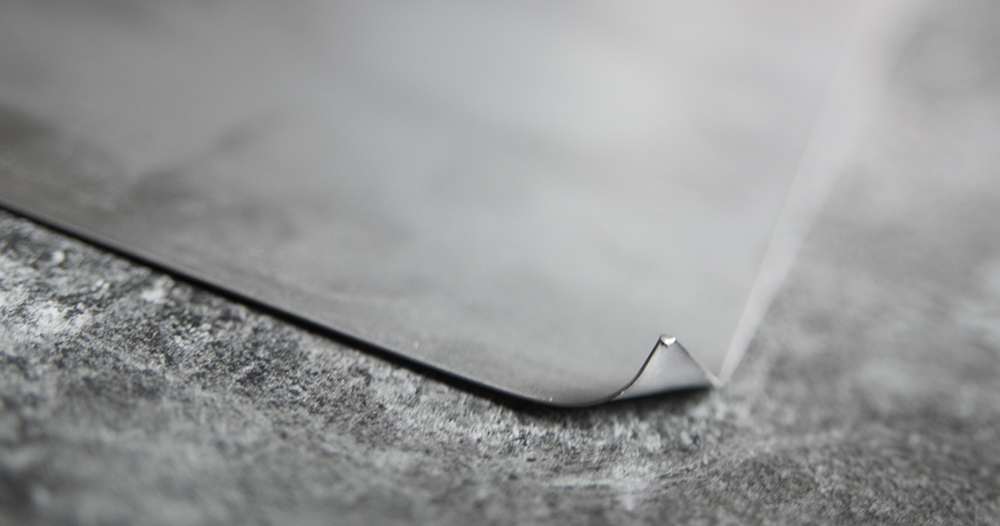
And last but not least, the one single item that I have been waiting for the longest. The item that has been delaying progress on this build actually taking form.

This lovely bit of sheet metal that has definitely not been man handled on it's way to me!

Hopefully I can manage to get it back in shape and reasonably straight.

img_9233s6j6f.jpg


Well, that's all for now. If everything goes to plan the rebuilding should start next week, so fingers crossed..
 
Daar is twee maniere om te sleeve.

Daai gekrimpte kabels sonder sleeve is die eerste manier. As jy dit eers krimp kan jy die sleeve na die tyd met 'n lighter smelt en aan jou krimp vas rol met jou vingers..

Soos die..


Die ander metode is om die sleeve saam met die kabel te krimp.

Om mee te begin is die eerste metode baie makliker, maar jou vingers suffer!

Thats a lot of effort for the cables but the end results speak for themselves.

I let mine get a little hotter to get a smooth finish but either way works since you don't see if after it's put in.
 
Thats a lot of effort for the cables but the end results speak for themselves.

I let mine get a little hotter to get a smooth finish but either way works since you don't see if after it's put in.

yeah why I just use the heatshrink method since if a little of the shrink stays on the sleeve, it won't be seen as it goes into the connector

@keenan surely you can use hammer or vise on that piece?
 

Users who are viewing this thread

Back
Top Bottom