What's new
Carbonite

South Africa's Top Online Tech Classifieds!
Register a free account today to become a member! (No Under 18's)
Home of C.U.D.

[SPONSORED] - Project Sinister

Status
Not open for further replies
Hey everyone! Hope that the week was good?

More progress on the Sinister build!
Alright, so the system will be water cooled with a custom hard-line loop, therefore I wanted to make this chassis really unique and at the time of writing this, is the only Maker 5 Chassis that has this built in reservoir panel that is known.

Here I took the real panel of the chassis off, and then took it to engineering to remove the material that I do not need for the built in reservoir:


Take a look at this machine that was used for the cutting work!


Now for some perspex goodness...


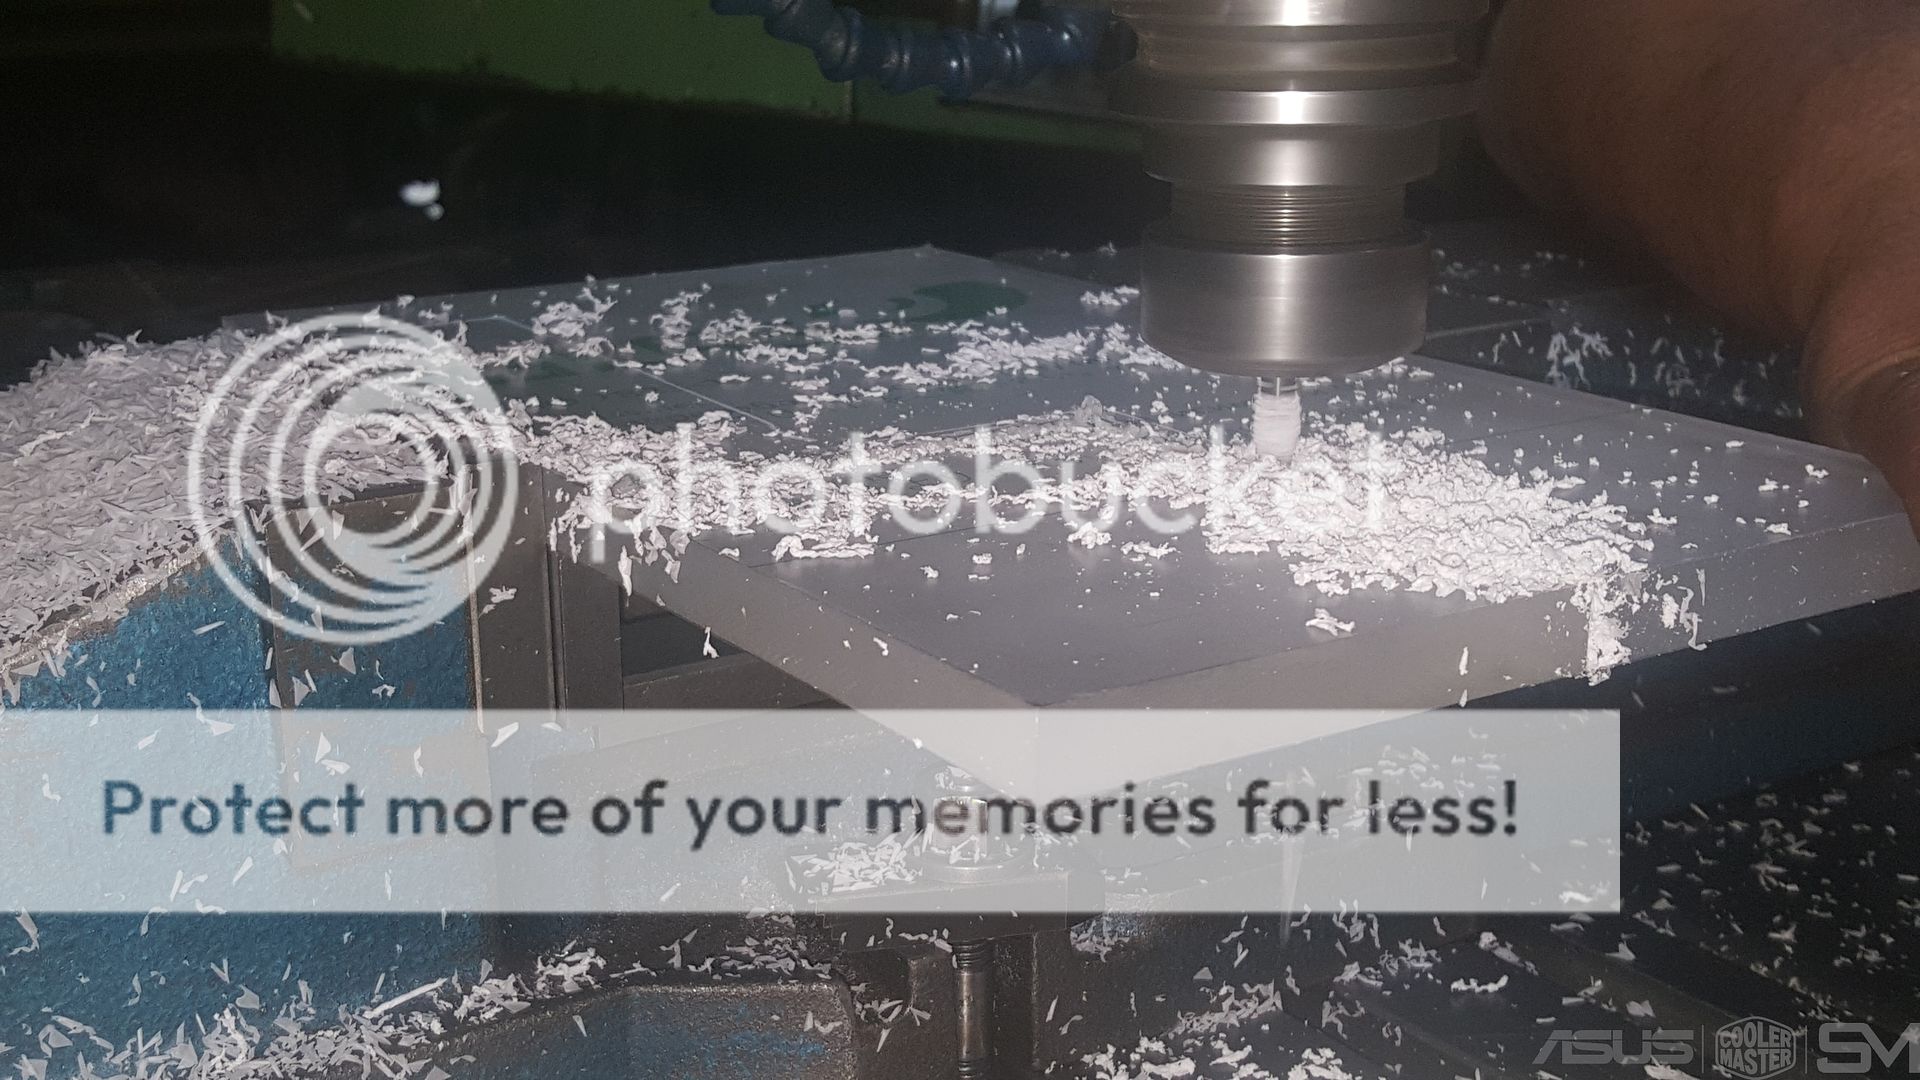
Final profiling work:


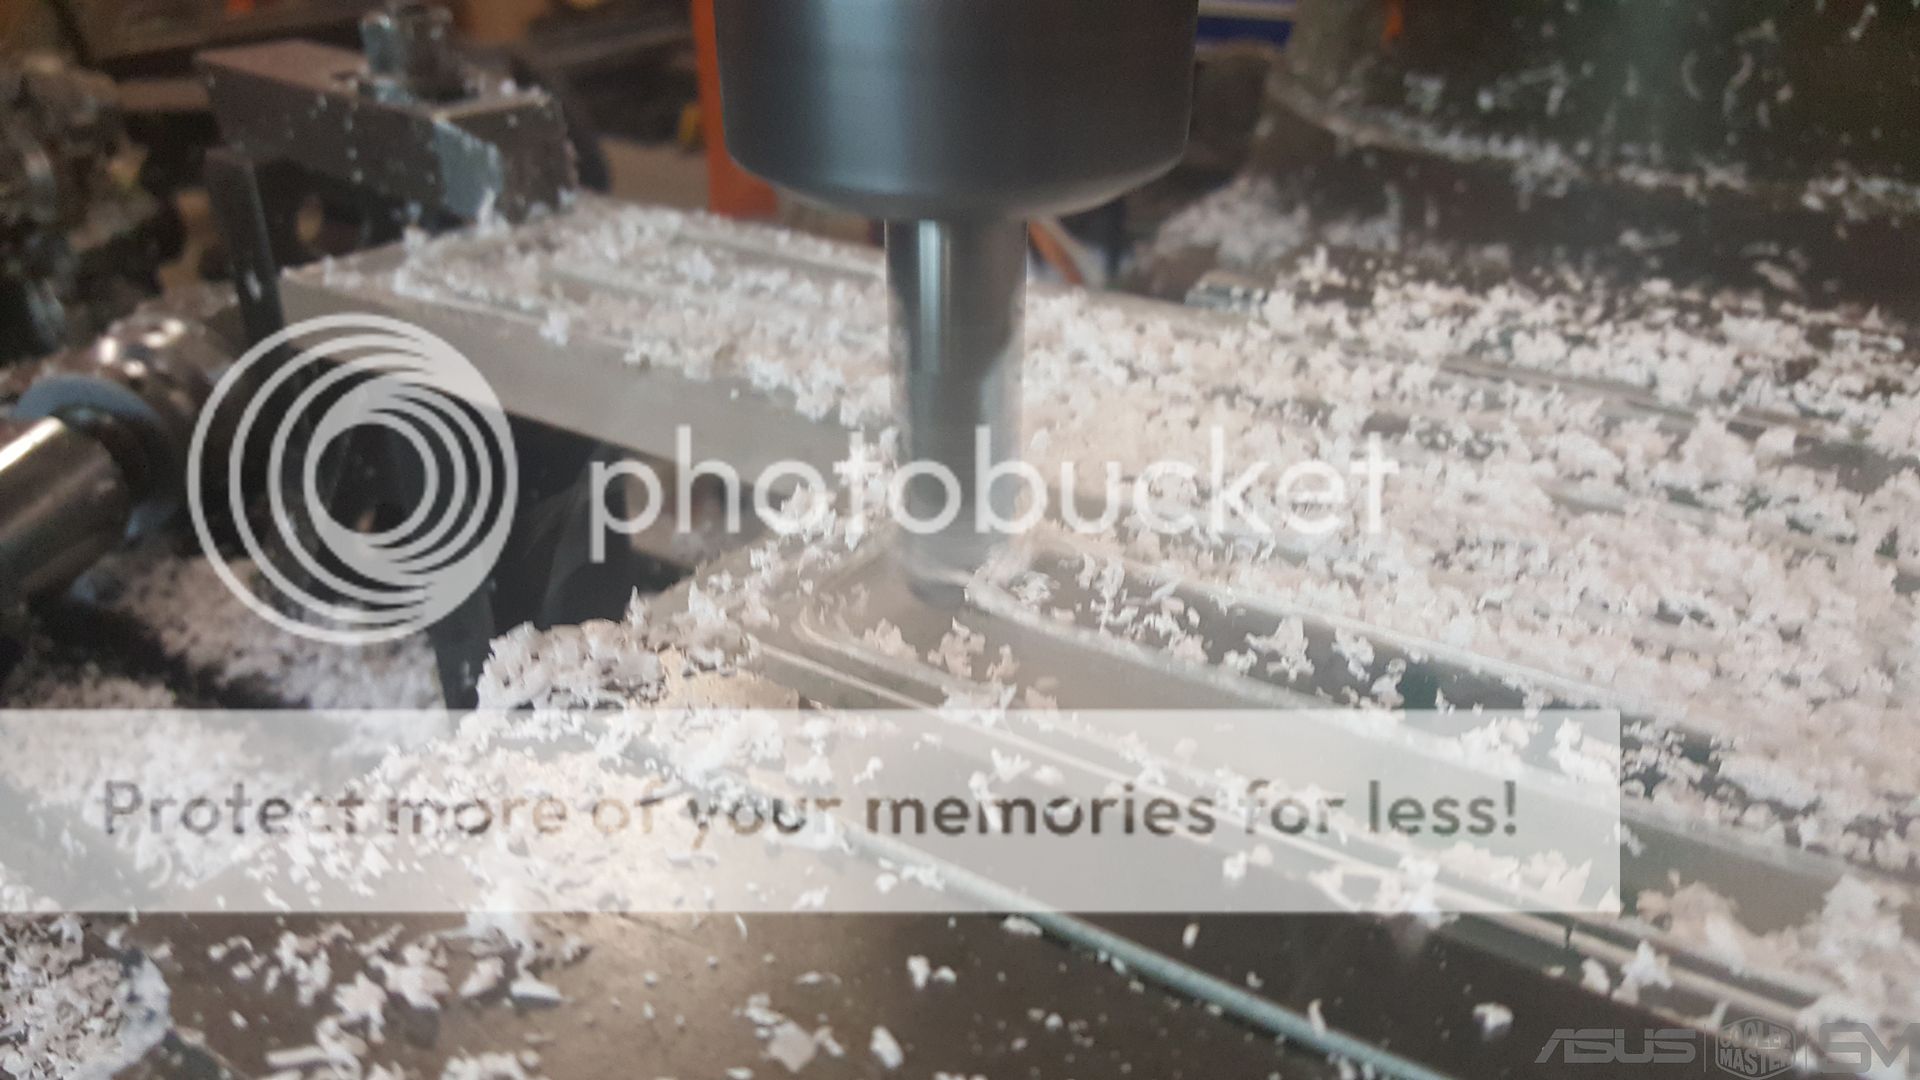
Here's an action shot of the water channel that was milled into the 15mm perspex panel (8mm deep):


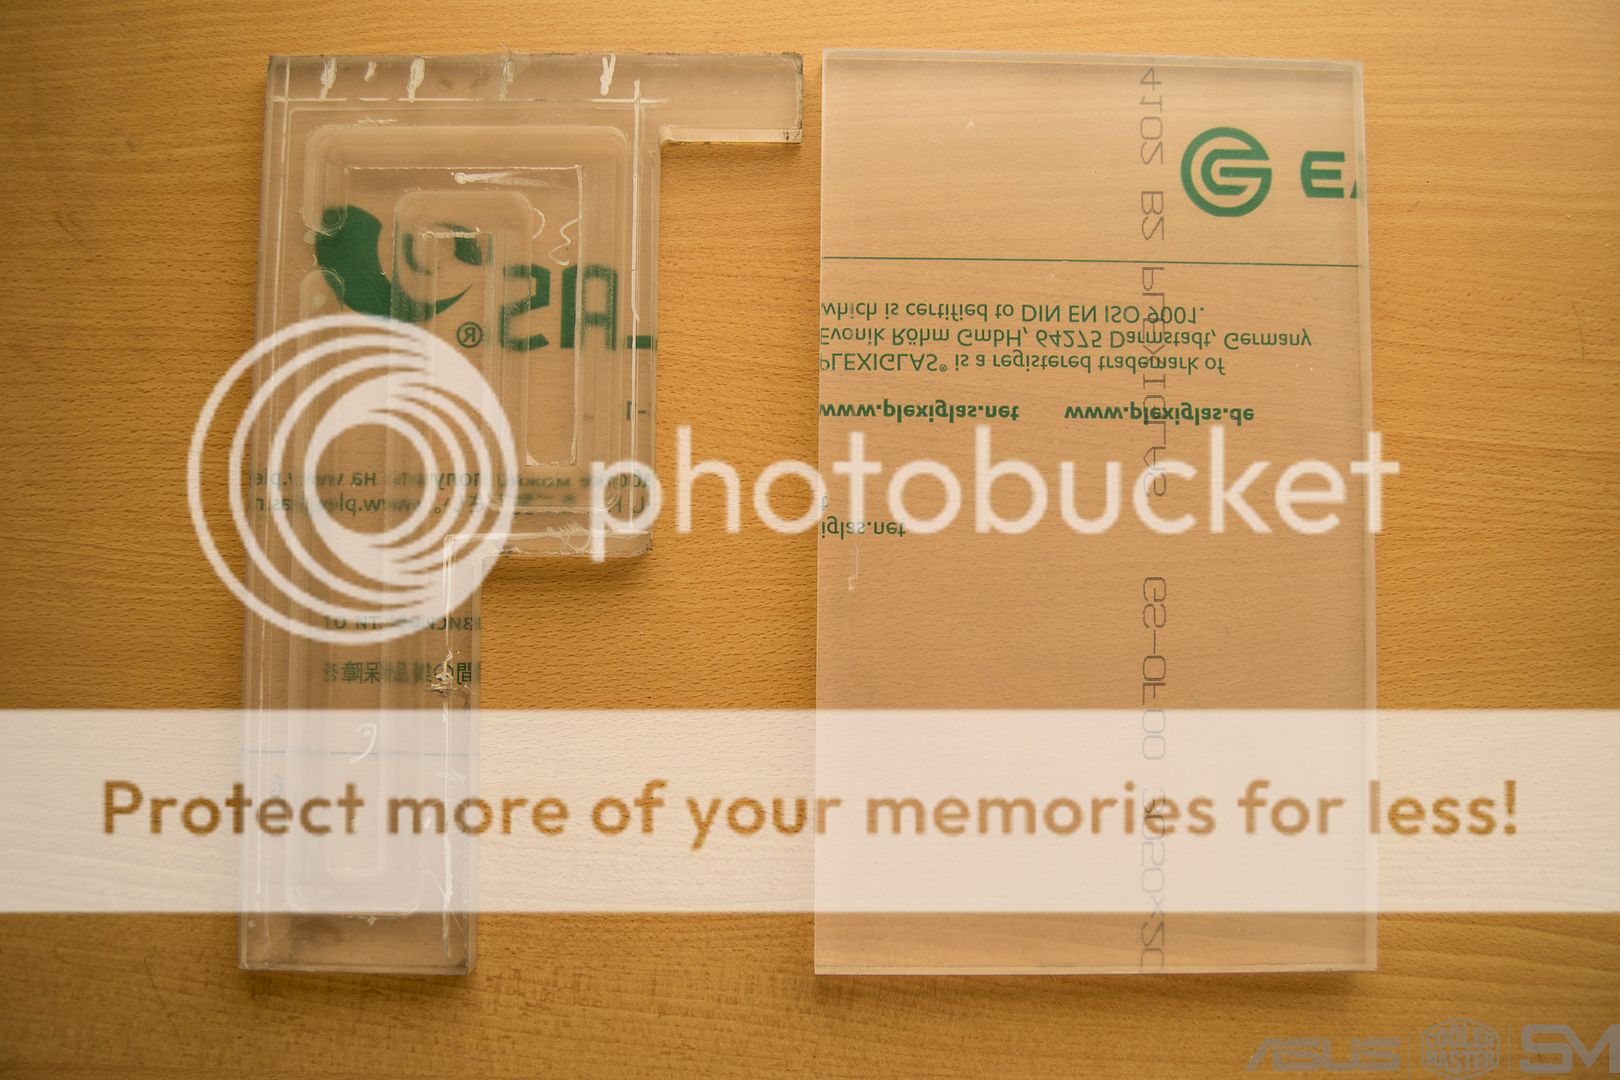
Here's the completed panel that will contain the water:


A before and after shot:


Now when it came time to put the perspex panel into the chassis, the top most piece of the metal that folded over was causing some interference issues, so it had to go...

Before:


After:


And here we are with the original metal panel re-riveted into the body of the Maker 5 chassis, along with the perspex built-in reservoir.


There are still some final details to be completed on the perspex panel to allow for the gorgeous ASUS GTX1070 STRIX card to fit comfortably in the Sinister chassis.

Stay tuned!
 
Damn this is gna look awesome, great work so far man.

Sent from my Redmi Note 2 using Tapatalk
 
*throws in the towel on ever modding again* :(

someone, sponsor me a mill please :(

people should get banned for posting pictures like the first 5 :(

:p :D

what's the thickness gonna be of the closing top of the res?
 
*throws in the towel on ever modding again* :(

someone, sponsor me a mill please :(

people should get banned for posting pictures like the first 5 :(

:p :D

what's the thickness gonna be of the closing top of the res?

I agree, I need one of those mills as well, cutting my acrylic with a grinder and holesaw is starting to feel primitive :p
 
*throws in the towel on ever modding again* :(

someone, sponsor me a mill please :(

people should get banned for posting pictures like the first 5 :(

[emoji14] :D

what's the thickness gonna be of the closing top of the res?
Hi man! Thanks for the kind words [emoji1]

The thickness of the closing panel at the moment will be 3mm, but I'm concerned that it will not be enough to hold the compression fittings, if that's the case, I'm going to get a slightly thicker panel (probably around 5mm or so).

I'll have to see clearances and how good the panel will be once I get the compression fittings to thread with.

Sent from my SM-G928C using Tapatalk

I think 3mm should be sufficient, 5mm would be safer though. How are you going to seal the two panels?
 
I think 3mm should be sufficient, 5mm would be safer though. How are you going to seal the two panels?
I agree.

I've been told that Tenzol (I believe that's how it's spelt) will work well, it's a type of glue for plastic (and perspex) that will bond the two pieces together, and once it's cured, will become transparent.

So I'll be using that [emoji1]

Sent from my SM-G928C using Tapatalk
 
I agree.

I've been told that Tenzol (I believe that's how it's spelt) will work well, it's a type of glue for plastic (and perspex) that will bond the two pieces together, and once it's cured, will become transparent.

So I'll be using that [emoji1]

Sent from my SM-G928C using Tapatalk

Okay cool, sounds good, best of luck! Subbed ;)
 
hmmmm, so you going to have external ports as well?

from the pics it looks that way and made me think you were doing the threads for fittings into the 15mm, which would have been the best option imo

I would go with 5mm for that little bit more in regards to the slot for the o-ring
 
hmmmm, so you going to have external ports as well?

from the pics it looks that way and made me think you were doing the threads for fittings into the 15mm, which would have been the best option imo

I would go with 5mm for that little bit more in regards to the slot for the o-ring

Yes the compression fittings will be inside the chasiss, the markings that were made were during the cutting and measuring etc.

I agree with 5mm being a safer option, however I will need to see the clearances once I receive the rest of the hardware from the sponsors.
 
So today was a busy one, I ensured that the 15mm perspex panel was fitted to the rest of the chassis, which meant making the necessary holes and threading them! :D

Also, the GPU mounting bracket needed to be accommodated within the perspex (about 1.5mm depth).

Therefore, correct size and depth marked, time to get cutting...


Success!


Alright, the radiator will be a 360mm XSPC (One that I used from my Envy build), it will be mounted in the front of the chassis between the front plastic cover and frame. Now for the fittings to not be obstructed by anything, some modifications are necessary (of course!).

'X' marks the spot...


Now for the other side...


And now the final result! Nice clearances for the radiator :D

 
got to love the easy parts in a mod

makes doing things by hand, quite refreshing
 
Looks very nice. I wonder how this design will look with the case being matt black with red vains. But I think as is it looks just perfect.
 
Looks very nice. I wonder how this design will look with the case being matt black with red vains. But I think as is it looks just perfect.

STAY AWAY EVOL BLACK/RED THEME!!!!!

:p

I would love to do things by hand, but some things will just start to get to me even if it may just be off by a bit

ie. currently had to resort to adding a 45deg angle to a 1cm alu panel and did it with a plunge router... now my 1st panel came out really good (yes, still imperfections), but the 2nd one you can feel is totally uneven from the start/stop and the alu obviously reacting to the heat generated... it was fun though, watching all the chips fall and I bet just using a sander should sort it out easy

I (My father sprayed the case) have done a pink case recently, I need some black and red in my life. :p But honestly I will contact this man one day when I have money again and ask him to do a black and blue theme like this for me, looks just to awesome.
 
Last edited:
STAY AWAY EVOL BLACK/RED THEME!!!!!

:p

I would love to do things by hand, but some things will just start to get to me even if it may just be off by a bit

ie. currently had to resort to adding a 45deg angle to a 1cm alu panel and did it with a plunge router... now my 1st panel came out really good (yes, still imperfections), but the 2nd one you can feel is totally uneven from the start/stop and the alu obviously reacting to the heat generated... it was fun though, watching all the chips fall and I bet just using a sander should sort it out easy

I must agree here, the black and red is what everyone does and yes, at times, does look really great.

However, due to major brands that go overboard with red and black, it has become somewhat everyday (IMO).

Red veins would have an interesting appearance, but this would have looked the same as another mod that I know of.
 
In case (pun not intended :p) everyone was wondering what type of screws are used to keep the perspex panel in place...

Only the best ;)


An overview shot of the chassis from the back with the motherboard and graphics card installed:


A close up of the graphics card mounting bracket, this will be re-painted once the chassis is ready:


Finally, here's an internal view:


More updates on the way soon!
 
Today was a great day, as I received the EK parts for the build from Cooler Master South Africa and Rectron South Africa, thanks a lot guys!


A side profile of the famous D5 pump, I decided on the PWM version to harness the PWM water pump socket on the Z170 Deluxe board from ASUS South Africa, thank you again ASUS SA!


Here is a macro shot I took of the high-quality black compression fittings from EK. Thank you Cooler Master South Africa and Rectron South Africa!


The reservoir is really high quality, I decided on the EK-RES X3 150 due to space and I think it's a perfect size (Stay tuned for where this bad boy is going to be mounted!)


A close up of the D5 pump (which includes the new XTOP from EK) with the black EK compression fittings.


Another close up shot, a profile of the new D5 pump from EK!


Here's a close up of the XTOP that is included with the Revo D5 PWM EK pump from Rectron South Africa, thanks a lot guys this is a gorgeous piece of hardware!


A close up of the reservoir with some fittings! :D


Thanks again Cooler Master South Africa and Rectron South Africa for the gorgeous EK components, they are going to work so well in this build! :D
So much water cooling sexyness 😁
 

/me adds to most hated posts list :evil:


:p

yeah, the Revo is super nice with the lower profile, but I will miss the D5 and the mods on it

also love the EK res and I will be adding another multi top to the other side just for even more ports :D
 
/me adds to most hated posts list :evil:


:p

yeah, the Revo is super nice with the lower profile, but I will miss the D5 and the mods on it

also love the EK res and I will be adding another multi top to the other side just for even more ports :D

Haha thanks man! Yeah these parts are so nice and shiny! Really excited to add them to the build :D
 
Looking forward to the watercooling bits... BTW what camera you using to take these snaps

Sent from my Redmi Note 2 using Tapatalk
 
Looking forward to the watercooling bits... BTW what camera you using to take these snaps

Sent from my Redmi Note 2 using Tapatalk

Thanks so am I!

I'm using my trusty Nikon D3100 with the 18-55mm kit lens :)
 
Thanks so am I!

I'm using my trusty Nikon D3100 with the 18-55mm kit lens :)
With the white linen back drop I see you got some photography skills to go with your modding.... Nice, keep those pics coming, btw will this be on display at rage?

Sent from my Redmi Note 2 using Tapatalk
 
With the white linen back drop I see you got some photography skills to go with your modding.... Nice, keep those pics coming, btw will this be on display at rage?

Sent from my Redmi Note 2 using Tapatalk

Thanks! I appreciate the kind words.

Yes this system will be on display with Cooler Master and Rectron at rAge! :D
 
Today was a great challenge, I had to hunt down a shop that had the correct 1/4" BSP tap to thread the perspex cover for the built-in water channel for the build - Managed to obtain one from THT Tools.
Long story short, I obtained one and was able to thread the 3mm perspex cover, needless to say, a perfect fit and the results are as intended!


An overview of the two EK Black compression fittings installed.
Thanks Cooler Master South Africa and Rectron South Africa! The result looks so great and cannot wait to get busy with the rest of the amazing EK components!


A profile shot of the two EK Black compression fittings installed into the 3mm perspex cover panel, this is so exciting!


Here is a shot of the profile that needs to be cut into the 3mm cover panel for the water channel side. Measure twice, cut once!


Status
Not open for further replies

Users who are viewing this thread

Back
Top Bottom