What's new
Carbonite

South Africa's Top Online Tech Classifieds!
Register a free account today to become a member! (No Under 18's)
Home of C.U.D.

Project: Wooden Fortress Build

DoOb's

Epic Member
Rating - 100%
73   0   0
Joined
May 9, 2010
Messages
808
Reaction score
30
Points
3,965
Age
37
Location
Durban, Bluff
So I hav decided to make a case.

Im over the space and my impractical build mod of the Stacker 810 so i thought why not make a custom case.

Custom case out of Cheap wood :p :p R200 for Pine Ply sheet - 3ply

Pine Ply 3ply
Pine 20mmx20mm lengths for frame.
20 x Right angle metal supports.

More to come.

_MG_1034.jpg
_MG_1028.jpg
_MG_1030.jpg


The Scale of the case....

_MG_1025.jpg


What needs to go inside.

_MG_1041.jpg
_MG_1036.jpg
_MG_1037.jpg

What ive done sooo far.
 
Last edited:
Very nice photography, I'm jelly. As for the rig itself, I am eager to see what it becomes :p
 
next time you plan on doing a case, just use shutterply, 18mm. might be heavier than this case, but will go a lot quicker and is similiarly priced
 
Ok So whats its now...day two of my build. Its coming along quite well. No real Hiccups. Last night i was contemplating on placement on radiators. This is the best for what is needed. Double for CPU and Triple for GPU.

Each will have its own radiator that way temps will stays ambient as possible. Alot still to do. But I will update as i go.

Ive gotta adjust my custom made reservoir to fit an extra port for an inlet from the 2nd radiator. I might use two pumps i might use just the one to pump both. Should be fine i think.

Ive also gotta see how im gonna mount HDD's im thinking of one side wall with studs into the drives which will be mounted on only one side. That way allowing better cooling around the drives. Will get there though. Also where to put the pump. Above or below the Hdd's

I was going to have my motherboard mounted upside down for better cooling. But to how my desk is... Better to have it on my right side. The case will be 100% cool inside with regards to my false floors to house cables. Which will all be extended. And only cables will be shown will be short lengths and then run under the motherboard and rest of the case. :)
 
Wheels on...and the extra batten across for the triple radiator so there is airflow underneath.

_MG_1061.jpg


Case support and the next platform for the Double radiator mounting . Also to seperate the power supply from the rest of the case.

_MG_1053.jpg

_MG_1066.jpg


Power mounting holes drawn up...Cost this cool template from my Stacker...which is for the stacker to mount the power supply at the top or bottom. So kept it coz as you can see it has come in handy.

_MG_1063.jpg


Triple radiator holes drawn up

_MG_1062.jpg


Some tracing paper and a pencil. Use this for the above aswell.

_MG_1076.jpg

_MG_1081.jpg


Holes are cut...Will need to power sand them to get them nice and round. Due to the jigsaw biting nicely. Did take it slow but very hard to keep it on the same line. But never the less....grills will be covering.

_MG_1088.jpg

_MG_1094.jpg
 
_MG_1098.jpg


The Radiator mounted to just check holes and such. Will refine the inlet and outlet holes for the radiator...^^

Long shot of both radiators semi complete for mounting. Will be purchasing new 3x 120mm quiet fans for the bottom. Coolermaster are the best.

_MG_1099.jpg

_MG_1100.jpg
 
Wow this is insane! And some good craftsmanship! I'm excited to see the final product :D
 
Why are you mounting the triple radiator OUTSIDE the case?

But is looking really really awesome :)

Thinking of also doing something similar, ALOT smaller though like a small box :p

Inspiration man (Y)

Yea its suppose to be outside...but you wont really see it anyway. Coz its underneath. Its will pick up cooler air coz its at the bottom. Two will suck one will suck out. Two closest to the front will suck in last one to the back of case will suck out.
 
Yea its suppose to be outside...but you wont really see it anyway. Coz its underneath. Its will pick up cooler air coz its at the bottom. Two will suck one will suck out. Two closest to the front will suck in last one to the back of case will suck out.

Im not sure i follow your comment?

You going to have fans on the same rad blowing different ways?
Surely they all meant to blow in the same direction?
 
Na doesnt have to..... But yea most probably will have them all sucking into the case.
 
if you put all on them on sucking mode, have a think about an open cell poli-urethane foam like poret-open cell foam as a dust trap than you can take out and wash

(at the air intake)
 
I dont think im gonna be doing as crazie stuff like you guys mentioned....the pine grain is cool but some places i need to fill with woodfiller. So it will look odd.

Would rather paint it.

Anyway an update..

Studs are in for the motherboard...

_MG_1101.jpg


Triple/Double 120mm fan holes are sanded and cleaned up.

_MG_1107.jpg
_MG_1108.jpg


Powersupply hole cut and sanded

_MG_1109.jpg


Cable cover and hdd cover

_MG_1143.jpg
_MG_1134.jpg


_MG_1145.jpg


I/O, sound/Gfx card and 120mm rear exhaust fan cut

_MG_1110.jpg
_MG_1112.jpg


_MG_1123.jpg
 
Last edited:
Looking awesome! Do you have any ideas for final finishes on the outside?
 
Matt black that will still show the wood grain...um front will have a new designed kinda Bezel. Like my old stackers laser cut one. 120mm fan in front for the hdds stack.

Um some LED lighting maybe? will get my mate to hook me up with Blue LEDs
 
hey bud u the first guy to do a complete overhal wit a mod this looks awsome already keep us posted plz

i just started my itx build hopfully it will turn out as good as this
 
Thanks Mia....ive been meaning to make a scratch build. Just the interest and time. My stacker was all good. But somethings just were getting irritating with the mods i did to it.

So why not do a scratch build. Things are almost there. Couple more things to think of and asses.

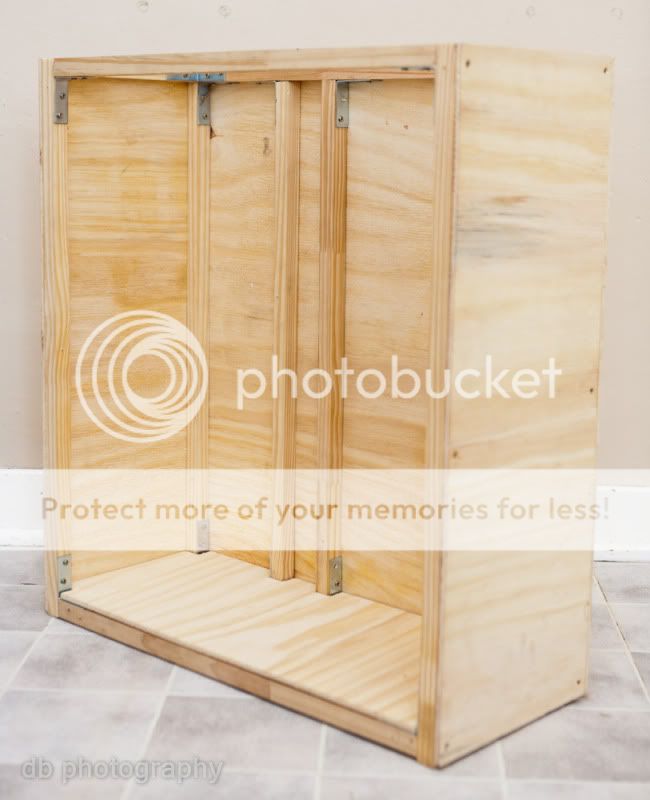
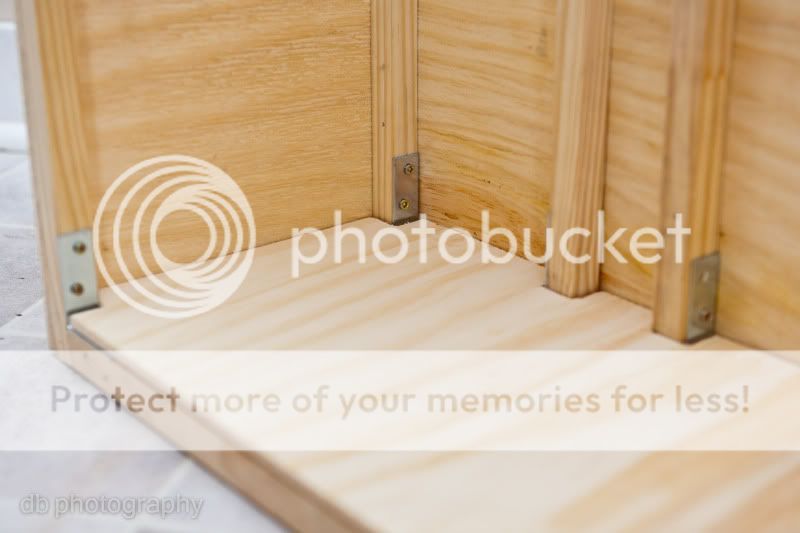
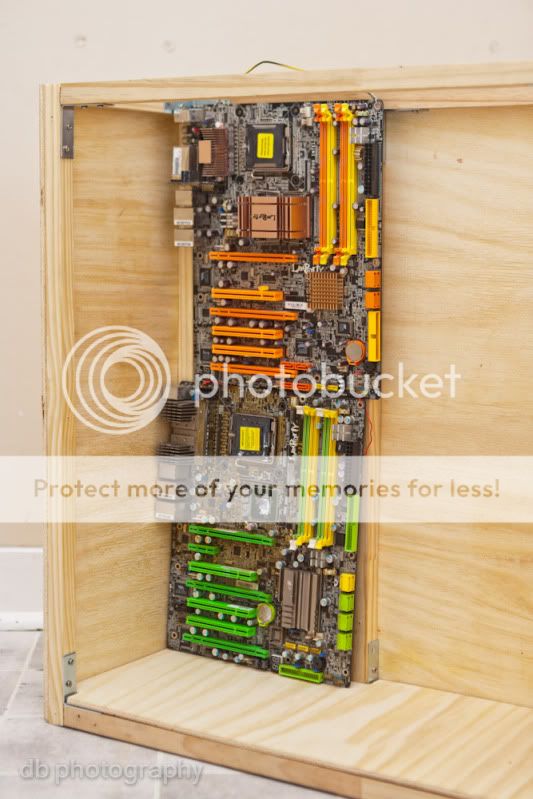
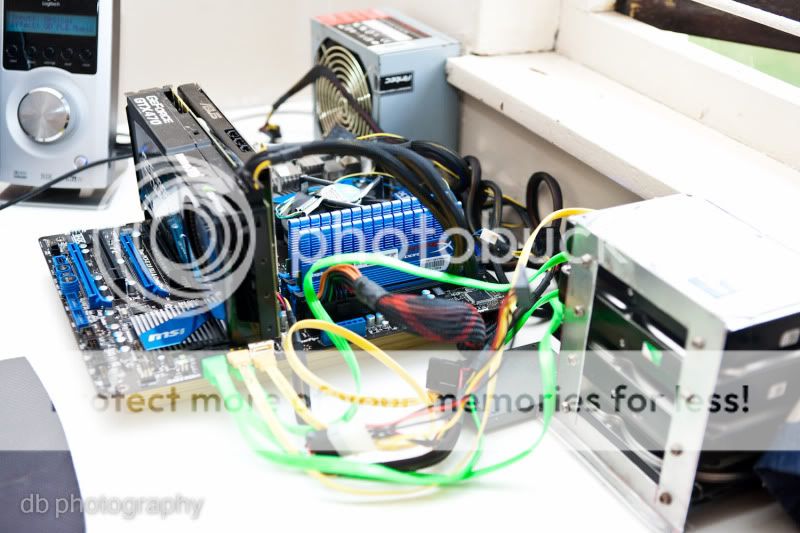
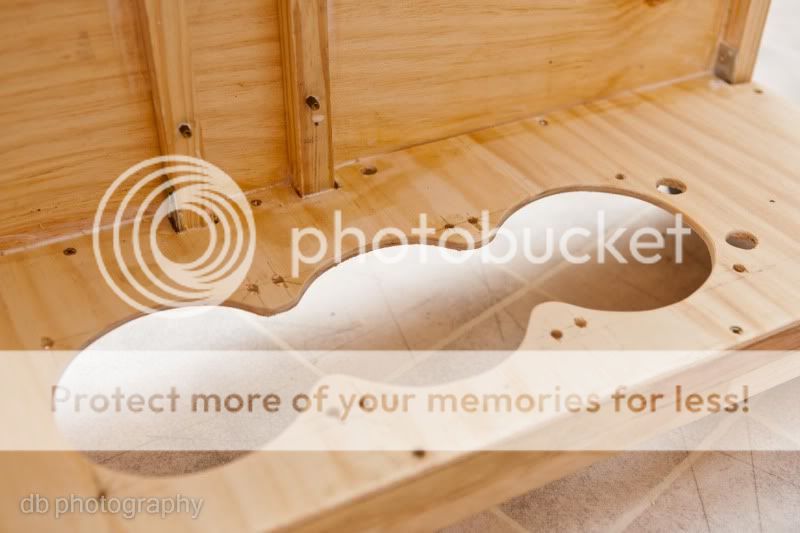
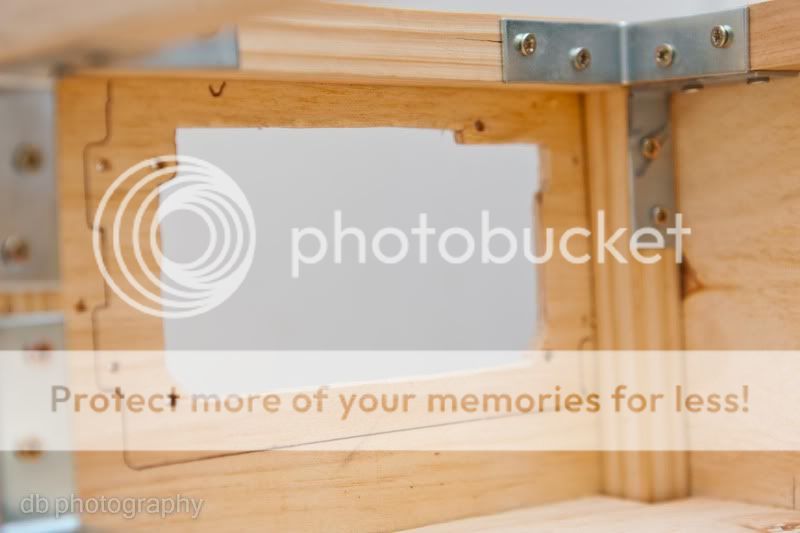
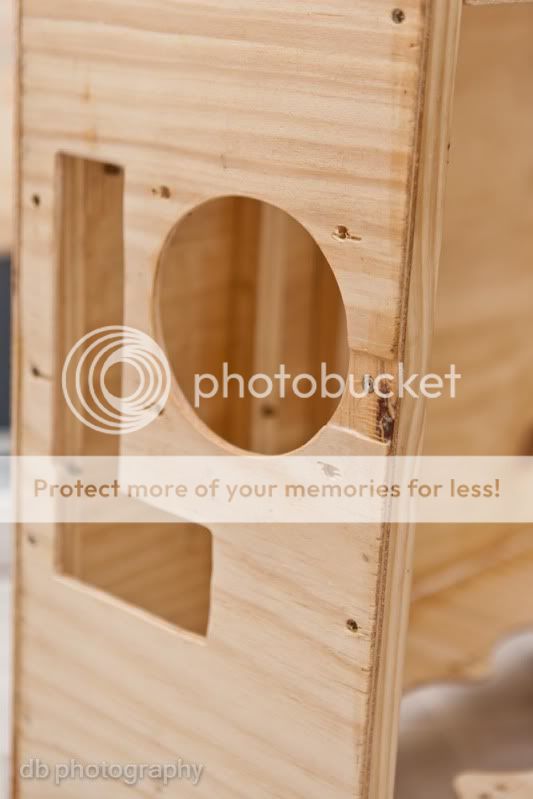
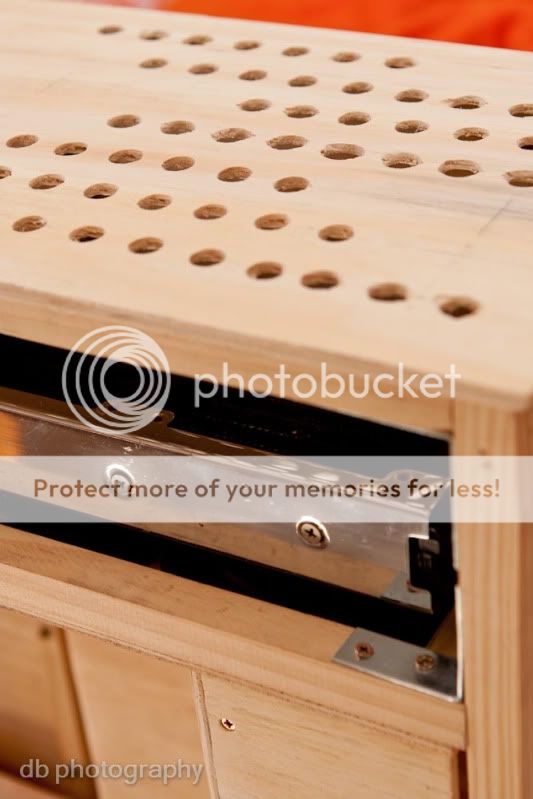
Like that motherboard/hdd/ cable cover its need to be able to come out with the radiators still in the case. But at the moment ive got a small problem with the nuts sticking out and i cant slide it out. So i could make indents into the Cover tray and slide it out one way to solve that. But will it still look awesome as it is.

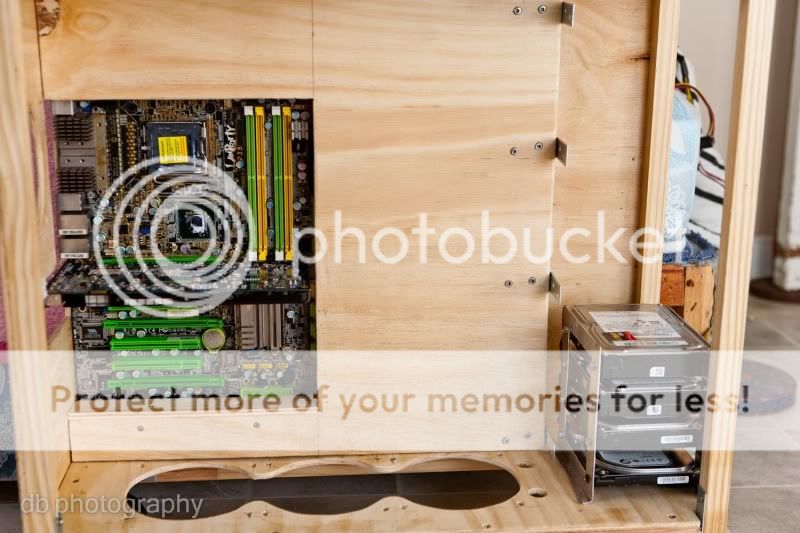
:) Another thing ive gotta make is GFX card and sound card mount plates coz i need them to be flat then i mount them against the rear panel. Will get my mates dremel for that. Ive got some aluminum in my cupboard. I dont want to bend the original mounting plates for a normal case. That would be silly.
:) Front panel Ive gotta make a extended panel with space to mount a fan behind so it allows airflow through the back of the cover and to the hdd's.
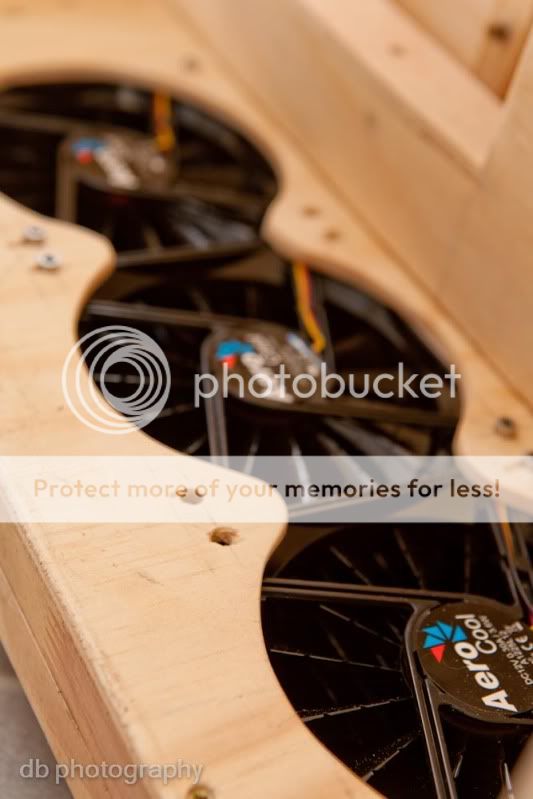
:) All fans will run at 7v or if i can im thinking of getting a whole bunch of fan controller knobs and those will go onto the front panel. So all fans are controlled separately. I was thinking of one of those aerocool controllers. But i need like 7 controllers.
:) Small platform for the pump back of cover above the hdd's

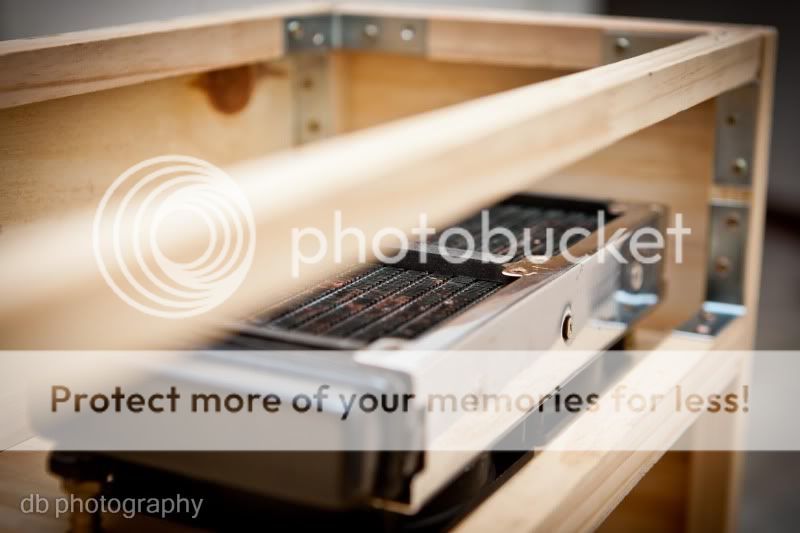
:) I wanted to have to separate inline for both blocks so they both get the same ambient temp'd water. But no use. Once the whole loop goes back into the res the temps will equalize. So loop will be as follows. Pump -> double radiator -> CPU block -> GPU -> Triple radiator then to the res.

Paint as you all know.

Ok so just two things to add to the update.

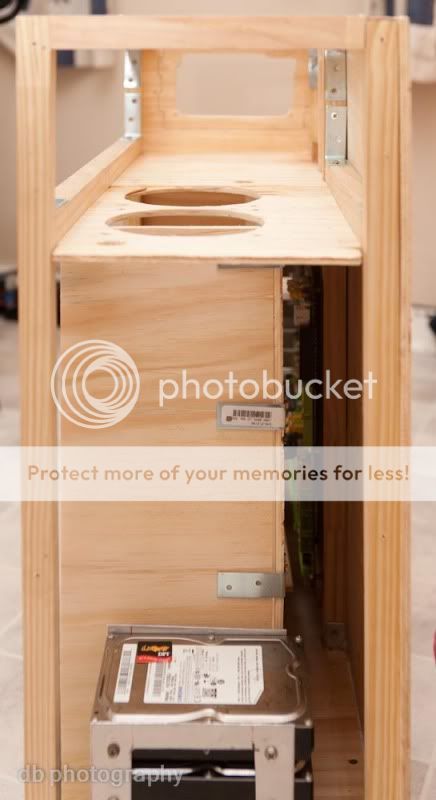
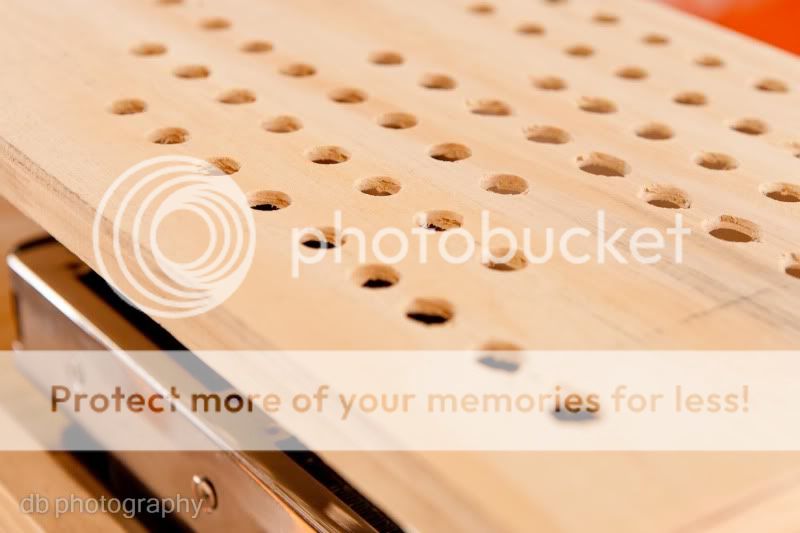
Top panel vent holes.

_MG_1158.jpg


_MG_1159.jpg


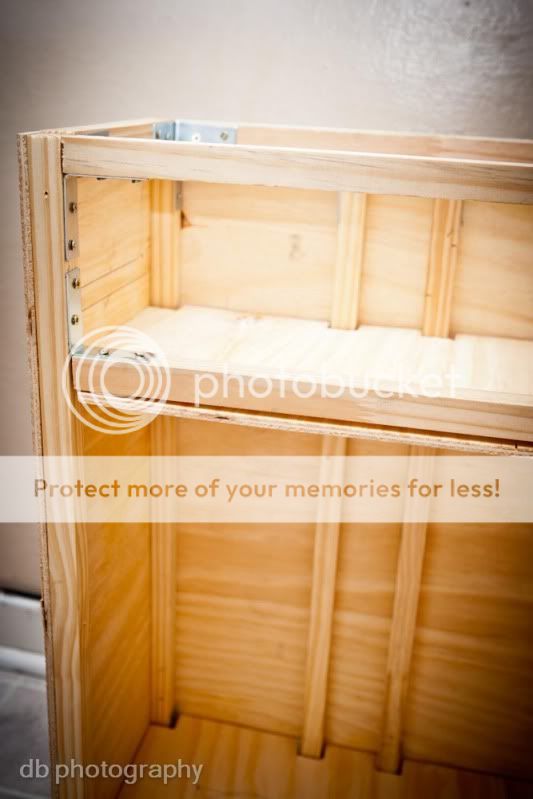
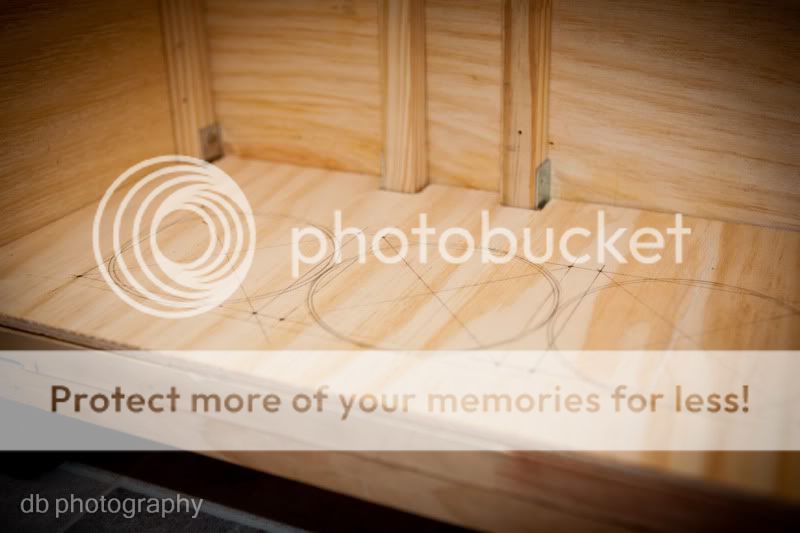
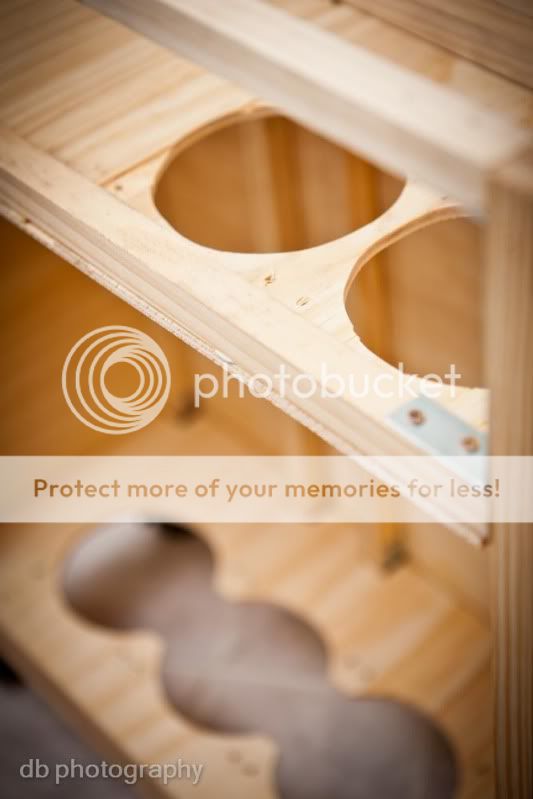
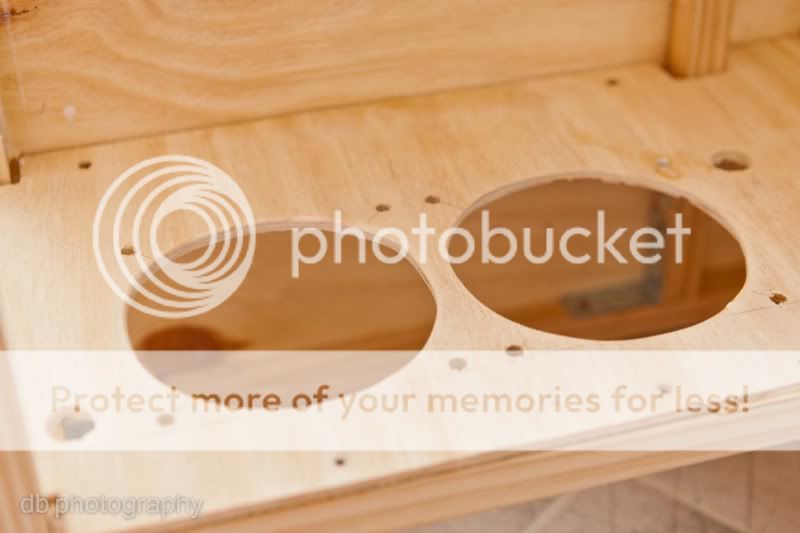
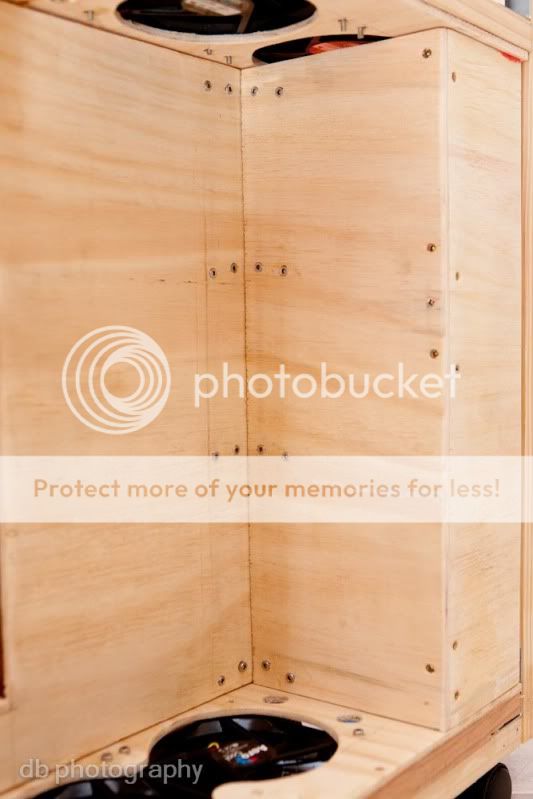
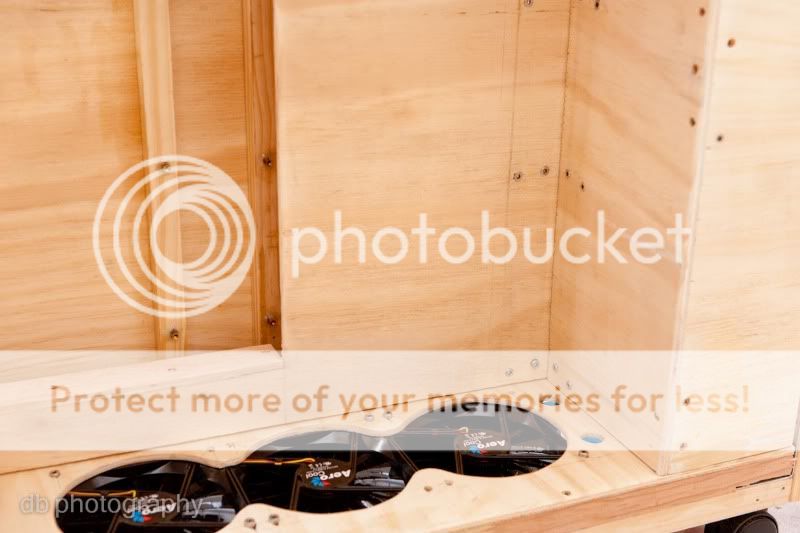
Then the finished cover for where the hdd's will sit right in the front.

_MG_1182.jpg


_MG_1168.jpg


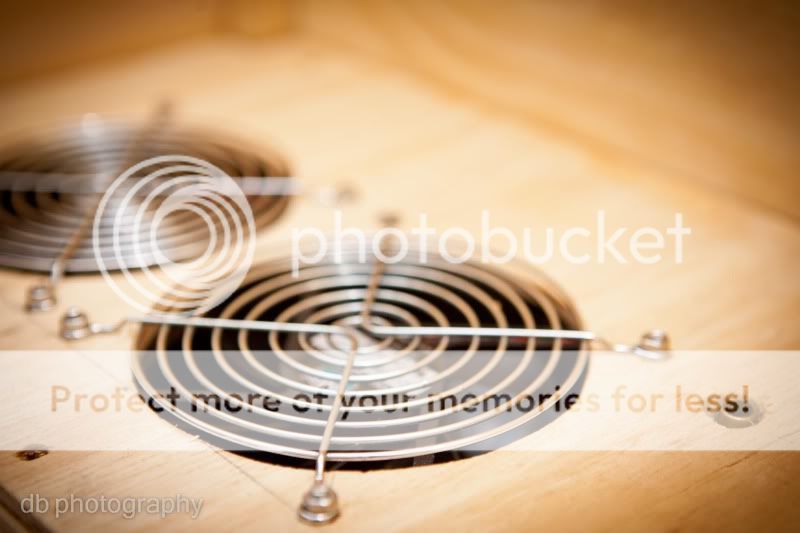
Lastly i bought 3 new Aerocool 120mm fans for the triple. Will buy those grills like im gonna have for the top double radiator.
 
ey bud what pump are you using? I'm just wondering how much head pressure it has and how restrictive your cpu/gpu waterblocks are :)
 
Tbh Ram...ive got no clue....ive got 3 of them, Two smaller versions and the big one which ive been using for around 3 years. Never let me down.
 
How many pumps are you going to use? I'm going to use 2 pumps in series with my project. My loop will be more restrictive though...
 

Users who are viewing this thread

Latest posts

Back
Top Bottom