


- Joined
- Apr 26, 2010
- Messages
- 31,244
- Reaction score
- 13,860
- Points
- 26,065
- Age
- 34
- Location
- Norkem Park, Gauteng
I need a bench table to use at rAge, but there isn't a chance in hell I'm spending R 2,000+ for one so I decided to make something suitable while keeping the BOM under R 100.
The name's meaning is twofold - firstly, all it really takes is a CAN-do attitude, and secondly it's an abbreviation for Cheap And Nasty. If anyone's expecting milled aluminium with micrometer precision, you're in the wrong thread.
The materials used are as follows:
A piece of chipboard approximately 40x40cm
Some rubber matting
Nuts and bolts
Washers
Pricing was as follows
Chipboard offcut from Builders Warehouse - 43x37cm - R 10
0.5m rubber matting - R 44
10x 5x100mm bolts with nuts - R 25
8x 25mm washers - R 14.40
100 grit sandpaper - R 5.50
Total - R 98.90
Other tools/materials used were
Drill
5mm drill bit
30mm drill bit (spade type)
Contact adhesive
Let's get onto it, shall we...
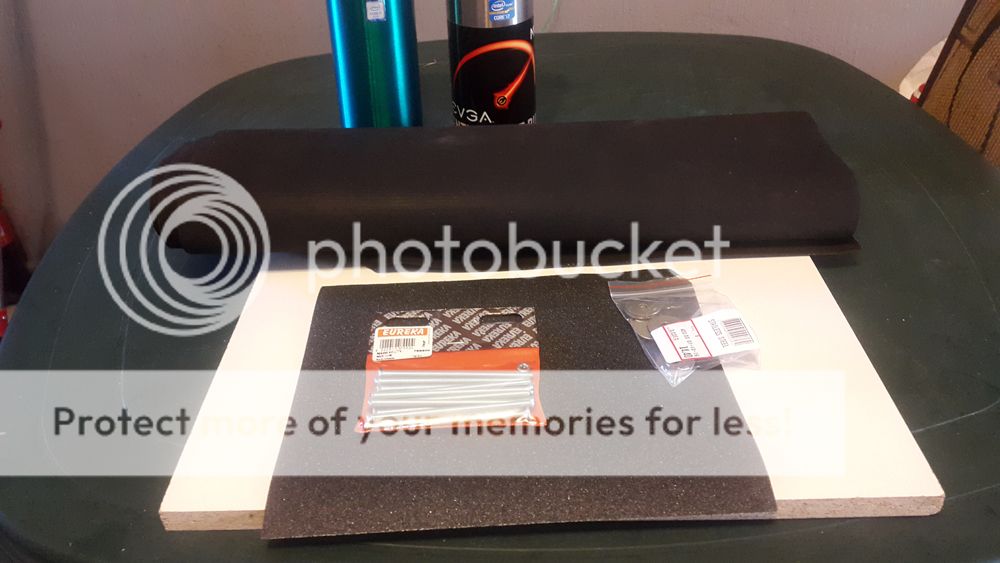
Step 0 - The items required.

Step 1 - I started by measuring out where I would be drilling the holes, 4cm from each side. This is repeated for all four holes.
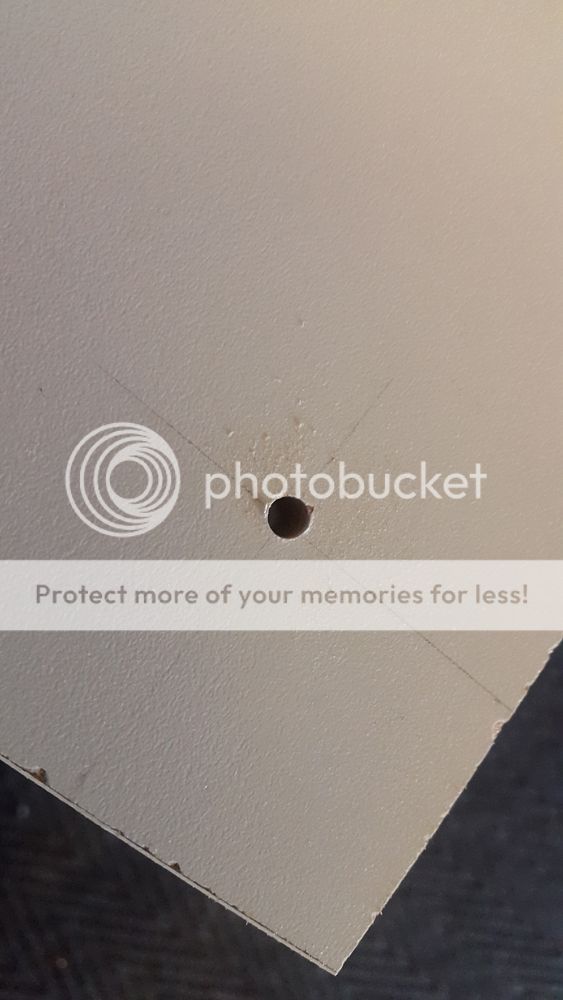
Step 2 - 5mm holes drilled near each corner.
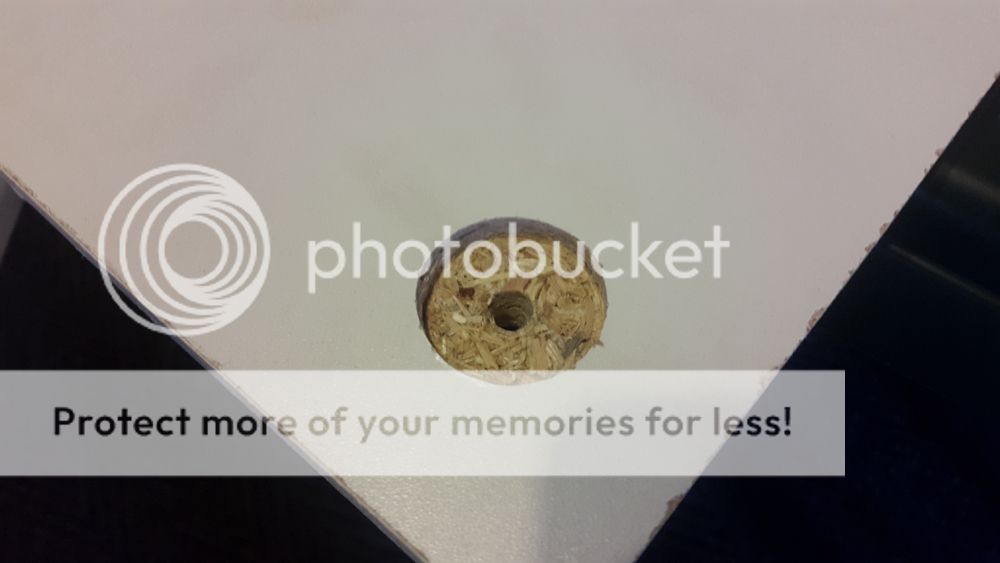
Step 3 - The hole is widened to 30mm down to a depth of 10mm. This serves two purposes - it allows the legs to extend more than the 86mm required to fit a PSU underneath, and it prevents the bolt from sticking out above the surface.
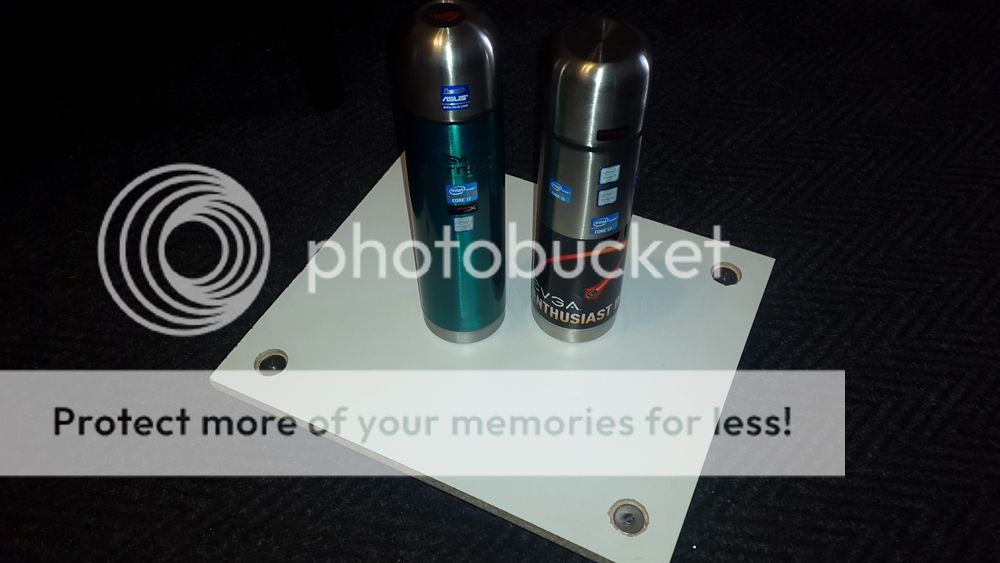
Step 4a - "Load testing."
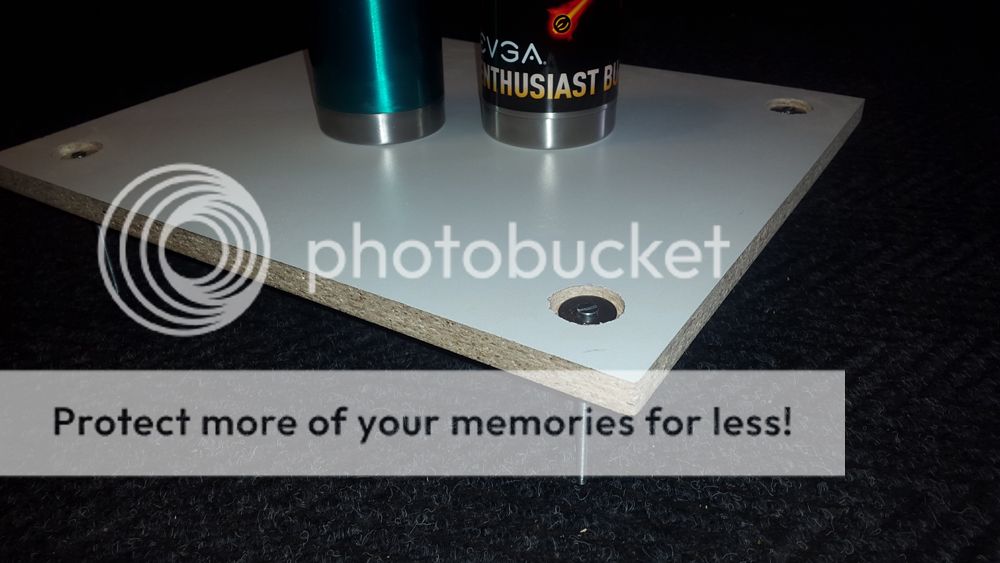
Step 4b - a closer look at the design. From top to bottom it's bolt washer wood washer nut.

Step 5a - The bolts get removed temporarily and the surface gets sanded to a rough finish to allow the adhesive to bite.

Step 5b - Another view, you can see the scratches on the surface. It feels a lot rougher than I could get it to look on camera. Be sure to wipe it down with a damp cloth to remove all the dust, and allow it to dry thoroughly before proceeding. Do the same for the rubber, I didn't take pictures as it got way too messy.
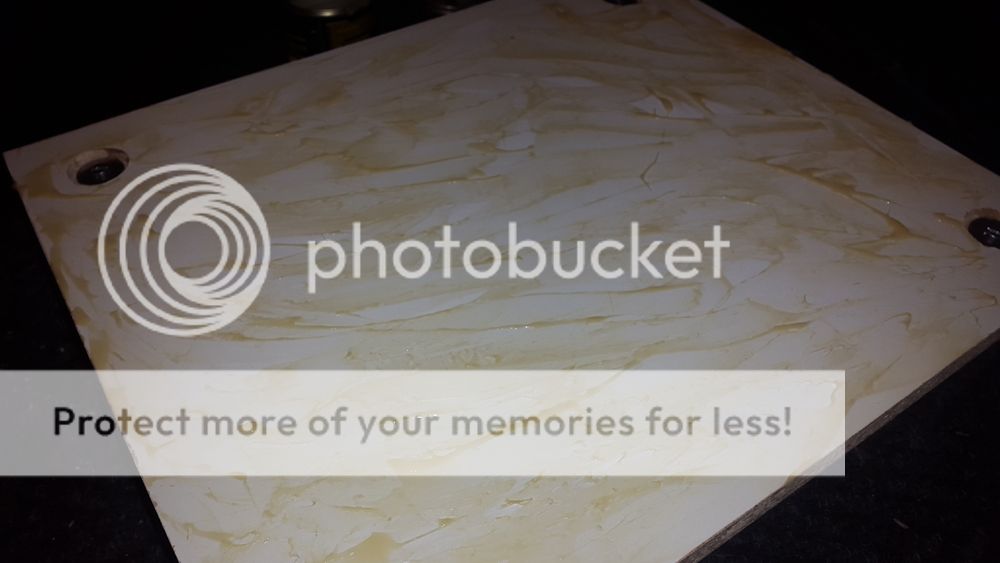
Step 6 - First put the bolts back in place, then smear that contact adhesive all over the wood.
Step 7 - Do the same for the rubber matting

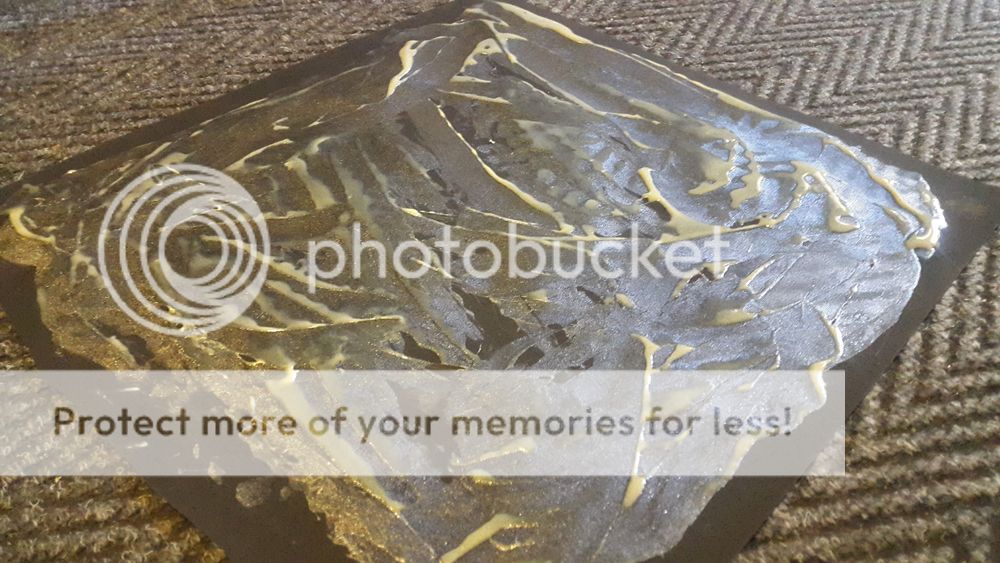
Step 8 - Wait for a few minutes for the adhesive to get nice and sticky, then invert the bench table onto the rubber mat. Apply a lot of pressure for a few minutes.
Step 9 - I forgot to take a picture but the first layer of rubber has already been trimmed, and this is the second layer being glued on top of it.

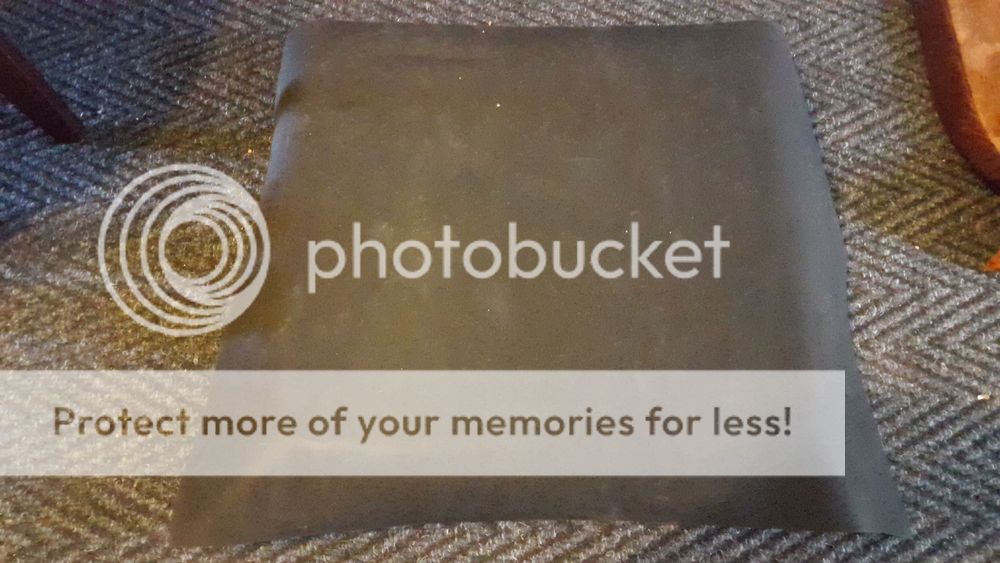
Step 10 - Once dried, the second layer of rubber gets cut to size. I finished it off with a strip of duct tape along each end to look neater as well as prevent the edges from peeling. I have also added another nut to the bottom of each bolt to allow slight adjustments to the length of each leg. If it wobbles, just shorten the long leg/lengthen the short leg slightly.
It's now ready for some LN2 action
The name's meaning is twofold - firstly, all it really takes is a CAN-do attitude, and secondly it's an abbreviation for Cheap And Nasty. If anyone's expecting milled aluminium with micrometer precision, you're in the wrong thread.
The materials used are as follows:
A piece of chipboard approximately 40x40cm
Some rubber matting
Nuts and bolts
Washers
Pricing was as follows
Chipboard offcut from Builders Warehouse - 43x37cm - R 10
0.5m rubber matting - R 44
10x 5x100mm bolts with nuts - R 25
8x 25mm washers - R 14.40
100 grit sandpaper - R 5.50
Total - R 98.90
Other tools/materials used were
Drill
5mm drill bit
30mm drill bit (spade type)
Contact adhesive
Let's get onto it, shall we...
Step 0 - The items required.
Step 1 - I started by measuring out where I would be drilling the holes, 4cm from each side. This is repeated for all four holes.
Step 2 - 5mm holes drilled near each corner.
Step 3 - The hole is widened to 30mm down to a depth of 10mm. This serves two purposes - it allows the legs to extend more than the 86mm required to fit a PSU underneath, and it prevents the bolt from sticking out above the surface.
Step 4a - "Load testing."
Step 4b - a closer look at the design. From top to bottom it's bolt washer wood washer nut.
Step 5a - The bolts get removed temporarily and the surface gets sanded to a rough finish to allow the adhesive to bite.
Step 5b - Another view, you can see the scratches on the surface. It feels a lot rougher than I could get it to look on camera. Be sure to wipe it down with a damp cloth to remove all the dust, and allow it to dry thoroughly before proceeding. Do the same for the rubber, I didn't take pictures as it got way too messy.
Step 6 - First put the bolts back in place, then smear that contact adhesive all over the wood.
Step 7 - Do the same for the rubber matting
Step 8 - Wait for a few minutes for the adhesive to get nice and sticky, then invert the bench table onto the rubber mat. Apply a lot of pressure for a few minutes.
Step 9 - I forgot to take a picture but the first layer of rubber has already been trimmed, and this is the second layer being glued on top of it.
Step 10 - Once dried, the second layer of rubber gets cut to size. I finished it off with a strip of duct tape along each end to look neater as well as prevent the edges from peeling. I have also added another nut to the bottom of each bolt to allow slight adjustments to the length of each leg. If it wobbles, just shorten the long leg/lengthen the short leg slightly.
It's now ready for some LN2 action
Last edited:
