What's new
Carbonite

South Africa's Top Online Tech Classifieds!
Register a free account today to become a member! (No Under 18's)
Home of C.U.D.

CM690ii Advanced Paint Job

BamBam

Junior Member
Rating - 0%
0   0   0
Joined
Jul 8, 2014
Messages
109
Reaction score
0
Points
765
Age
32
Location
Sasolburg
Hi Guys,

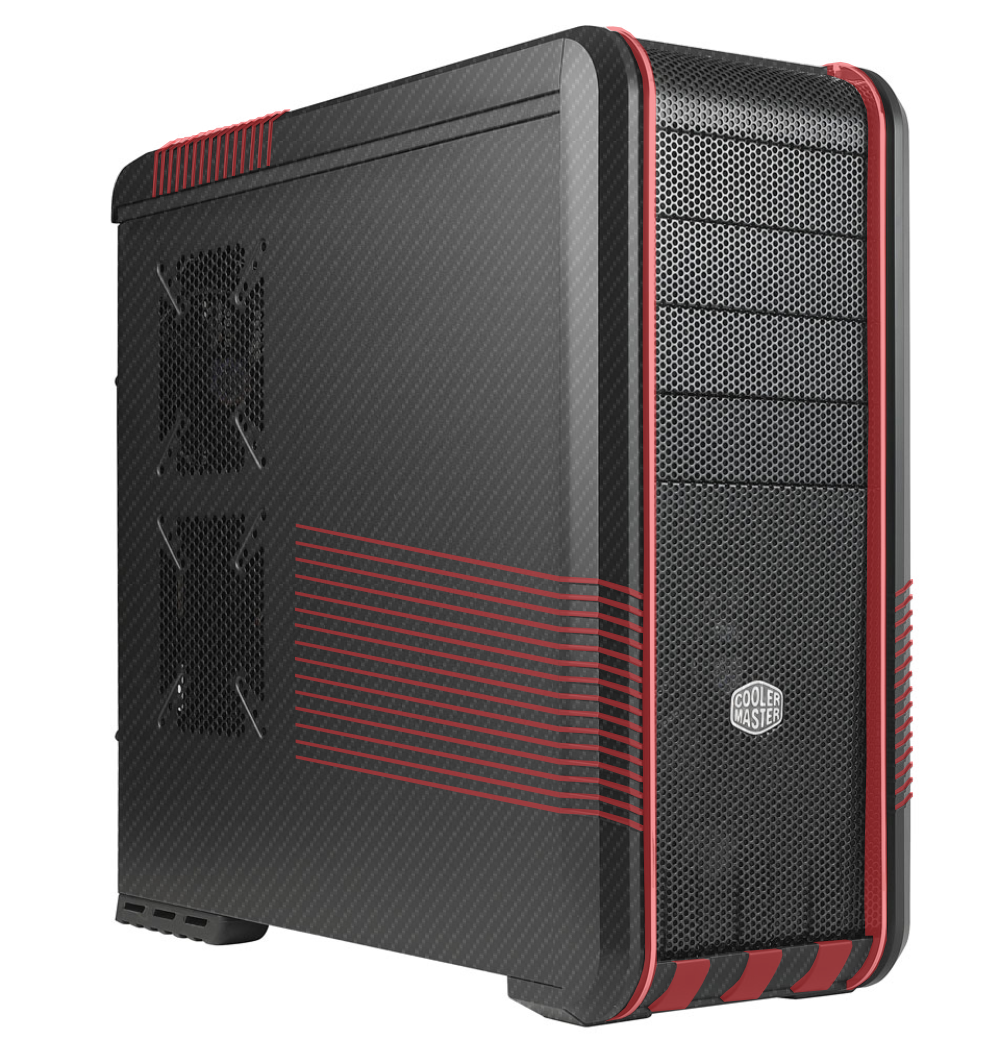
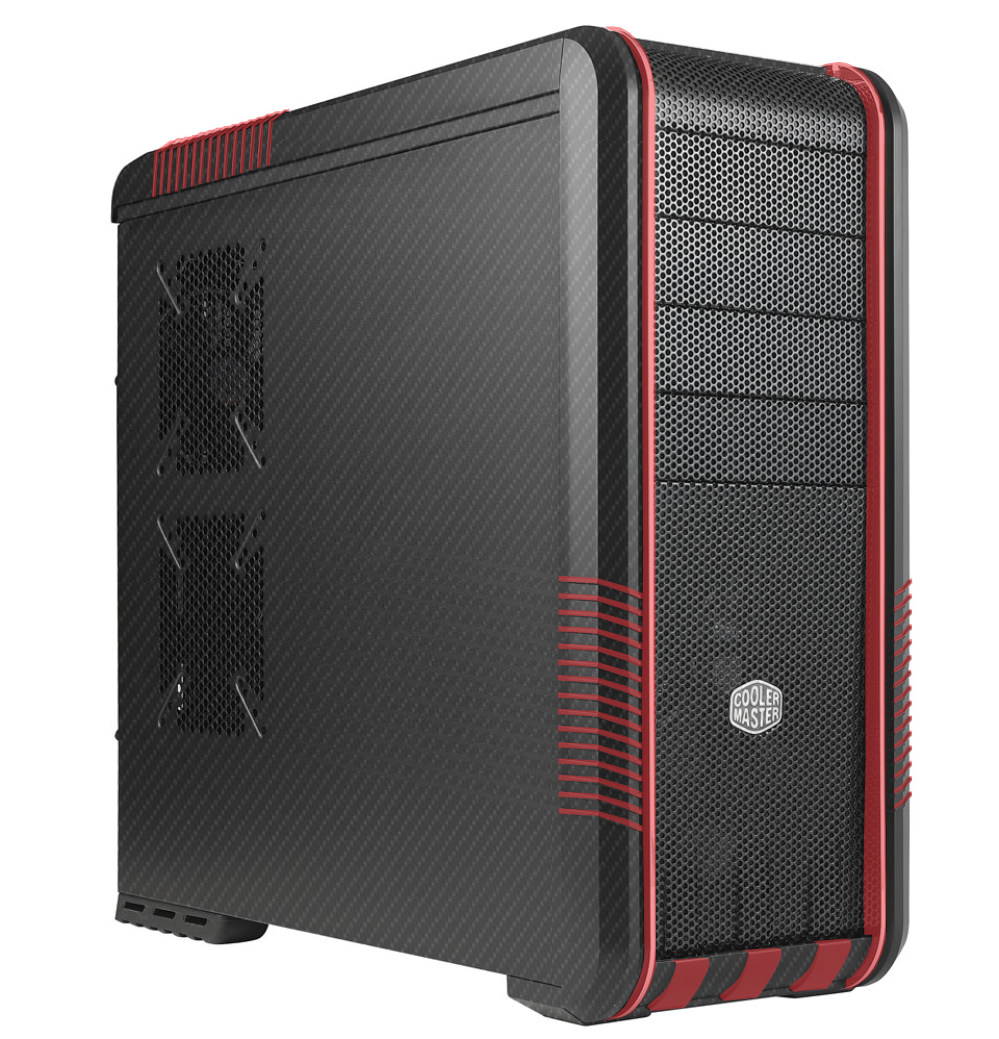
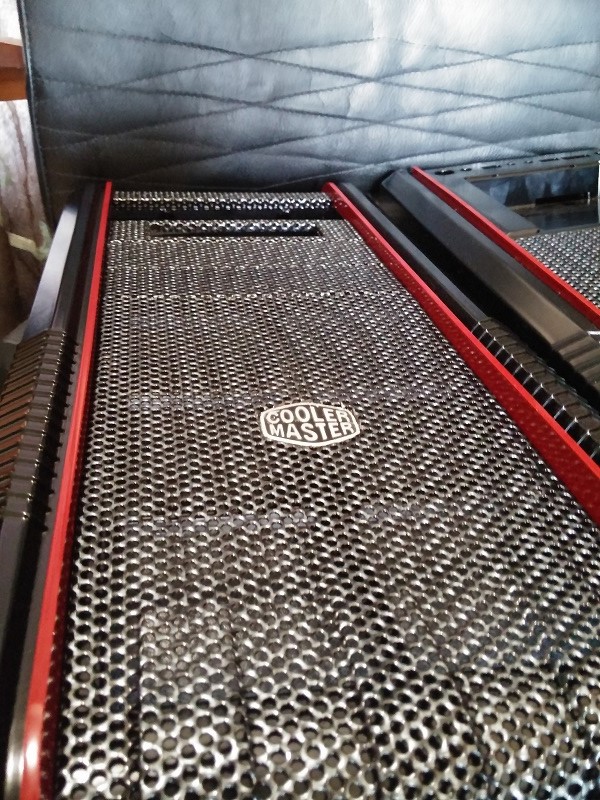
I would like to share my CM690ii case mod with you. This was my older brothers rig and I recently bought it from him :).

To start of the project log here is a couple of photos from taking the chassis apart to primer.

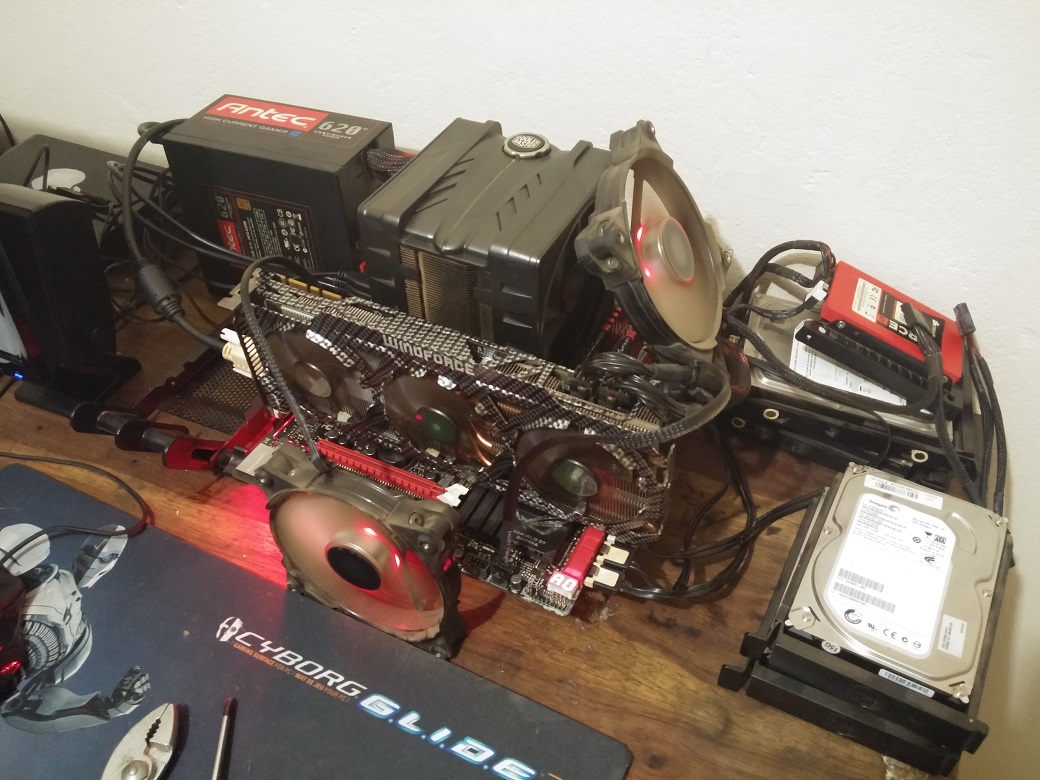
Don't have an alternative chassis.
vqXgNvZ.jpg


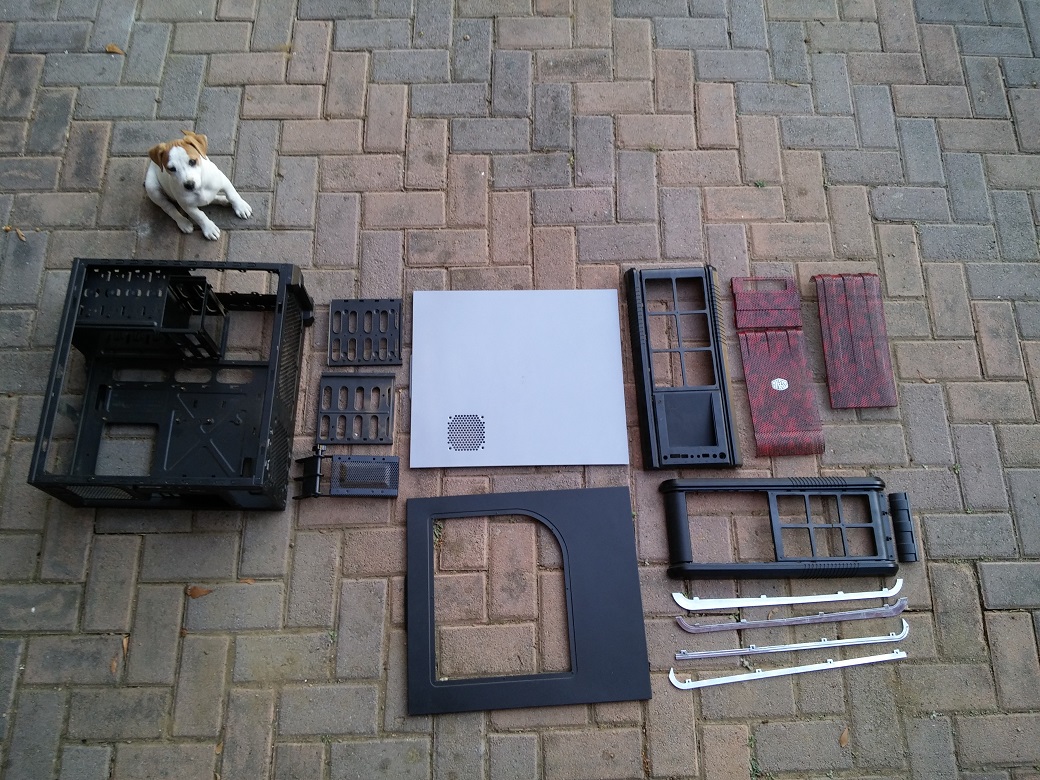
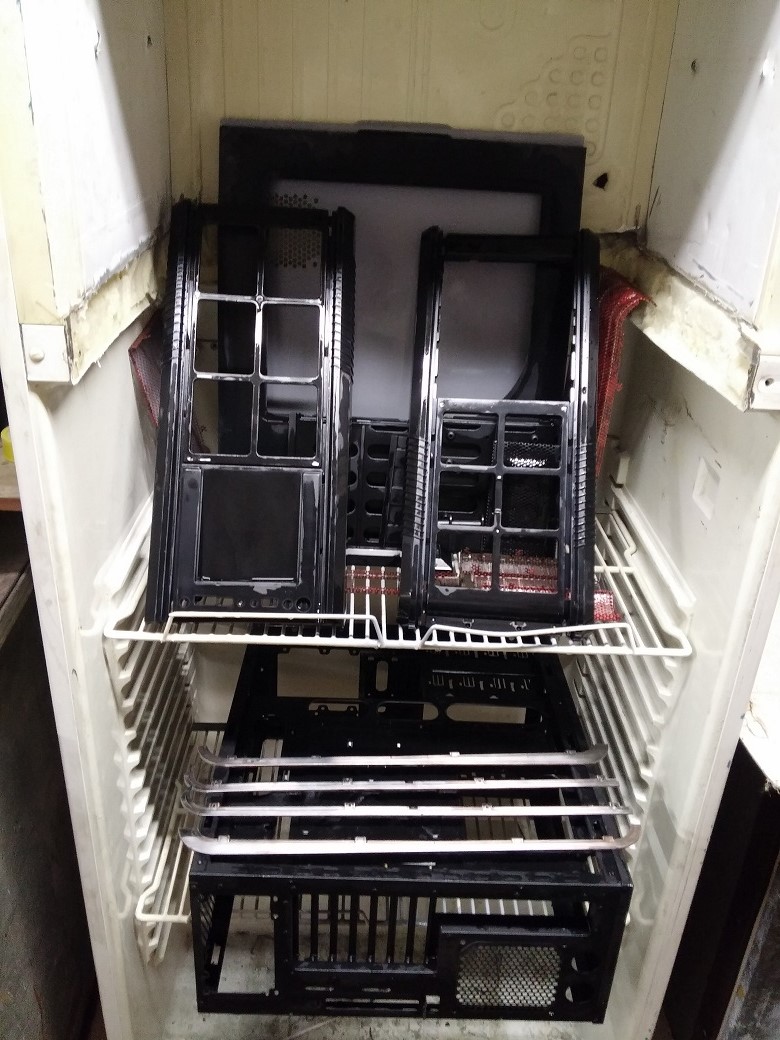
All the panels and accessories with a puppy for comparison
X0U1udU.jpg


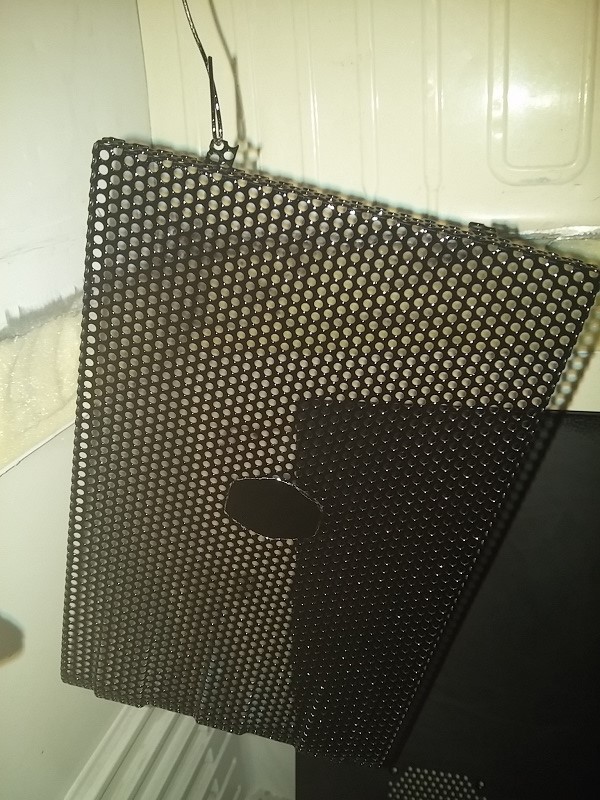
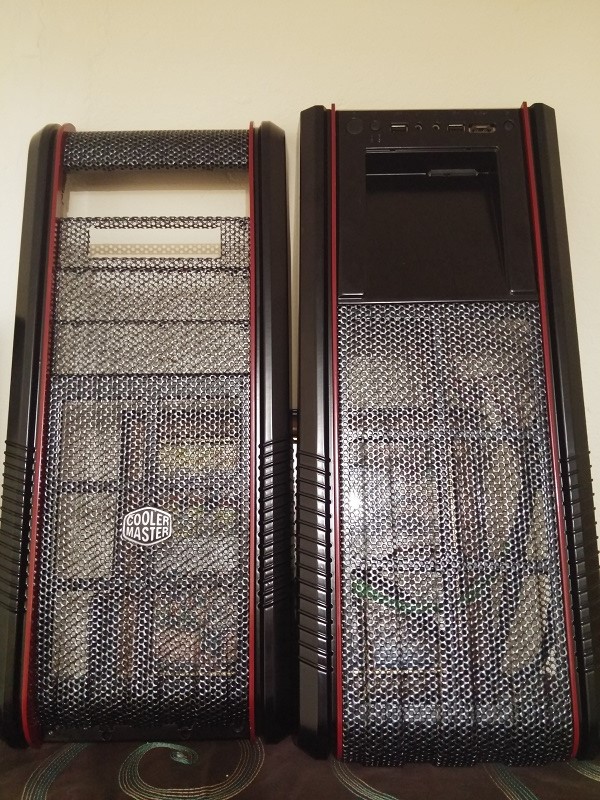
A DIY hole he made for I don't know what...
zkrerff.jpg


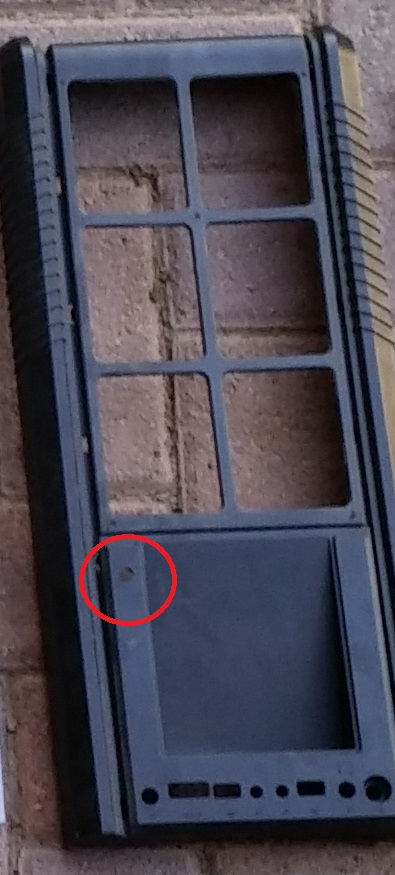
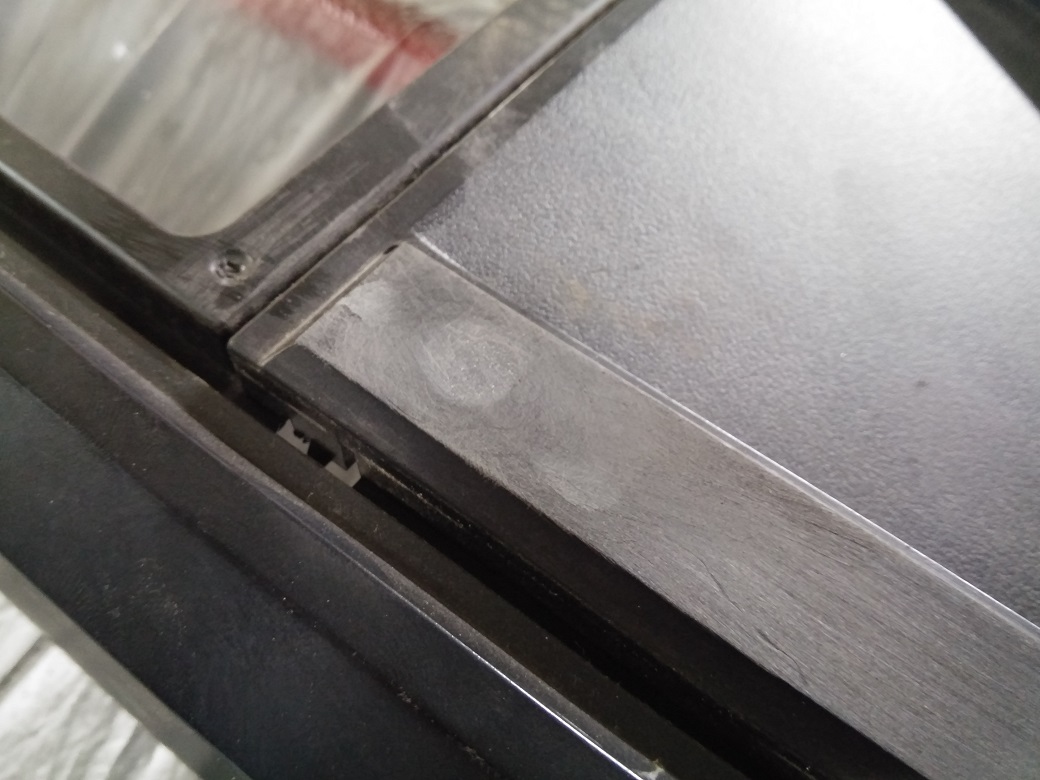
Filed up the hole with Q-Bond and sanded it down before primer
Egi4ZEQ.jpg


Wishy washy clean clean
g6uRTu4.jpg


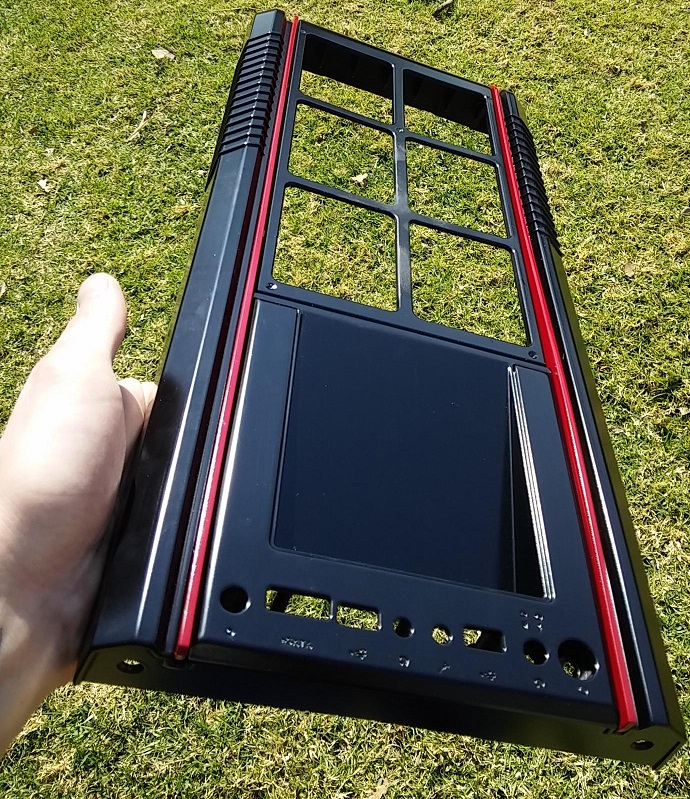
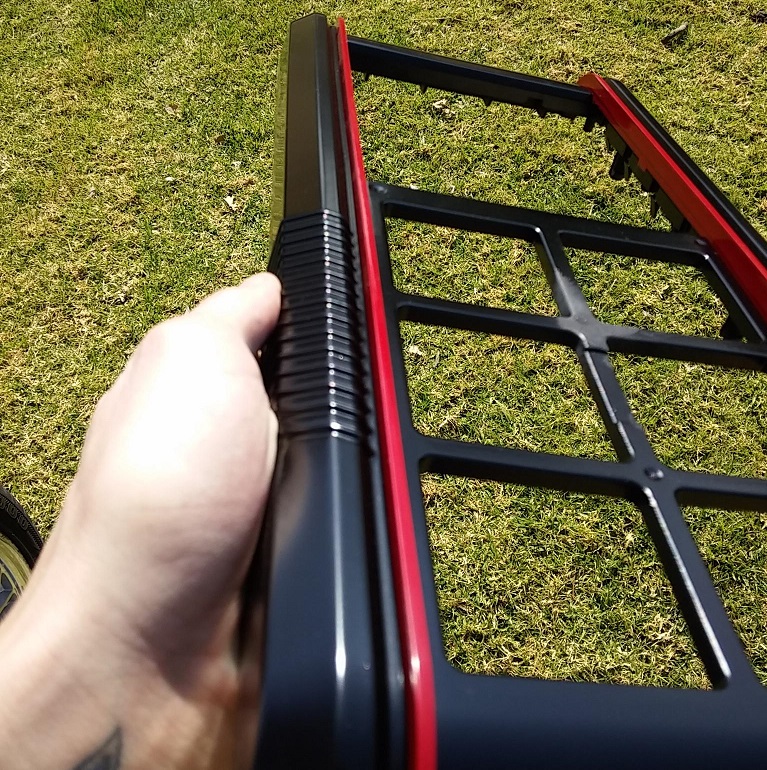
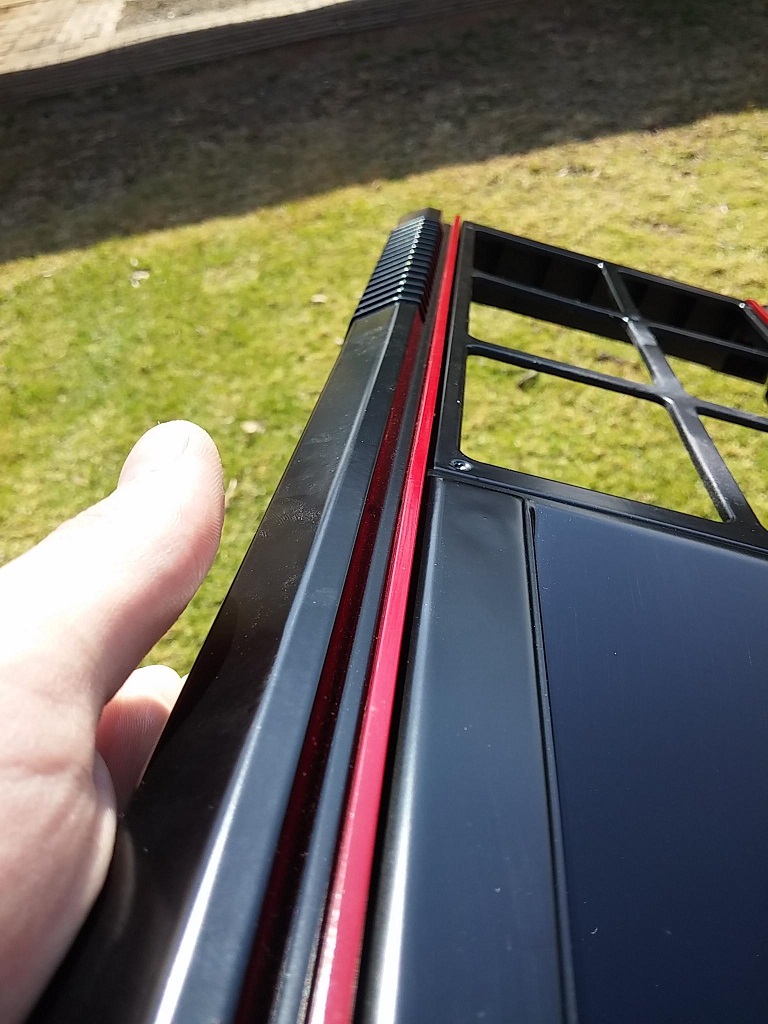
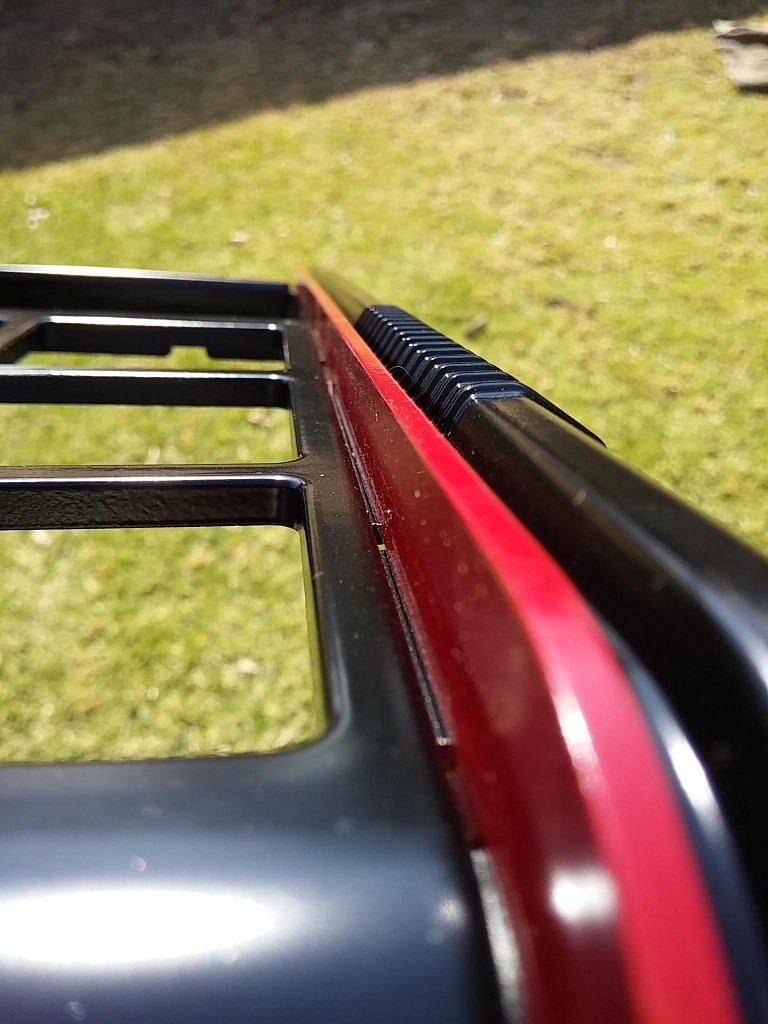
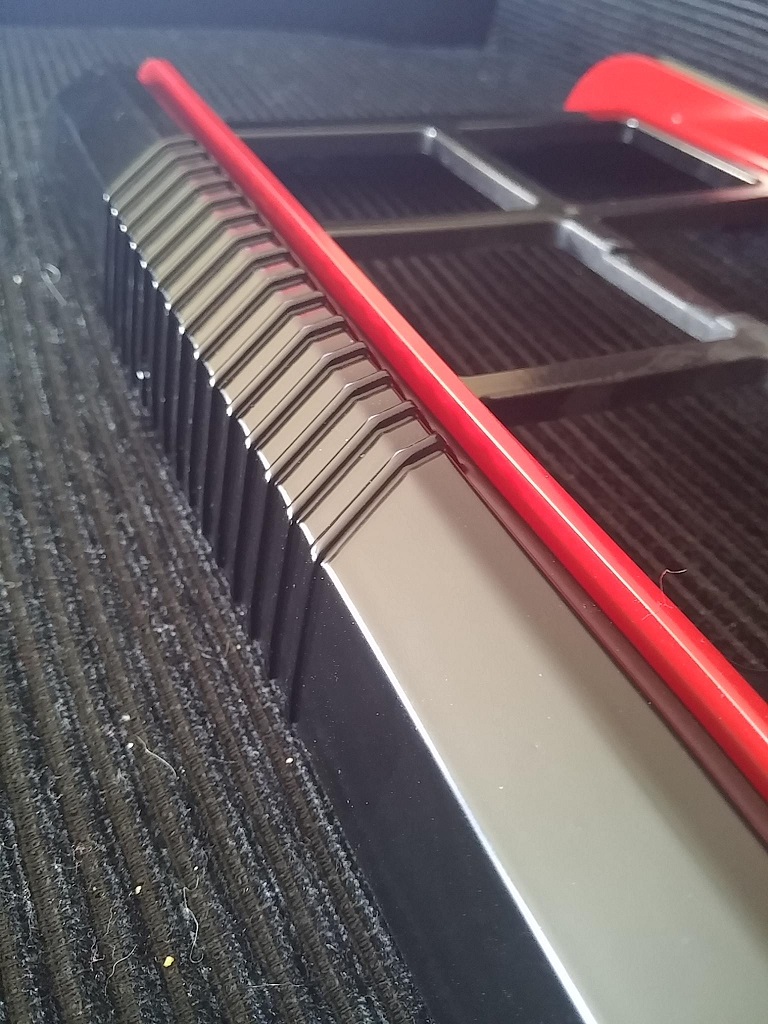
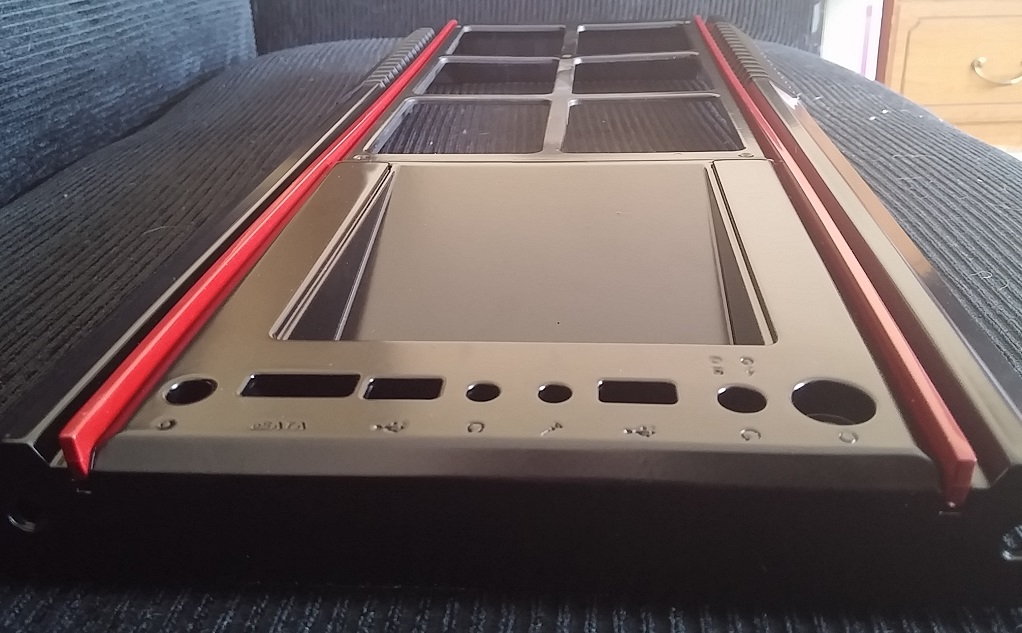
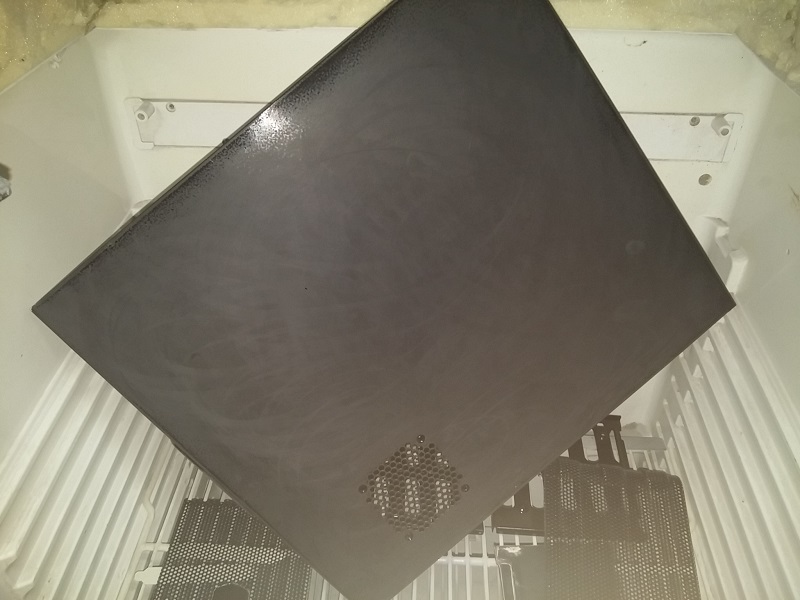
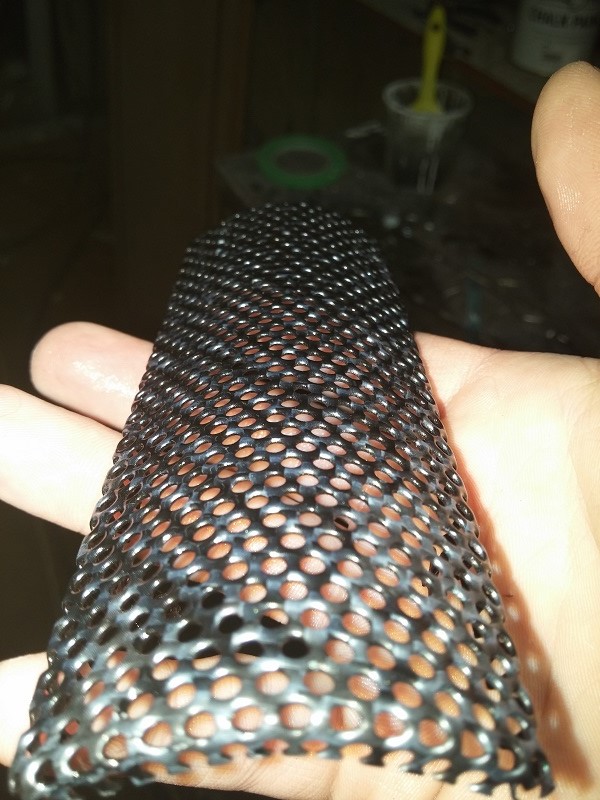
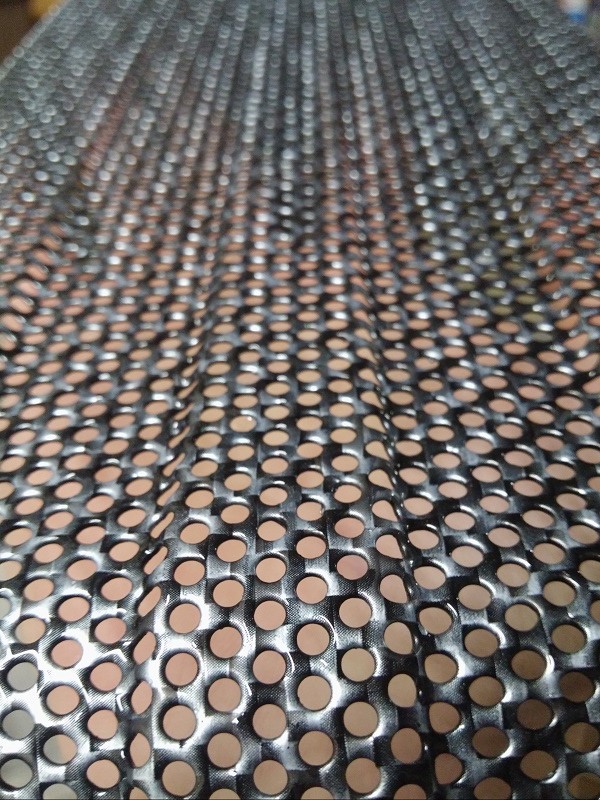
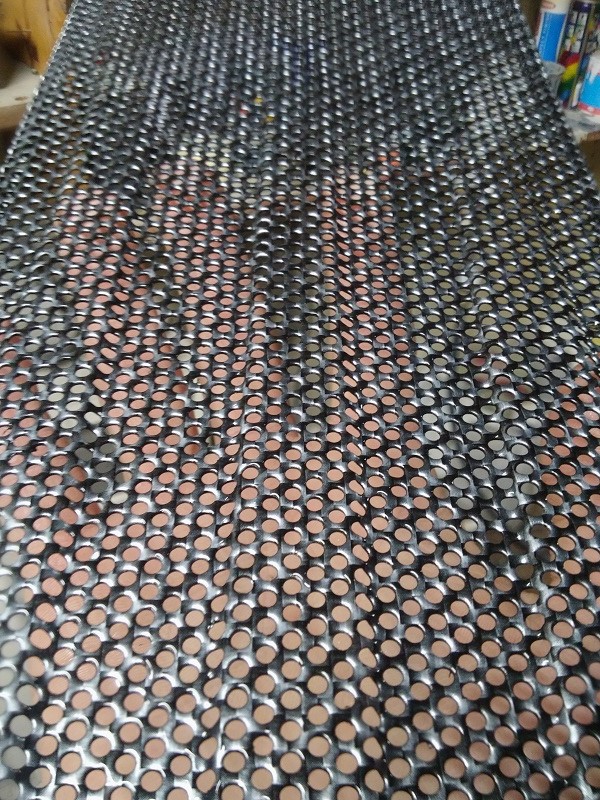
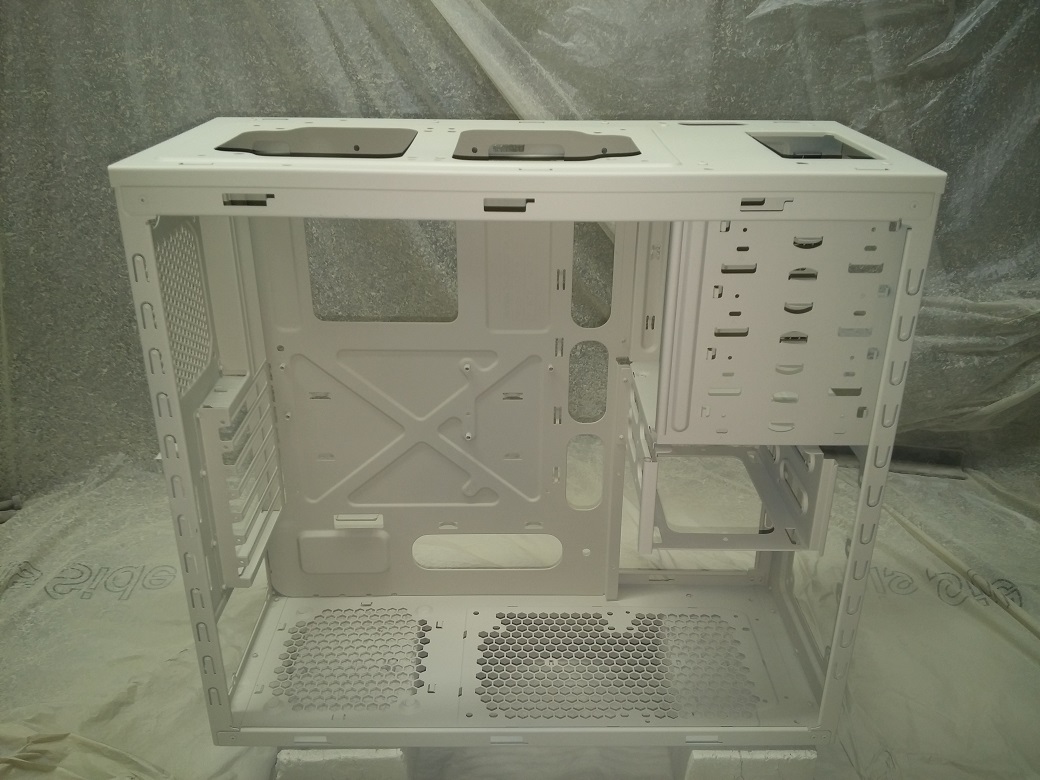
Plascon etch primer on the chassis skeleton
1oFXF0t.jpg


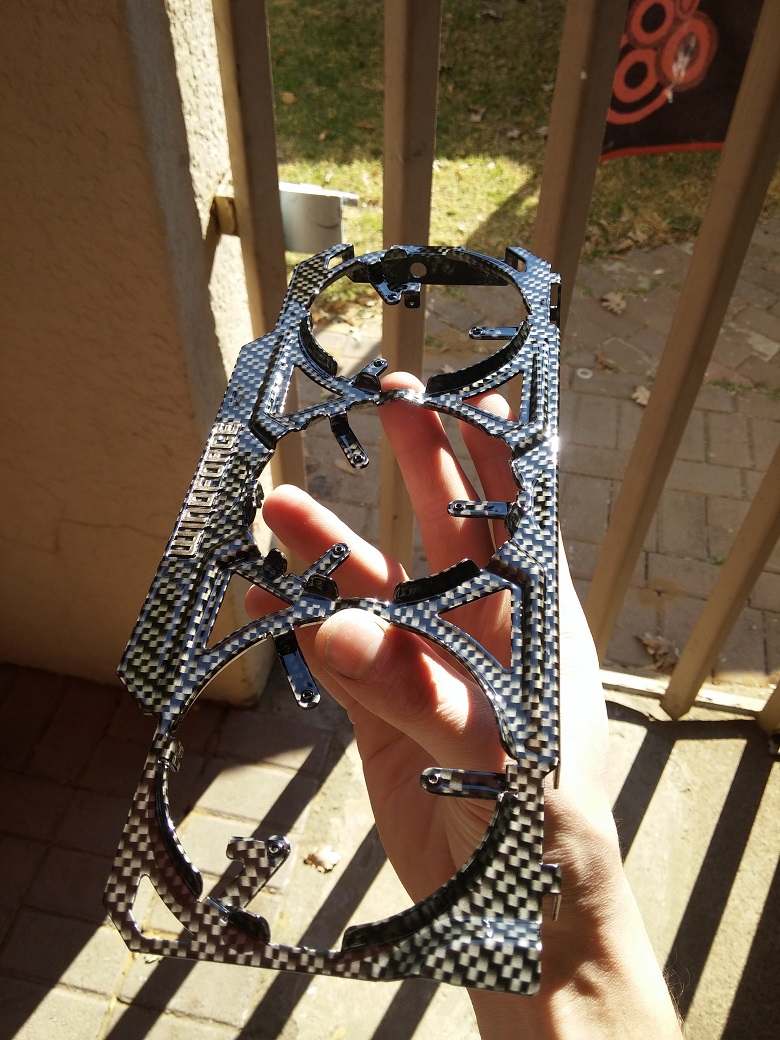
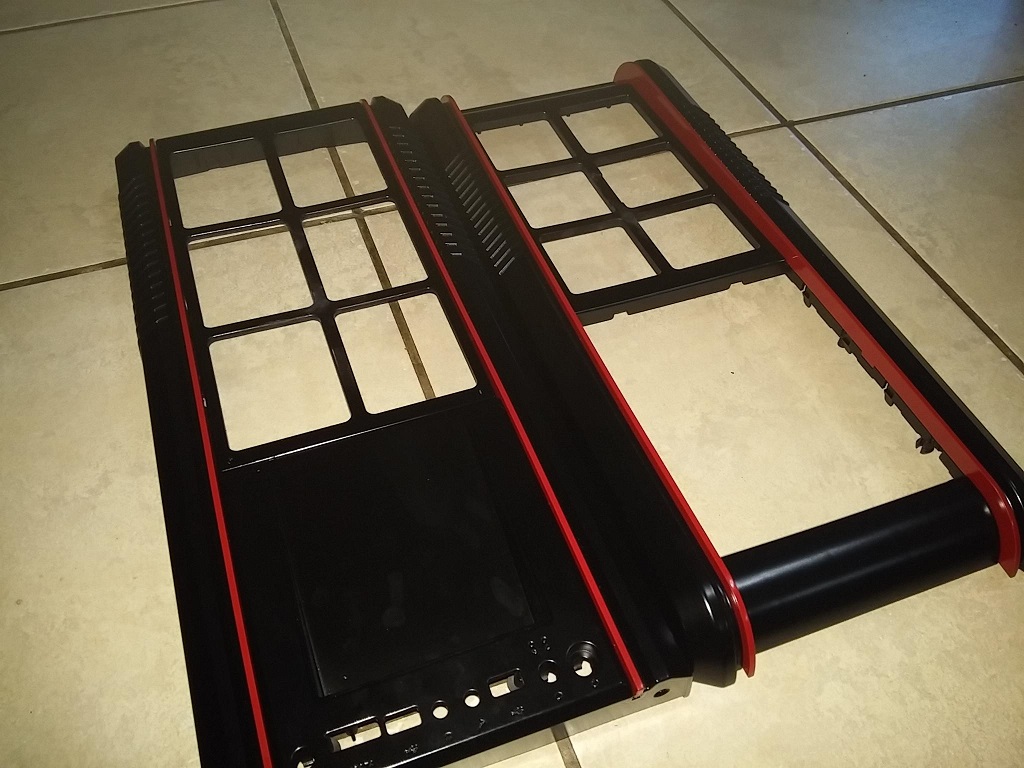
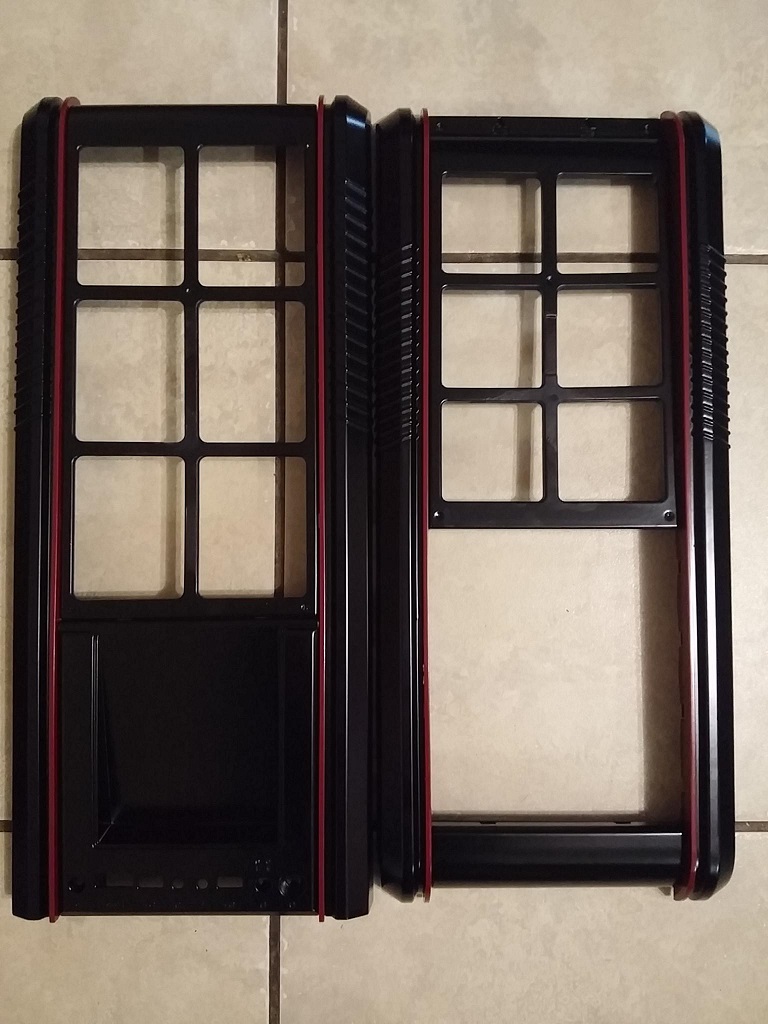
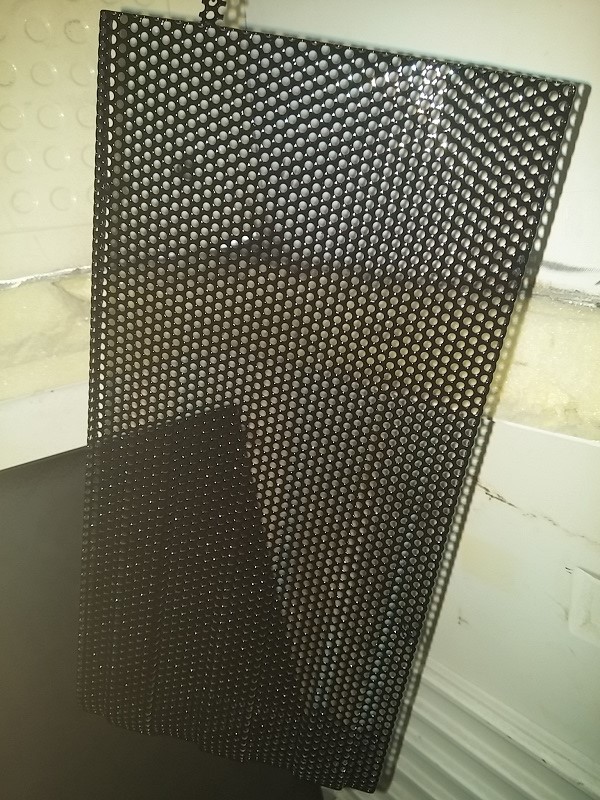
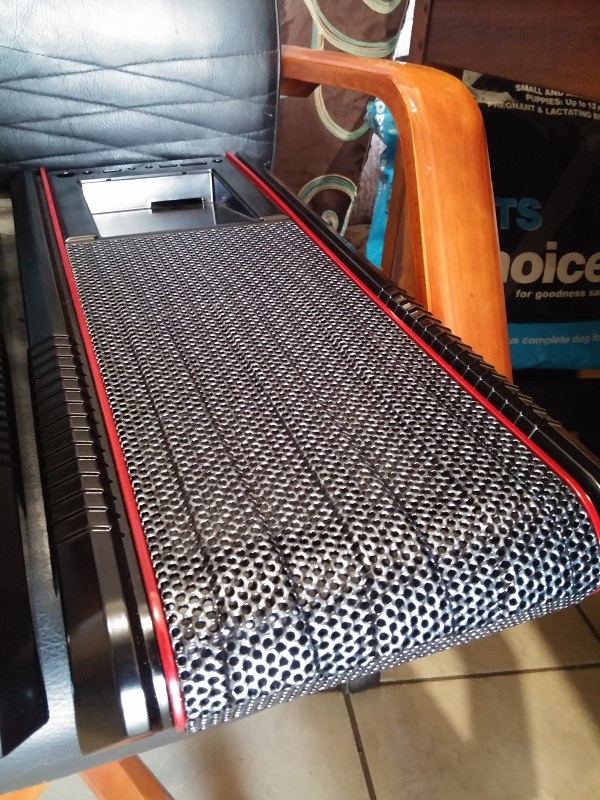
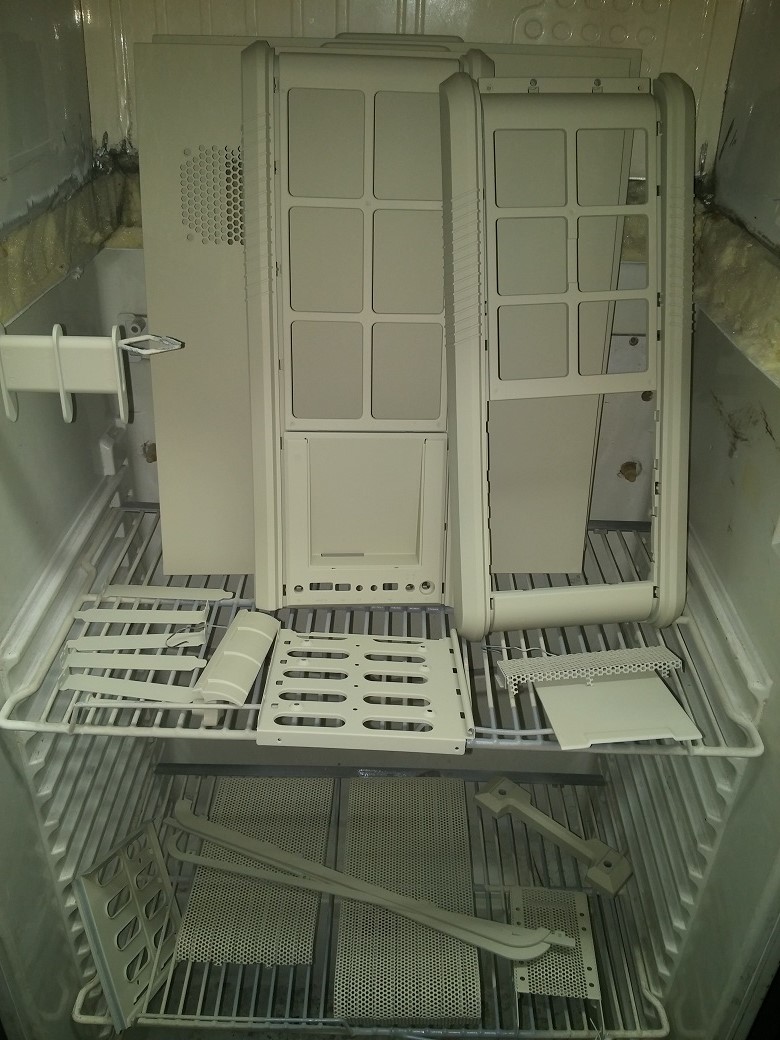
Primer on the rest of the goodies
rl9CMHG.jpg


That is it for now will update as soon as I get some time on my hands to flat all the stuff and shoot the base coat.
 
Are you spraying/washing/drying in an old fridge?

Anyway, looks cool man! Spraying with a spray gun and compressor I take it? That's way too neat for cans... :)
 
Are you spraying/washing/drying in an old fridge?

Anyway, looks cool man! Spraying with a spray gun and compressor I take it? That's way too neat for cans... :)


Hahahahaha it's an old fridge that I modified cut a hole on top and dropped an old salon dryer in there (you know the ones that extent from the ceiling covering the entire head when they colour hair), I now use it as a spray oven, baking the spray paint for 30 minutes at 0-100 degrees. It is a huge time saver and yes I use a spray gun :) (the dryer can be set from 0-100 degrees with a timer 0-30 minutes)
 
Can a administrator or moderator please change the title name to Project reDLine CM690ii. ;)
 
Last edited:
Quick update, I am going to base coat everything tonight or tomorrow night depending on weather and hydro dip in this week. Will post pics as soon as base coat is dry and manageable. Peace :p
 
Here is a prototype design of the paint job to be done. except my chassis has the windowed side panel with red perspex and reDLine engraved on it. I need feedback please with or without lines on side panel.
2EcQXoK.png

MqGGNFJ.png
 
Last edited:
I think the lines on this case look like they end awkwardly. Your case has the window so the lines would look nice if they ended where the window begins. This leaves the other side panel...where I think the lines should go all the way to the back, across the whole side panel.
 
I also think the lines look...odd. They don't fit the case!
 
I also think the lines look...odd. They don't fit the case!

I also like the smaller lines better and the reason for the longer lines looking odd is it's not 100% in perspective with the image.
 
The lines are too thin.

There, I said it. It looks like an uncompleted beard on a viking. It's funny, they don't belong there, not ever the short ones. If you want to make it look good, make the lines fatter, and keep them short.
 
The lines are too thin.

There, I said it. It looks like an uncompleted beard on a viking. It's funny, they don't belong there, not ever the short ones. If you want to make it look good, make the lines fatter, and keep them short.

LoL, You know I can't make them fatter the front and top panels are embossed with the thin (incomplete viking beard) lines, if you go look at a normal CM690ii you will understand.
 
Been hectic busy the last 2 weeks got time this weekend to finish something small.
Hydro dipped my Cooler Master V6 GT's enclosure.

Here is a quick peek.
Xv7yR2Q.jpg


Also took a video of the process will post that later. Still busy uploading.

now I have to remove my GPU's brackets my brother did last year and smoke the clear coat a bit so that its darker like the heat sinks enclosure. ;)
 
Last edited:
Hi guys,

So I got to work with my Gtx 770, smoking the clear coat so that it matches the heatsink enclosure.

Here is a quick video of dipping 1 of 3 parts of the heatsink enclosure.
[video=youtube;zKMsCqPfZyk]https://www.youtube.com/watch?v=zKMsCqPfZyk[/video]

This is right after i finished clear coating one off the gtx 770's heatsink frames.
sMeUMjs.jpg


Assembly time :D
oMIpXh7.jpg


Frame back on heatsink.
6nFSgU3.jpg


Some thermal grease, I always tend to put on too much.
b3rGKQ5.jpg


Heatsink to go back on the PCB, I just flipped the old thermal pads upside down.
XPVhGZX.jpg


Assembled card.
o3fDNBs.jpg


The card has 2 frames that go on the heatsink both were dipped individually.
V19dqro.jpg


Back on my temp configuration on the table :cool:.
http://i.imgur.com/k0iAZuP.jpg

With the light off.
ffv1atm.jpg


Audio shield.
MyhALm7.jpg


I got some Red, Black and Grey paracord from [MENTION=23263]Semper[/MENTION] for the sleeving, and I still need finish up the chassis hydro dipping.
pL1jrgZ.jpg


So that's about it fr now, will update as soon as I get more stuff done.
 
Dude this is some serious mods! Respekt bro! Really nice paint job so far and keen to see the rest! Post pics asap!
 
[MENTION=28875]BamBam[/MENTION]
that hydro dipping is awesome
i think i'll do that with my chassis
thanks for posting some amazing stuff/ideas
 
[MENTION=459]chillie[/MENTION]52 and [MENTION=22357]malte[/MENTION] thanks for the positive vibes :)

I am hectic busy with my daytime job and after hours hydro dipping at the moment and barely get sleep in between not to mention working on my mod I got going on.

I had a small change of plan on the exterior of the chassis because I am almost out of stock on the carbon fibre pattern and won't be able to dip everything I would've liked to. I am going to carbon fibre dip the modders mesh that use to be red with the skulls and do the rest of the exterior matt black except for the chrome trimmings that is already painted red, for the inside of the chassis I was thinking also red but am open for suggestions. Also I was thinking of completely removing the thin embossed lines on the front and top panel with a stanley knife and sand it for a flush smooth finish what is your opinion on this?

I am open for any suggestions so feel free to shout at me what you think will look the best according to your taste.

I will post more pics as soon as I get time to finish more work on the mod.

Stay frosty :p
 
Good day gent/ladies (if any),

Quick update, I have finished painting the front and top panel and started the cable sleeving (which is an intense job if you don't have the correct tools :mad:).

Okay so I did decided not to remove the embossed lines on the 2 panels because I don't want to take a chance and mess up the panels, and once you started with something like that you have to finish it.

Anyway here is some pics of the panels and the sleeving I started.


Top panel
cs5FTEG.jpg


Front panel
4ap2XEY.jpg


Top panel close up
ImgxNRy.jpg


Front panel close up
YKn3nUc.jpg


Top panel close up indoors
U0zbUzs.jpg


Top panel front view indoors
m2fa36i.jpg


Top and front panel side by side indoors
agNWmEJ.jpg


Top and front panel side by side
gRrO0wj.jpg


Finished one 8-pin connector this weekend, gonna order some cable combs from [MENTION=23263]Semper[/MENTION] once I finished all the sleeving
7UdCpZx.jpg


Next in line I will finish the carbon fibre mesh and the chassis skeleton but I have to drill out all the pop rivets so the skeleton is in 3 or 4 panels, it's hard reaching all the tricky corners inside with the spray gun.

Thank for reading and I will post more pics as I get stuff finished.
Looking good!

And like you say, sleeving without the proper tool's can be very frustrating [emoji36]

Drop me a PM if you need some advise on how to do things a little easier or if you battling with something
 
be happy you have not yet encountered a Corsair Sleeved set and you had to de-pin it :(

I really need to get a nice spray kit :( they always come out so much better than cans

GJ
 
Dude that looks amazing. That's all I can say.
 
[MENTION=23263]Semper[/MENTION][/MENTION] No problem I will definitely get one of those molex tools from you as well as some cable combs.
[MENTION=8442]Off-The-Chart[/MENTION] You can get a decent spray painting setup for about R4000, pop me a PM if you want to know what you will need from a to z.
[MENTION=29712]Toxxyc338[/MENTION][/MENTION] Thanks dude I am quite keen too see what it's going to look like on the chassis.
 
Hey peeeepols,

Update I have finished hydro dipping the modders mesh for the front and top panel next to happen is drilling out all the pop rivets on the chassis so that I can paint and get in all those tricky corners with the spray gun.

Here is a couple of pics.

Sanded the side panel for another coat black.
ac5Mhdk.jpg


Top panel modders mesh fresh coat paint before hydro dipping.
h7UpjZI.jpg


Front panel modders mesh fresh coat paint before hydro dipping.
ZABDMyC.jpg


Wait first let me take a selfie :rolleyes:.
dC3DUG8.jpg


Piece of mesh hydro dipped with the carbon fibre still needs to get clear coat.
UHqO5xp.jpg


Top panel mesh without clearcoat.
aLLfTVr.jpg


Another angle.
H7sboyz.jpg


Finished and back on the panels.
vEC0g48.jpg


Top panel close up.
4yNMdDj.jpg


Front panel close up.
13aoped.jpg


Sitting on the shelve waiting for the chassis.
yYLWaXz.jpg


Thanks for reading and as always stay frosty!!
 

Users who are viewing this thread

Latest posts

Back
Top Bottom