What's new
Carbonite

South Africa's Top Online Tech Classifieds!
Register a free account today to become a member! (No Under 18's)
Home of C.U.D.

ch00's MITX

chowzen

VIP
VIP Supporter
Rating - 100%
122   0   0
Joined
Apr 29, 2010
Messages
1,807
Reaction score
24
Points
5,015
Age
40
Location
Dubai, UAE
Hi,

I have been quiet on the mods scene for a while now...time to update on a new project I am busy with :D

YEAH !! *hear the crowds roar* !!

hahah

So, the whole prodigy thing with MITX got me all itchy...so here goes mine :)

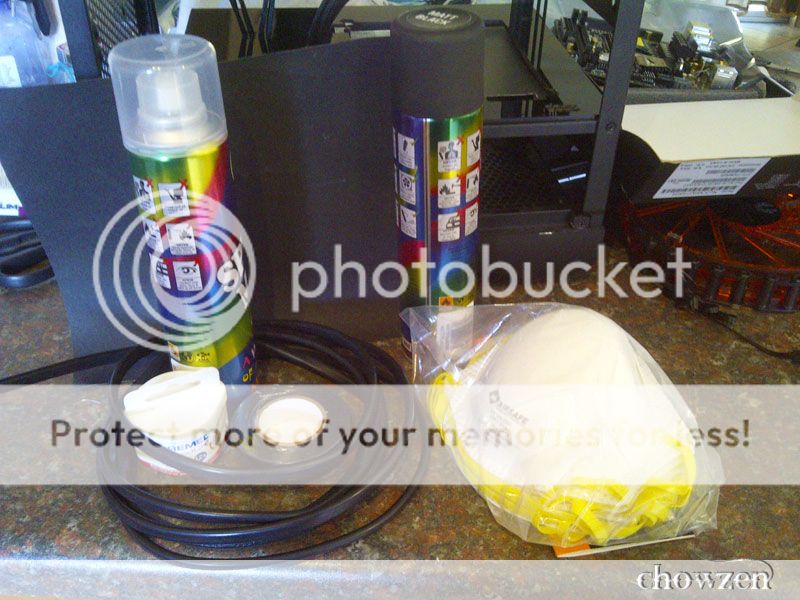
Well - last week the goodies arrived, and with it some zaa :)
1-arrival_zps47e26250.jpg


As always - I used the trusty services of Fabricut to laser cut and bend the plastics of my choice
2-plastics_zpsd4270ba1.jpg


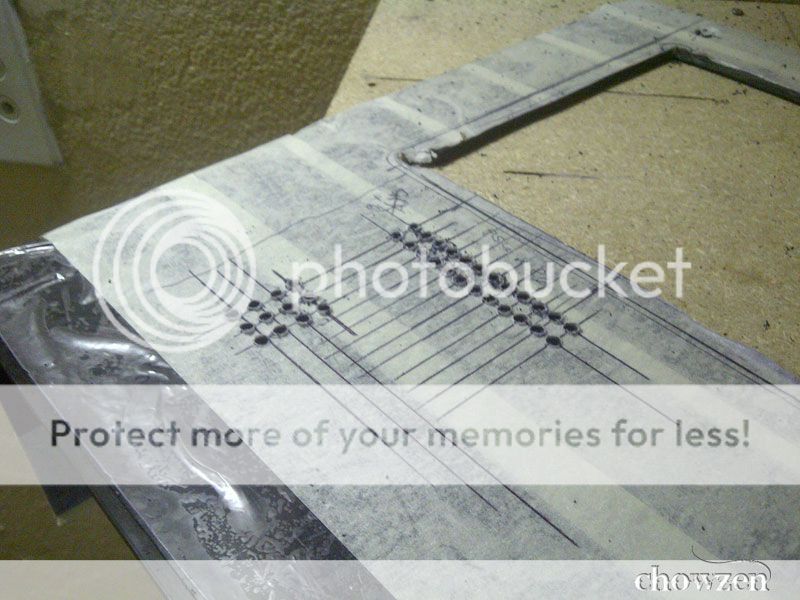
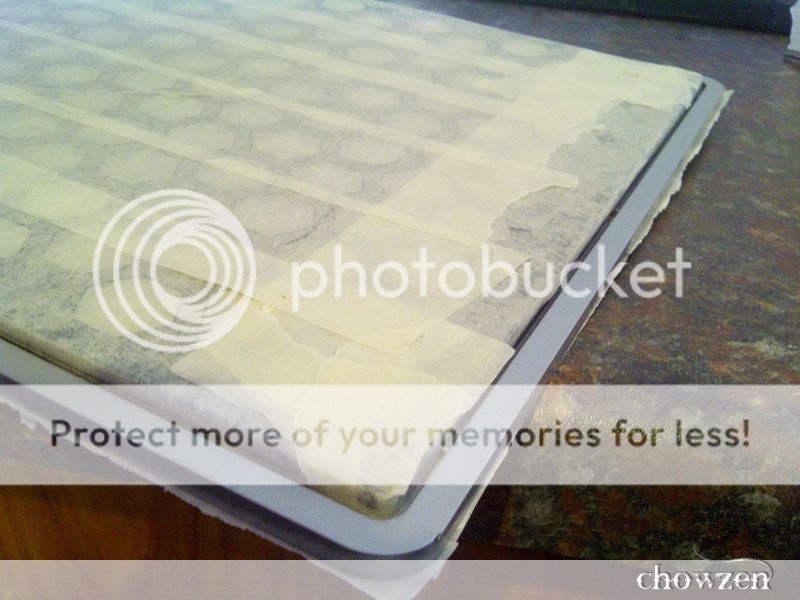
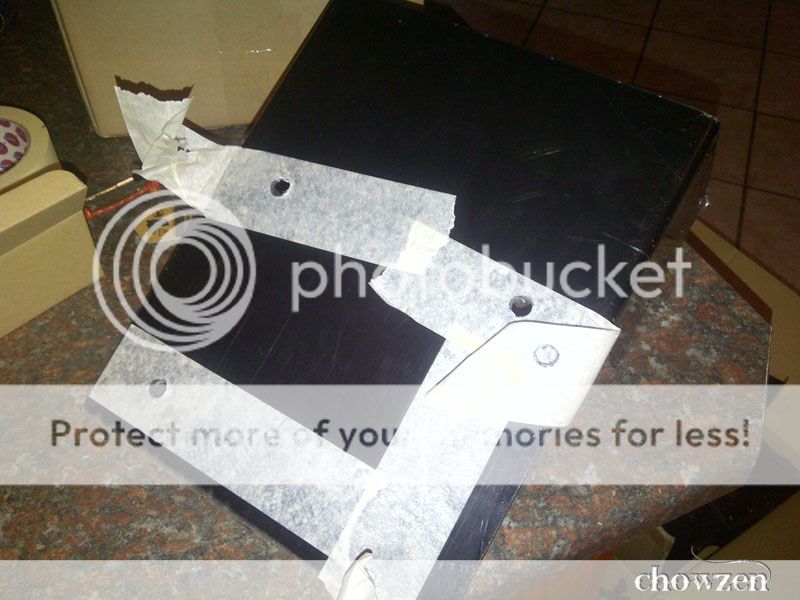
First thing is first - measure out the stand offs for the mobo and make some holes
3-holes-for-standoffs_zps572d9b7f.jpg


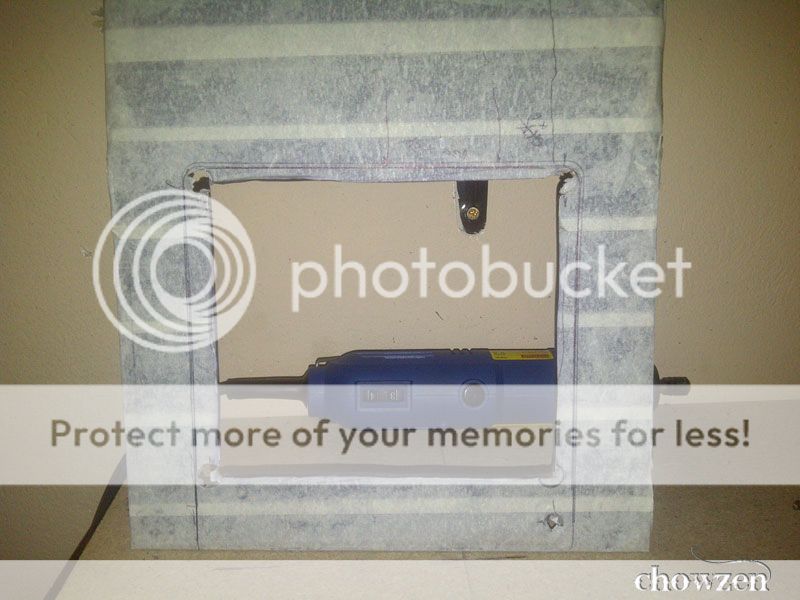
Next, measure off the mobo outer perimeter, decide how to best make the mobo pan..
4-mobotrace_zpscf8ee333.jpg


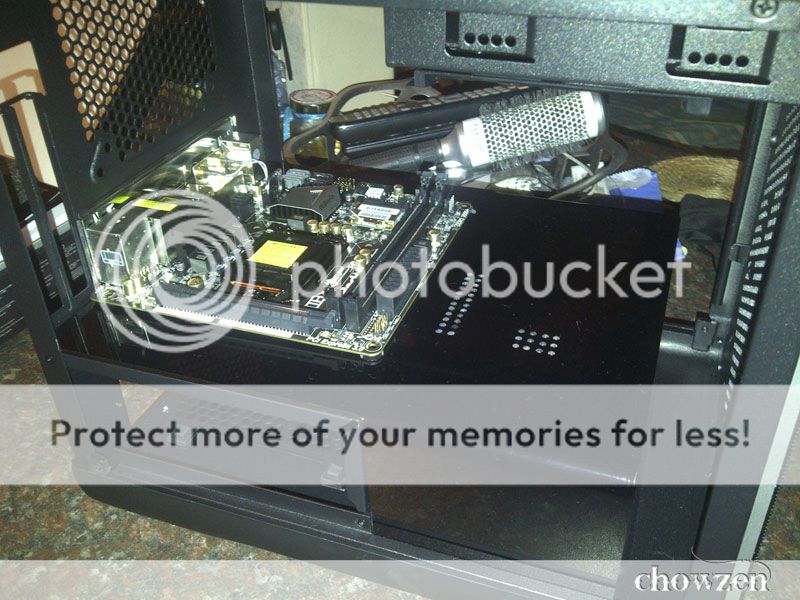
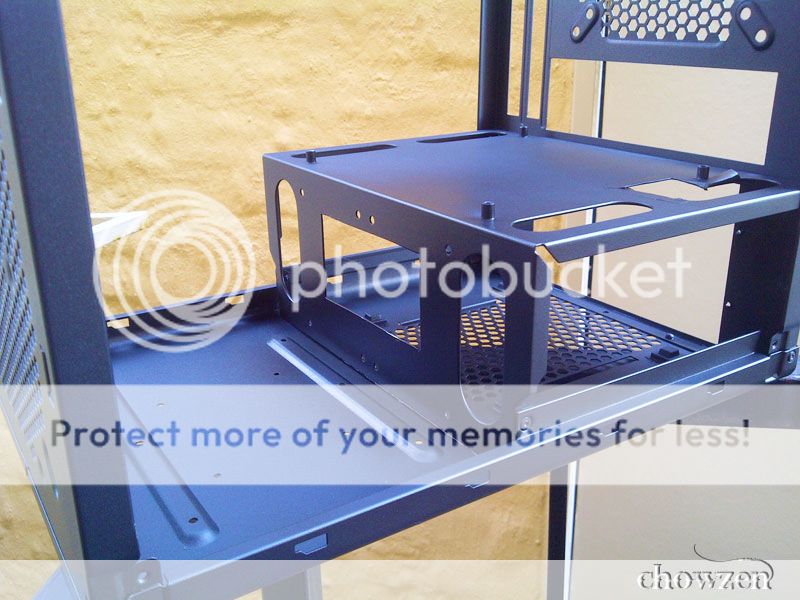
So, cut a hole for the mobo ( for the bottom of the mobo, it needed to be cut out so as to avoid warping and damage to the solinoid - but I left a fringe so that it would appear to be mounted on the plex :) *clever ne'*
5-mbohole_zpsfd7e0fb2.jpg


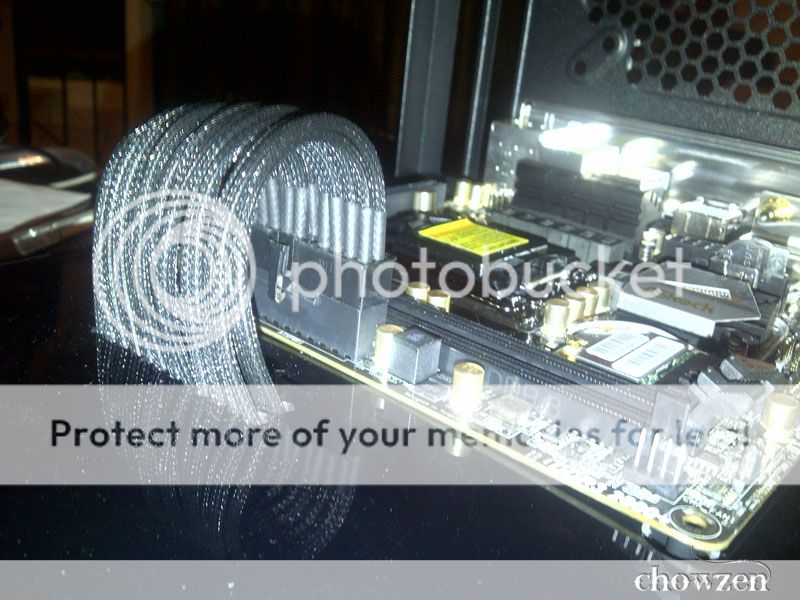
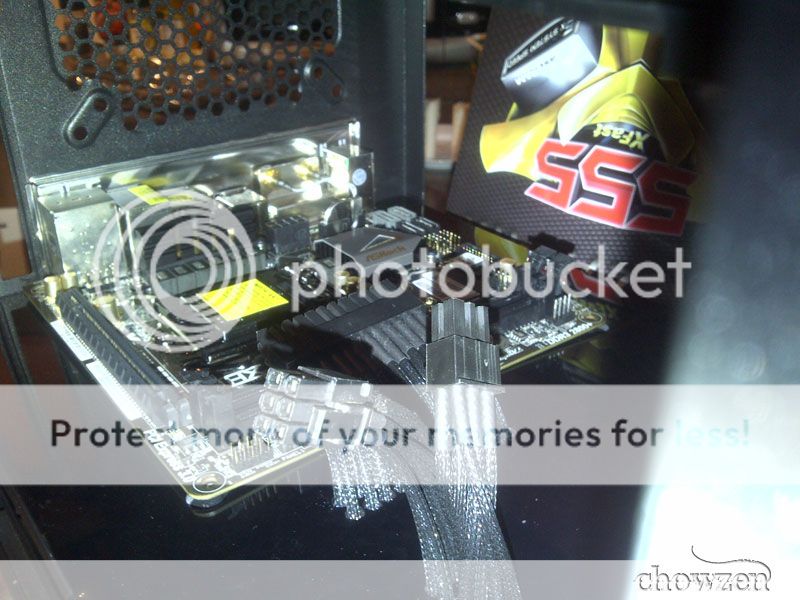
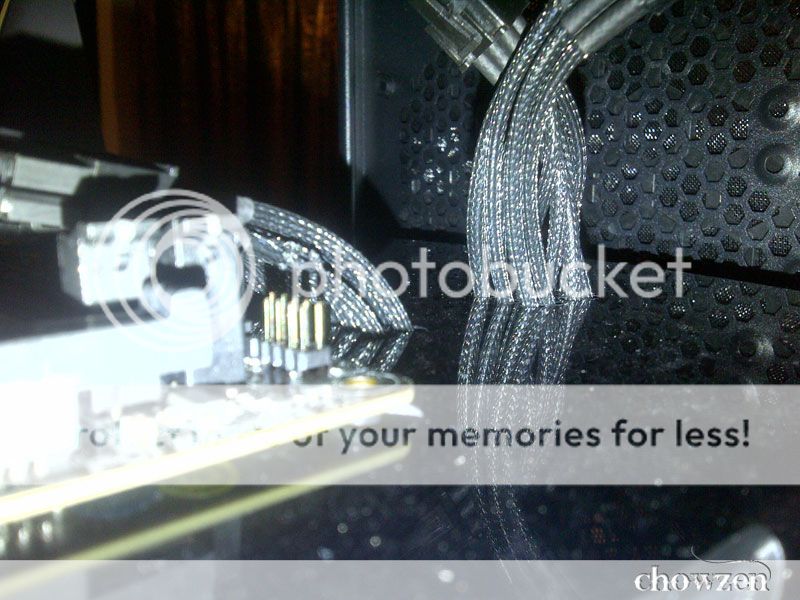
Measure and X-off where to drill holes for the PSU cabling
6-psu-holes_zps639f256f.jpg

Next post...
 
Last edited:
...continued

Make more holes !
7-holes4psu_zps000d4622.jpg


Do a little test fit...hmmmm....looks gooood
8-testfit_zps05c60546.jpg


Pull the PSU cabling through one by painstaking one, but - totally worth it :)
9-pullpsu_zpse34dd9b2.jpg


OHAI there GFX cabling...I will do the same to you :)
10-higfx_zps9b8c2282.jpg


Hmm....looking good so far :)
11-gfxpulled_zps766fc470.jpg


More to come as I get mah goodies & do the modding deeds :)
 
What material did you use to make that plate? Might consider it, I just won't create separate holes for everything.

*// EDIT - Since firestorm kindly notified me that it is perspex on skype, I have my answer, thanks.

[11:59:18 AM] Richard McEwan (Firestrm_ZA™): its perspex you blind twit :p
[11:59:23 AM] Richard McEwan (Firestrm_ZA™): he even said so in the first post.

"Kindly" :p
 
Last edited:
Technically, it is Black PlexiGlas - Same thing really. :)

Just ordered my fans etc. So will have to wait a few days till next update :)
 
OMG Chewy you son of a........ *phone lines cuts off*

awesome to see you used Fabricut, cause I am planning my own mods with them as well.

how much did you pay to have that one cut and bent?

is that one a solid black? cause I noticed mine although looking black, if you go close it is actually a see-through bronze.
 
awe,

Thanks :) It is solid black - yarr - it does display like a bronzy if you have enough light from the back :)

I paid for the cut, bend and clear plate that I am keeping for a later post - 160zar. Very cheap :) And they can get it in practically any color, I am pretty sure they can produce a bronze looking one for you :)
 
Wow - that looks awesome!
More pics!
 
So, cuz I am nice - here is a little preview and a forfingersake pic that every ace modder will know...

Some teaser :) heheh...this is not the sidepanel you are looking for... haha
13-soon_zps5d59be7a.jpg


ForFingerSake !!
12-forfingersake_zps7111cdab.jpg


Mega pic upload to hit this weekend :) Keep Subbed :rolleyes: :cool:
 
O HELL NO YOU BETTER NOT!!!!

if I see anymore of MY ideas I will burst out in tears and go on a fap spree to your pics :p
 
Update Time :)

I had leave on Friday, and decided to mod, cuz modding is nice :) - see below :

got some goodies
14_zps93fa07d0.jpg


more goodies
17_zps978ca1bf.jpg


made measurements for cutting of the side panel
15_zps8d271b6d.jpg


really - these sidepanels tested my patience, they are incredibly hard to cut through..but I made it
16_zps6ba4932d.jpg


After the cut - I start by laying some paint on the edges
23_zpsf0dc17be.jpg


Right - major hard work basically done :) Phew !! Got a CPU cable, had to make some holes and feed it through - I missed this part earlier, so thought to share it
20_zpsc6bc657e.jpg


going through the holes
21_zpsc27df3f7.jpg
 
...continued

Onto the next part - lifting the mesh's grip
18_zpse87adf93.jpg


Taping it off to spray
19_zps7fdb8475.jpg


and Spray that !! 4 coats metallic red, 2 coats clear
22_zps043c0191.jpg


but that's not all !! more spray !
35_zpsbaf188cf.jpg


After the test fitting the PSU - I realized that I had to cut some on the chassis...like so
25_zps162f868b.jpg


For those interested - here is a mod modding :) hahah
26_zps5516b9aa.jpg


...
 
...continued

Now, finally onto assembly...
28_zpsc7a10acc.jpg


mounted on the front
29_zps8f66975f.jpg


mounted on top
36_zps665f3e83.jpg


mounted the monster fan - bitfenix 230mm 156cfm...shoe...and the ssd of choice
27_zpsaccd9add.jpg


so...cable management in this puppy sucks...so...here is lemonade
30_zps917e9380.jpg


second helping
31_zps6f735a4f.jpg


while you're at it..final glass
32_zpsb97f43e9.jpg


insert the plexi and mobo and start to connect some cables
33_zpscedba219.jpg


added gfx, now onto the FP connectors and the fans..
39_zpsecffffcf.jpg
 
...continued

flash on with the majority of clables, and cpu clooing fitted
38_zps768c6a96.jpg


well...basically done :) here is a nice angled pic
38_zps768c6a96.jpg


just another nice angle
43_zps2f6770a5.jpg


Front panel removed and mounted
44_zpsfc1d6f2e.jpg


...90% completion pics in next frame
 
...continued

YES
40_zps7f15b1d1.jpg


YES !
41_zps91ff3003.jpg


YES !!
42_zps992b3c3f.jpg


This baby fired up
45_zps471f9d0a.jpg


I will get better action shots sometime in the week :) just couldn't wait to get back into the games :)

Hope you guys like it as much as I do :)

ch00000000000000000
 
Daai panel was n ***** ne....
maar sien jy het darem dadelik van die speedclic discs gekry...
hulle help moer toe compared met die originals
 
rus jou plexi panel heeltemal op die PSU cage self, of is die dele wat gebend is, tot op die bottom panel van die case vir support?

wil weet of ek volgens jou meeteings in daai PDF kan werk.
 
rus jou plexi panel heeltemal op die PSU cage self, of is die dele wat gebend is, tot op die bottom panel van die case vir support?

wil weet of ek volgens jou meeteings in daai PDF kan werk.


Well, it rests on top of it. I had to cut out a window for the mobo, otherwise it would push down on the solonoids and could damage it.

I would make it slightly thinner though...I think it is 400 accross...I would make it 380ish...for the sidepanels... :) You can use the pdf as an estimate.. And yes - it goes to the bottom so that it has support.
 
Saw this for the first time now. Very, very nice dude, glad I'm not the only one sticking to the classic black/red theme. Absolutely love what you've done with it, looks friggn' badass! You should do it a favour and have some decent pics taken of it.

I salute you!
 

Users who are viewing this thread

Back
Top Bottom