What's new
Carbonite

South Africa's Top Online Tech Classifieds!
Register a free account today to become a member! (No Under 18's)
Home of C.U.D.

[Buildlog] DIY 3d printers

It finally moves!:D
Will share more once all the configurations are done!

 
Wow, what a day...damn it was full of hair pulling moments to get this beast to print.
Firmware configuring was not that bad, but I just could not get it to spit plastic....turns out the extruder was too tight and constantly jammed.

 
Congratulations, first Voron built in SA!! (afaik..) Looks just plain awesome!

How is the performance, straight out of the .. err .. build?
 
Congratulations, first Voron built in SA!! (afaik..) Looks just plain awesome!

How is the performance, straight out of the .. err .. build?

Thank you very much!

Nothing too crazy, used one of the default slicing profiles on the github.
Notice now that it was a detailed profile so speeds was cranked down.
Thus that first print was 50mm/s, 100mm/s for infil and 300mm/s for non-print moves.

Going to be tweaking today! :D
 
Any obvious quality issues?

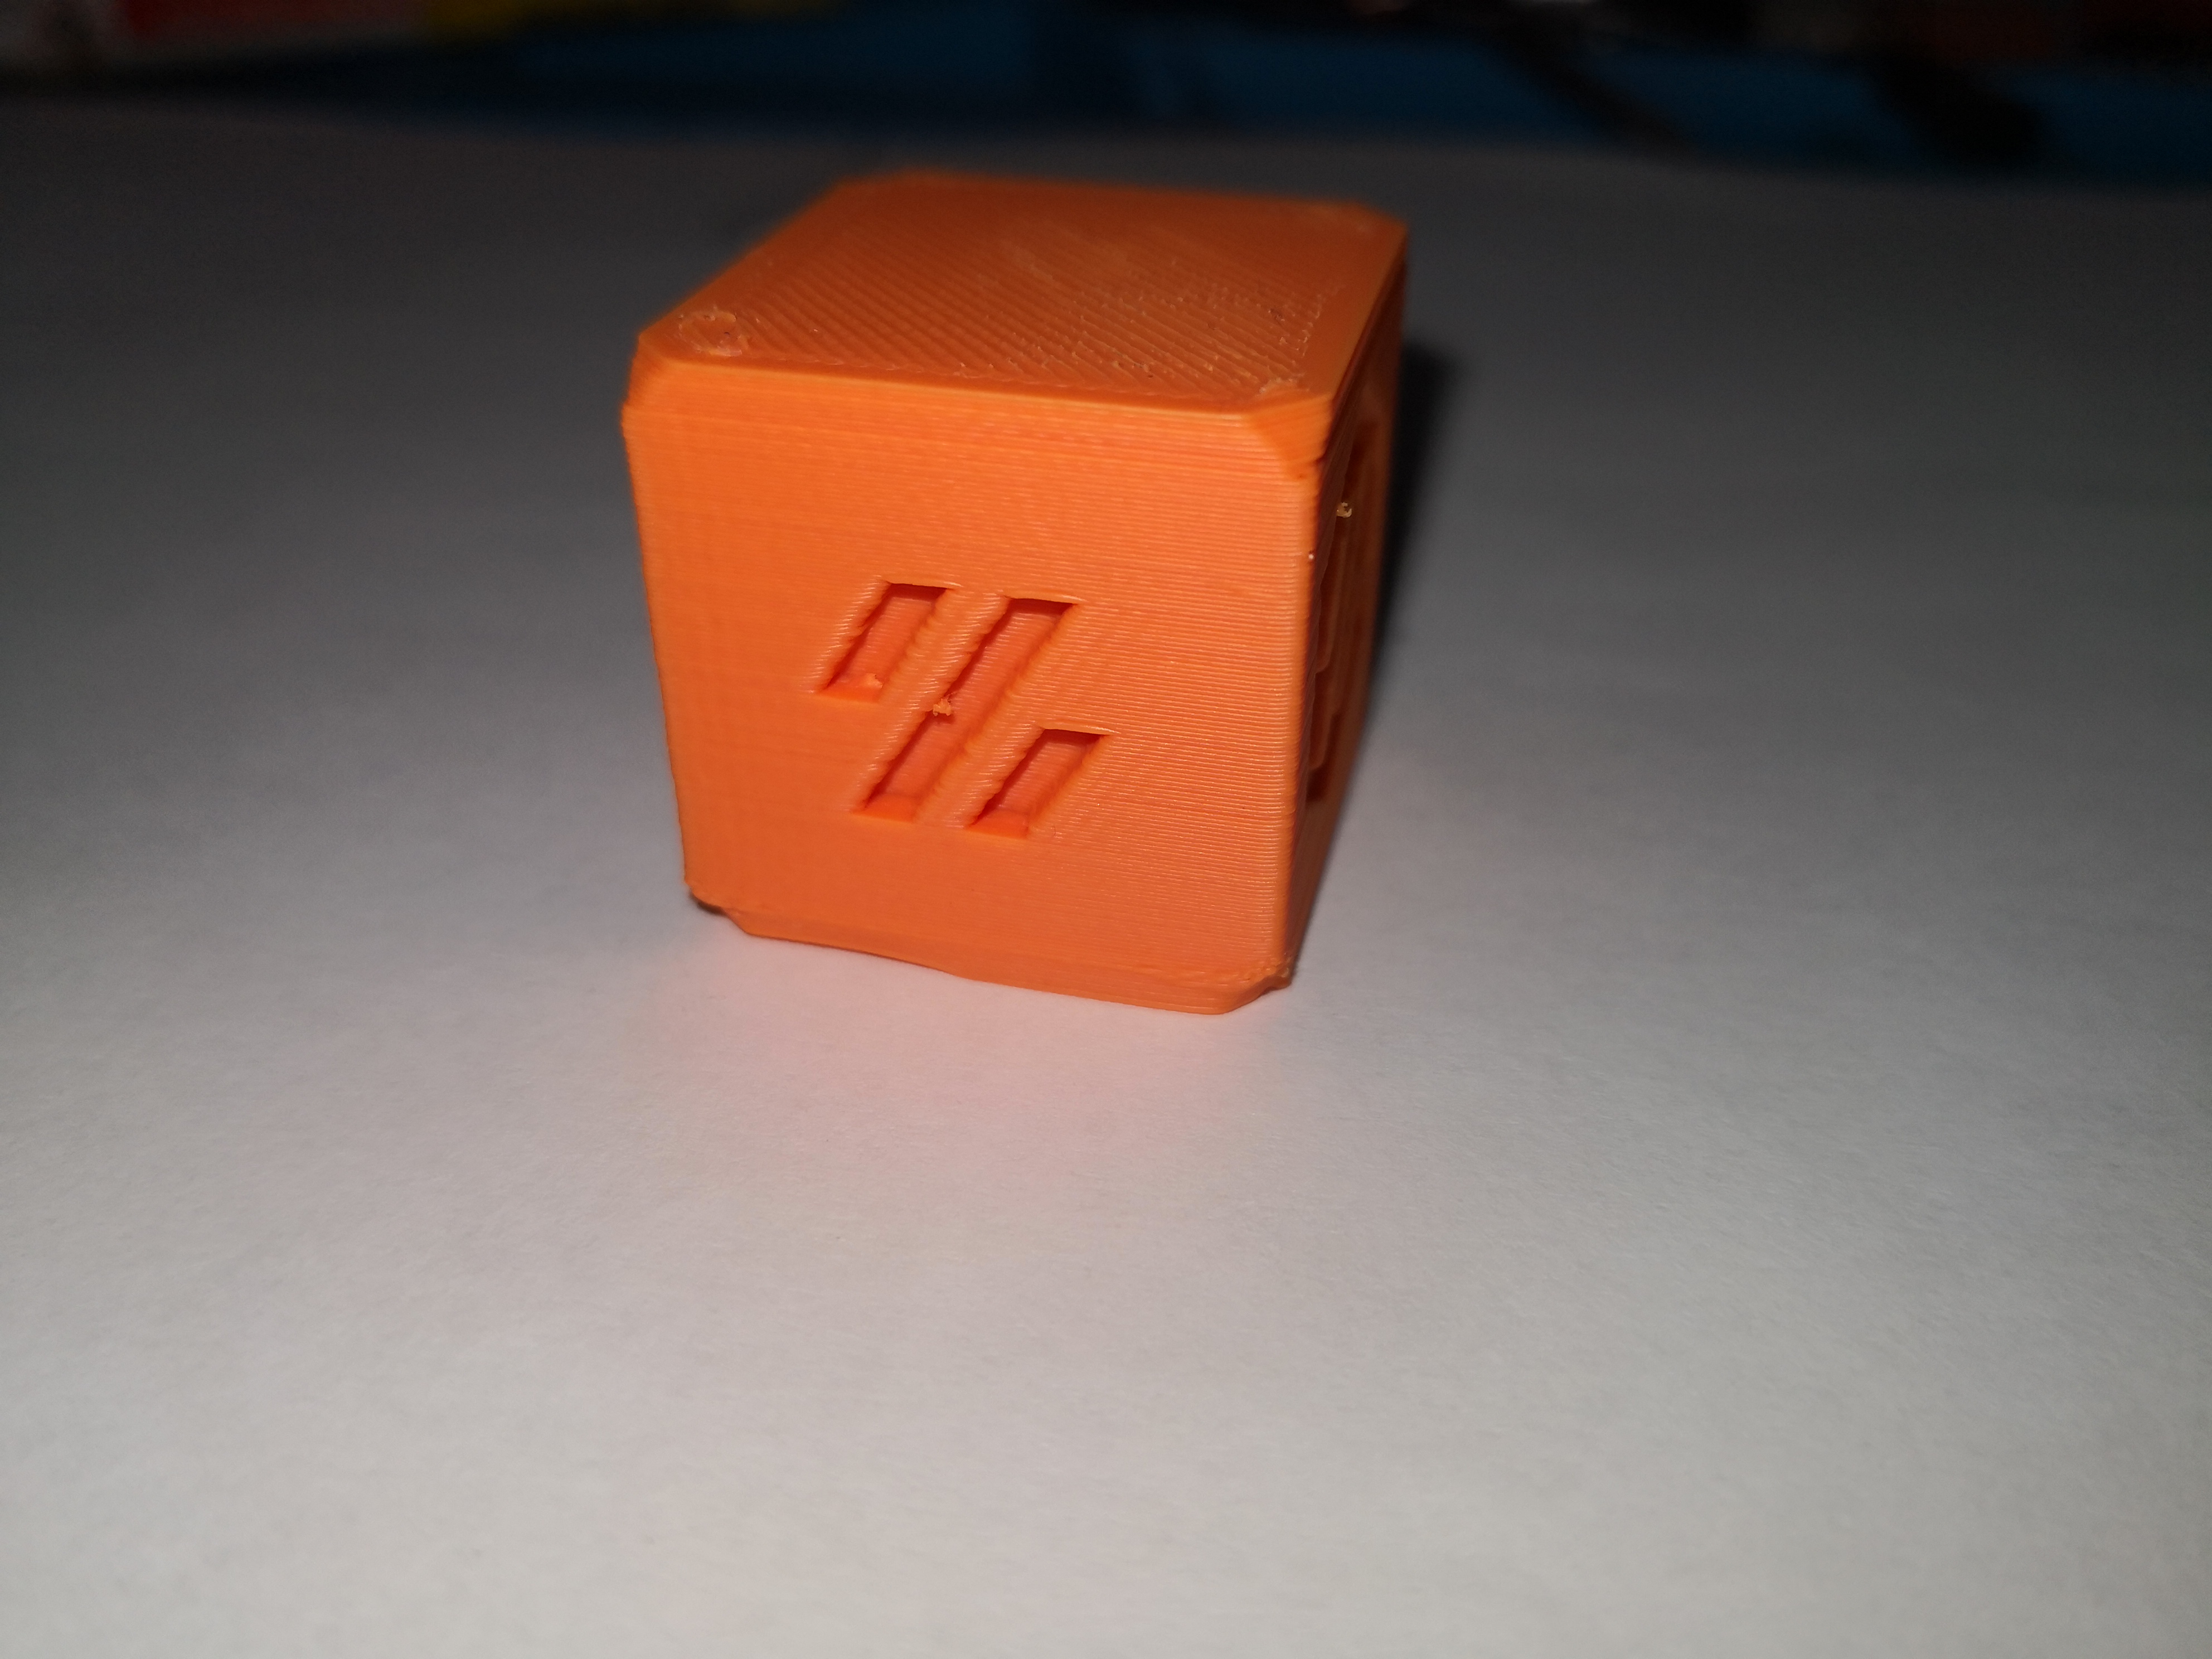
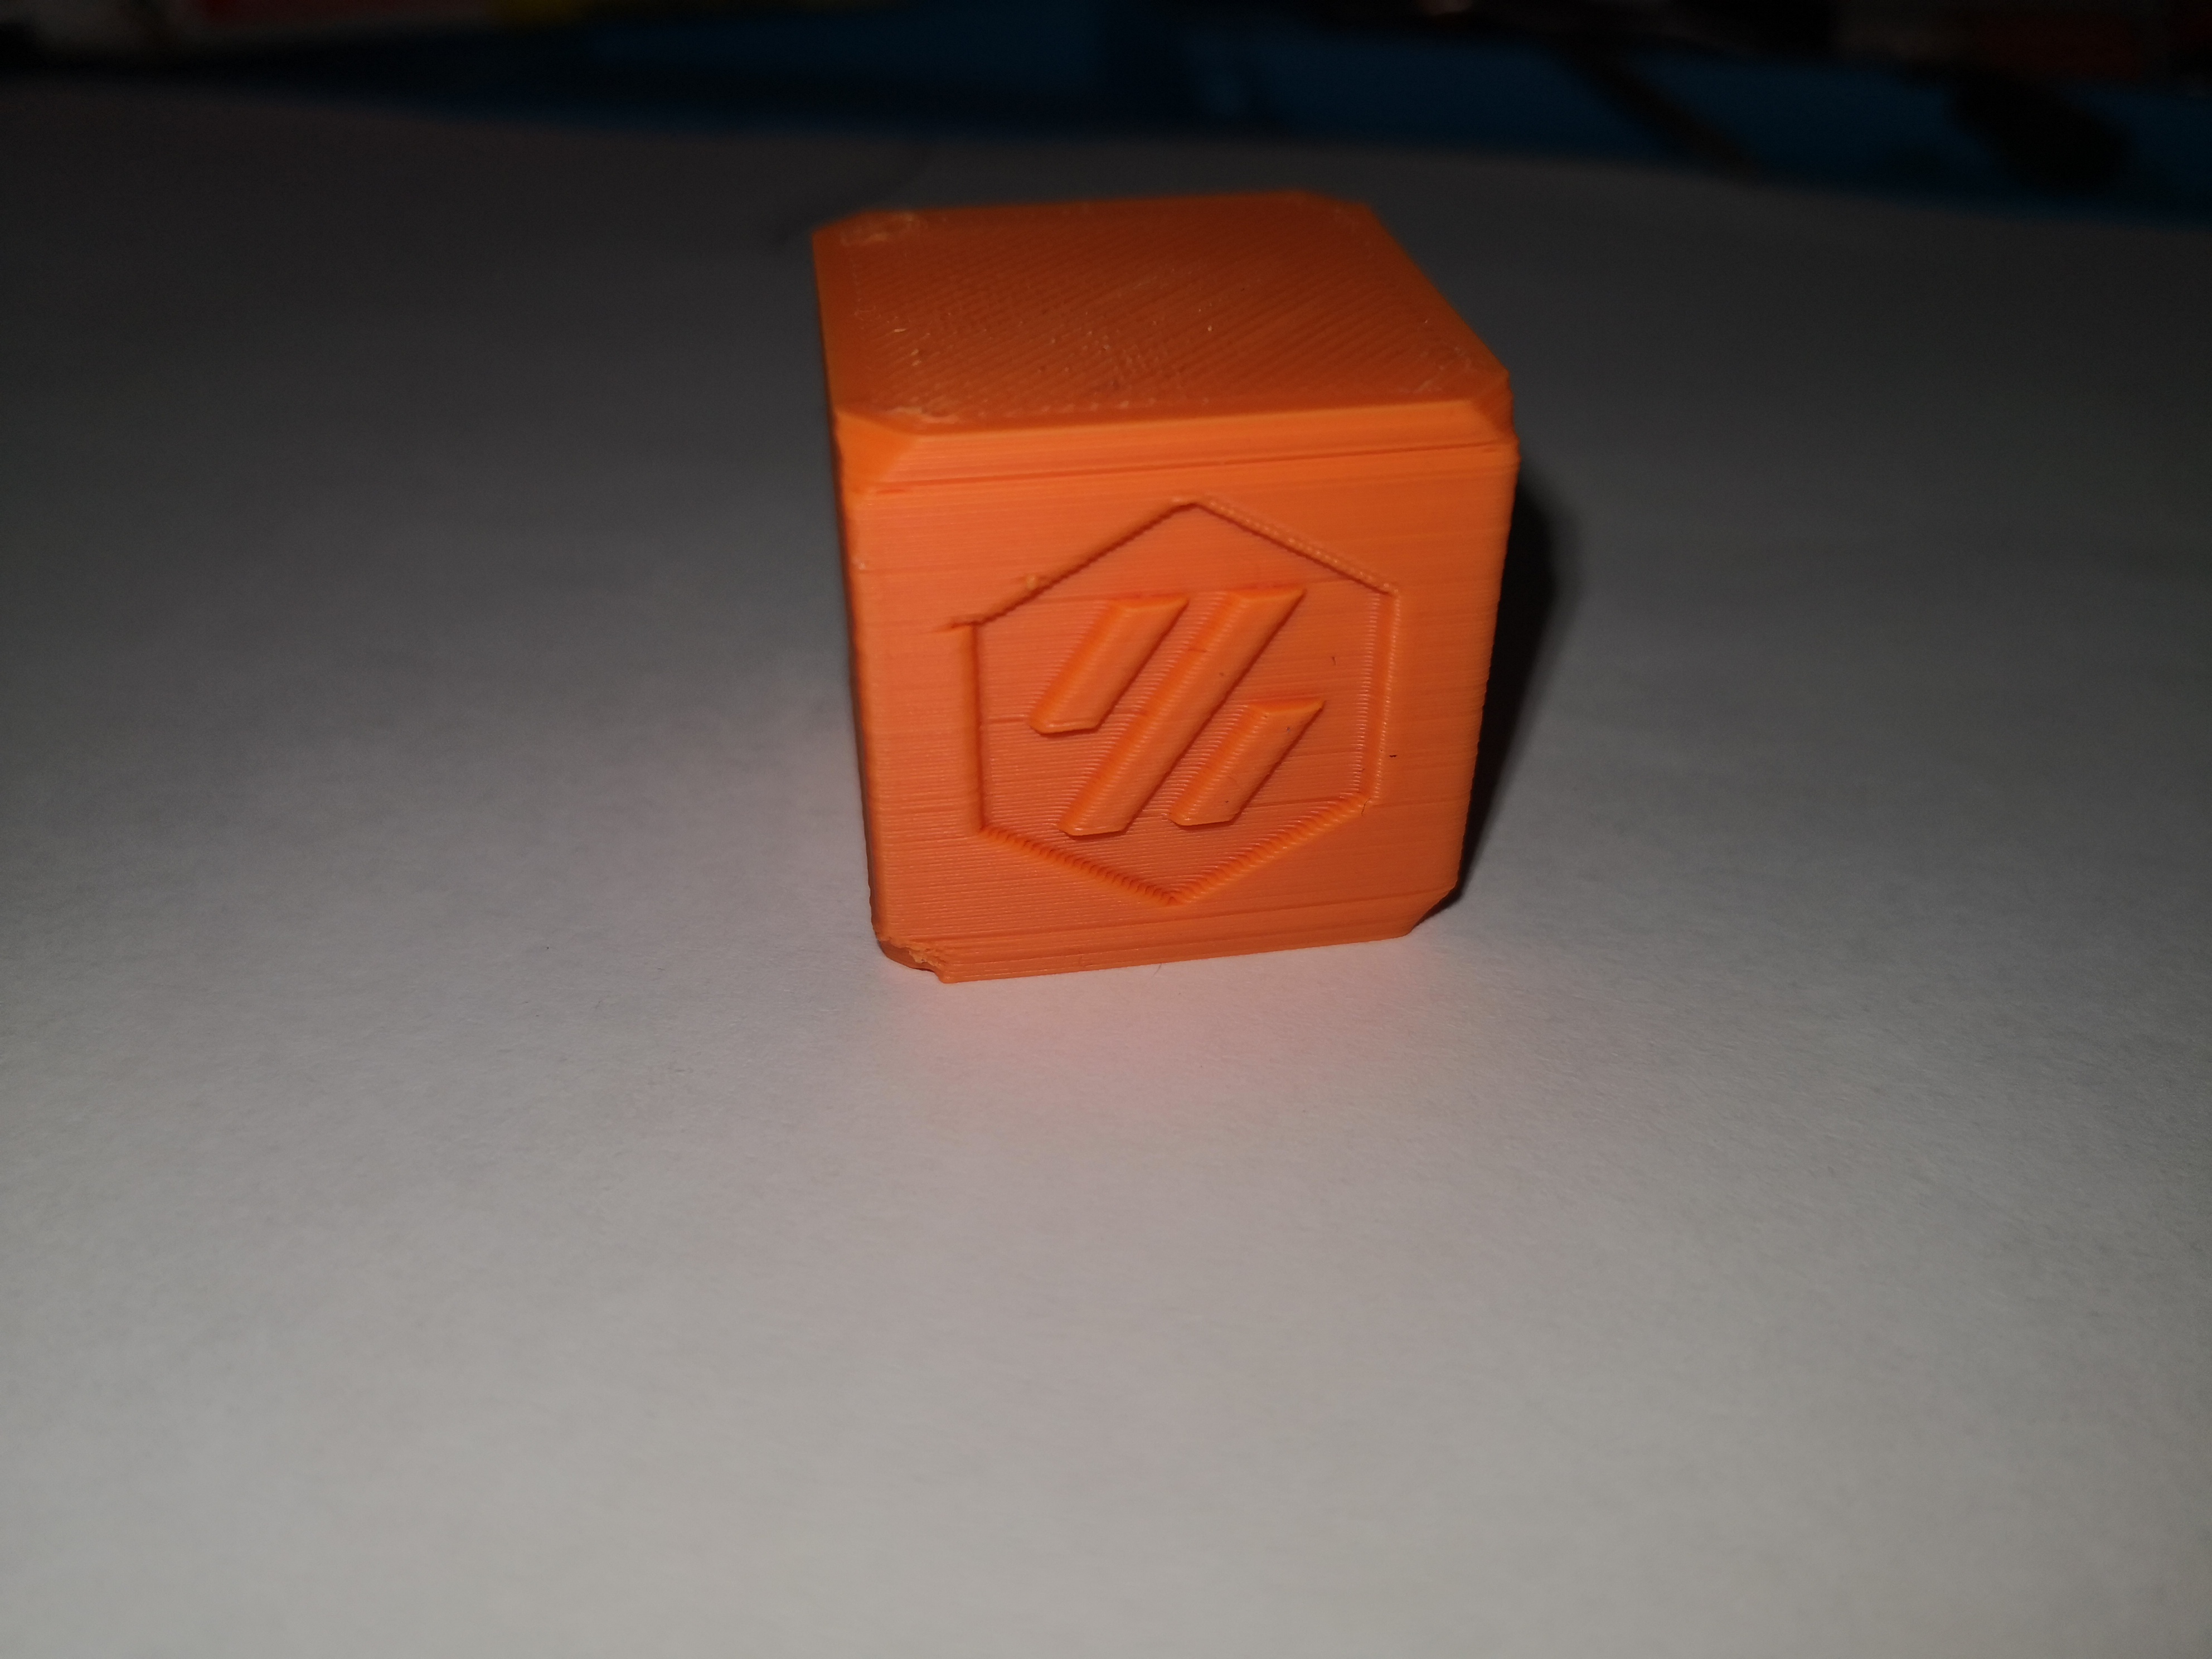
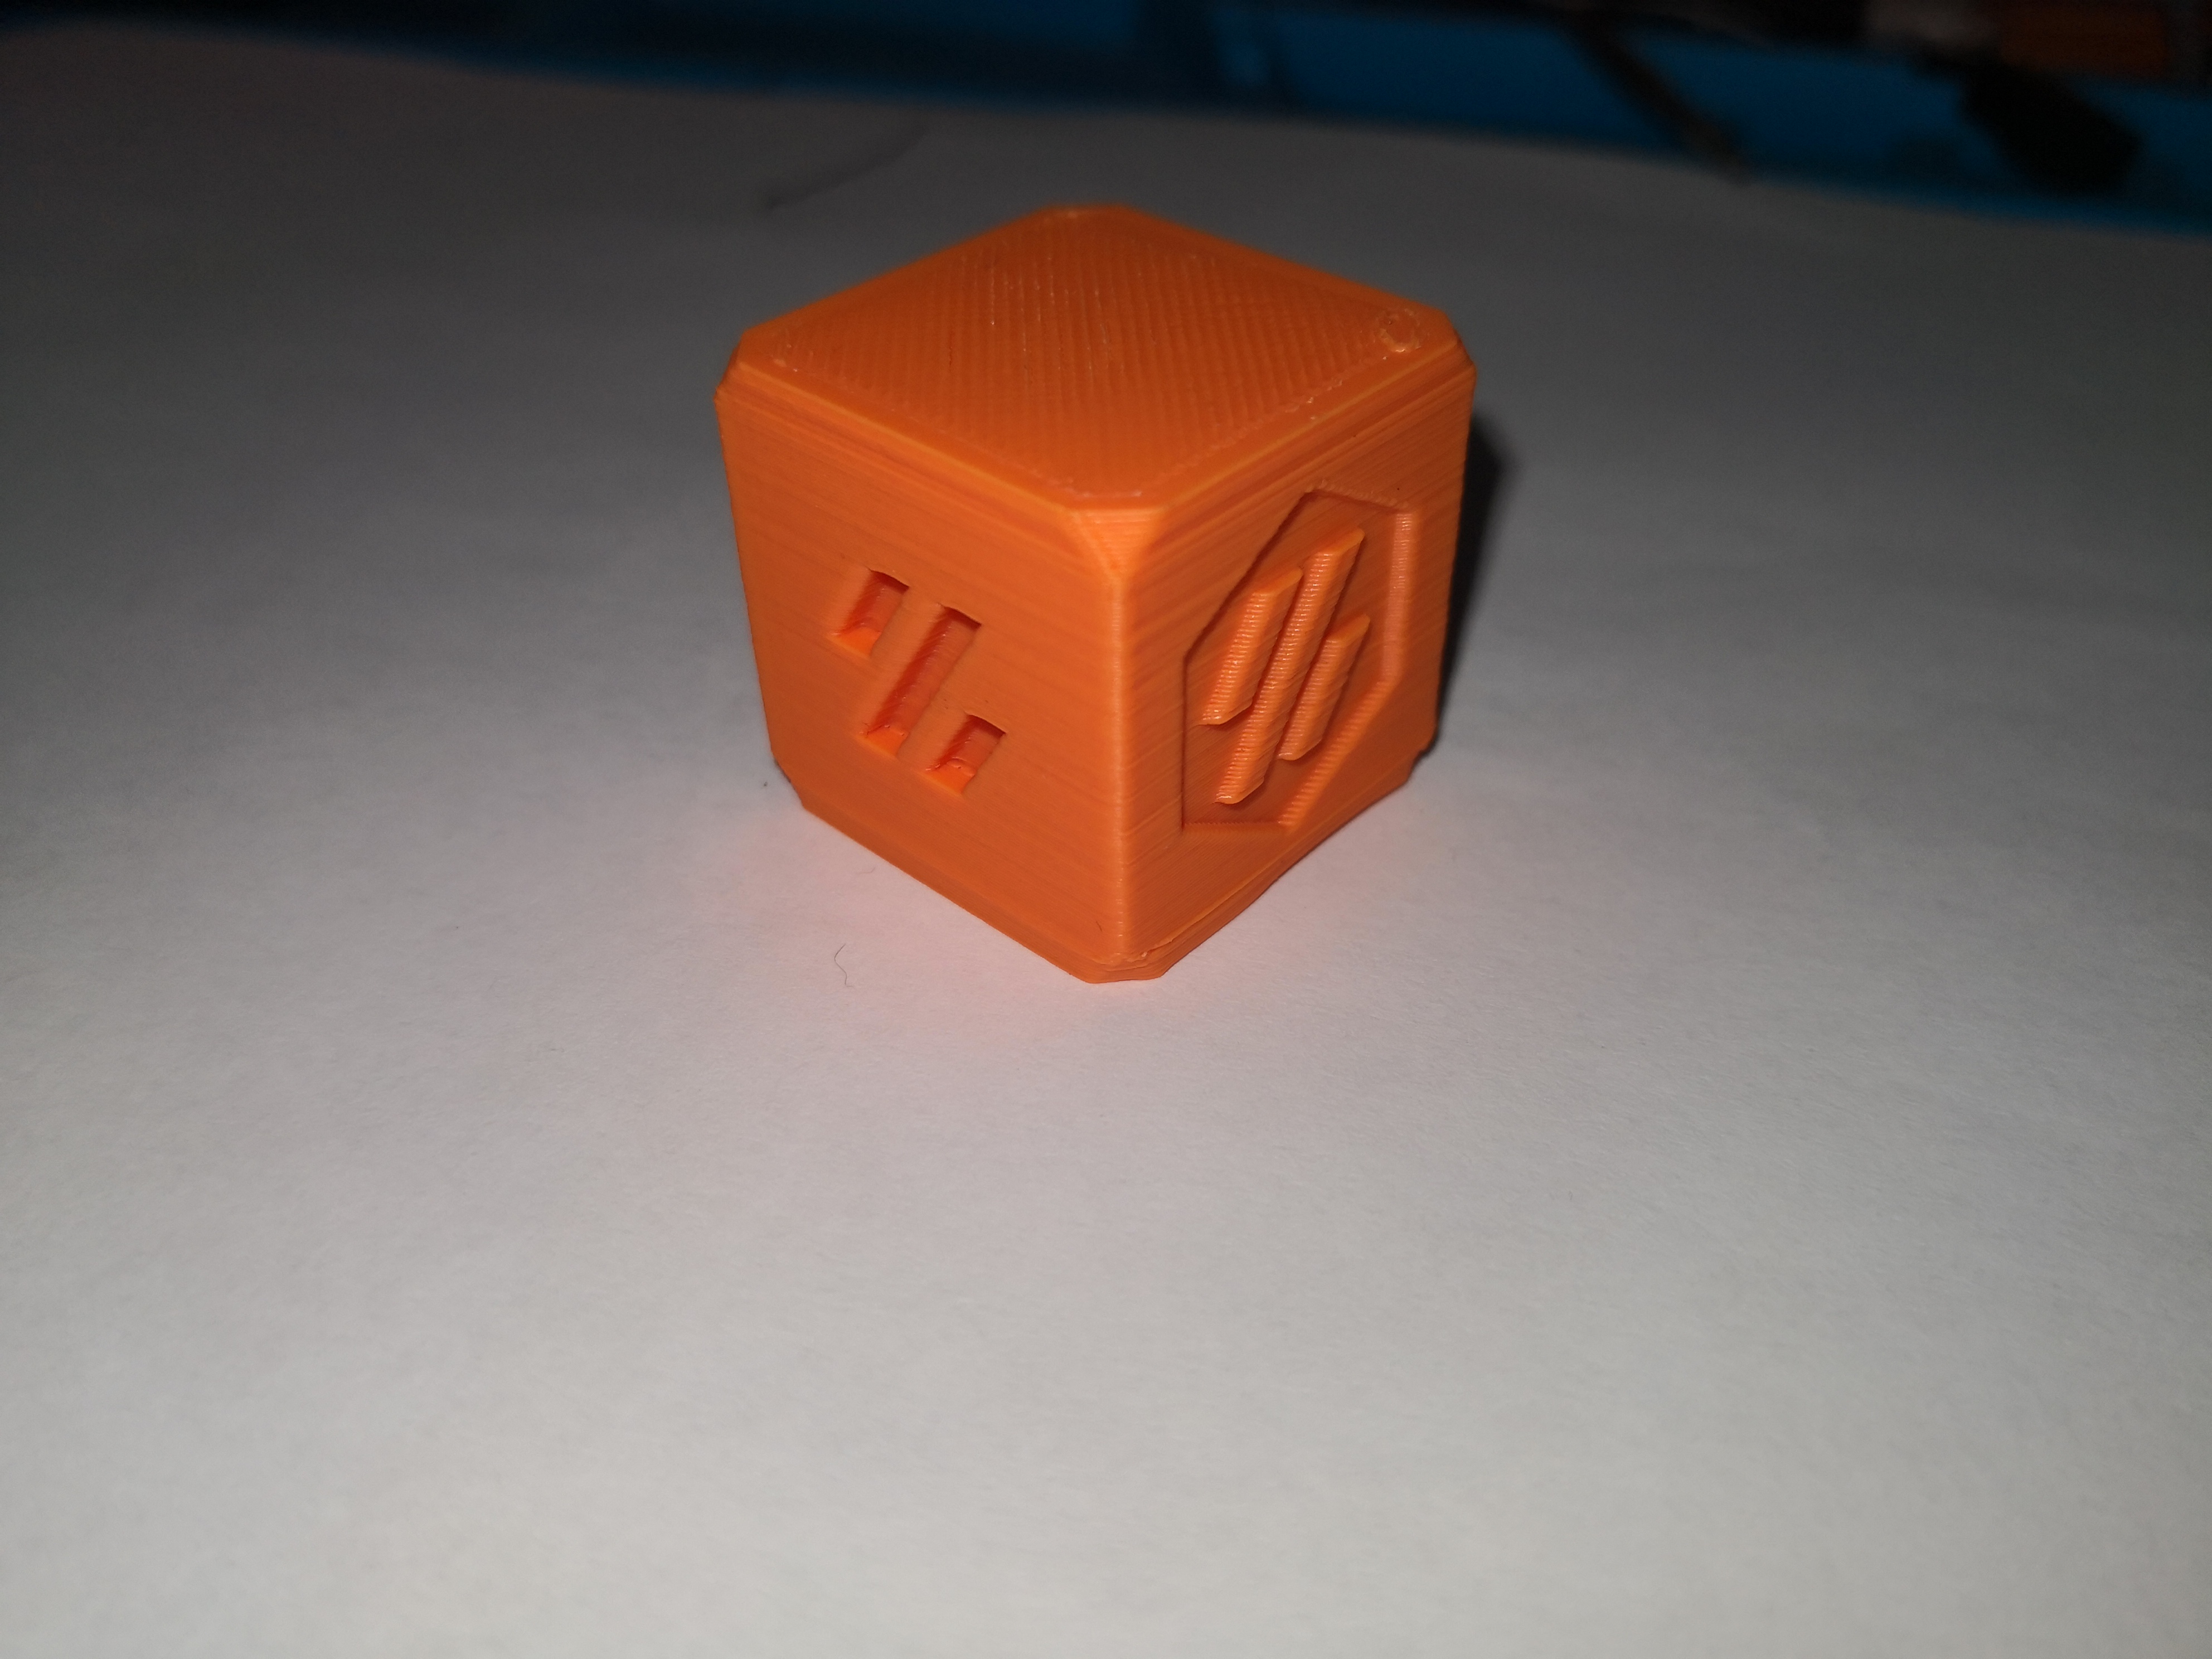
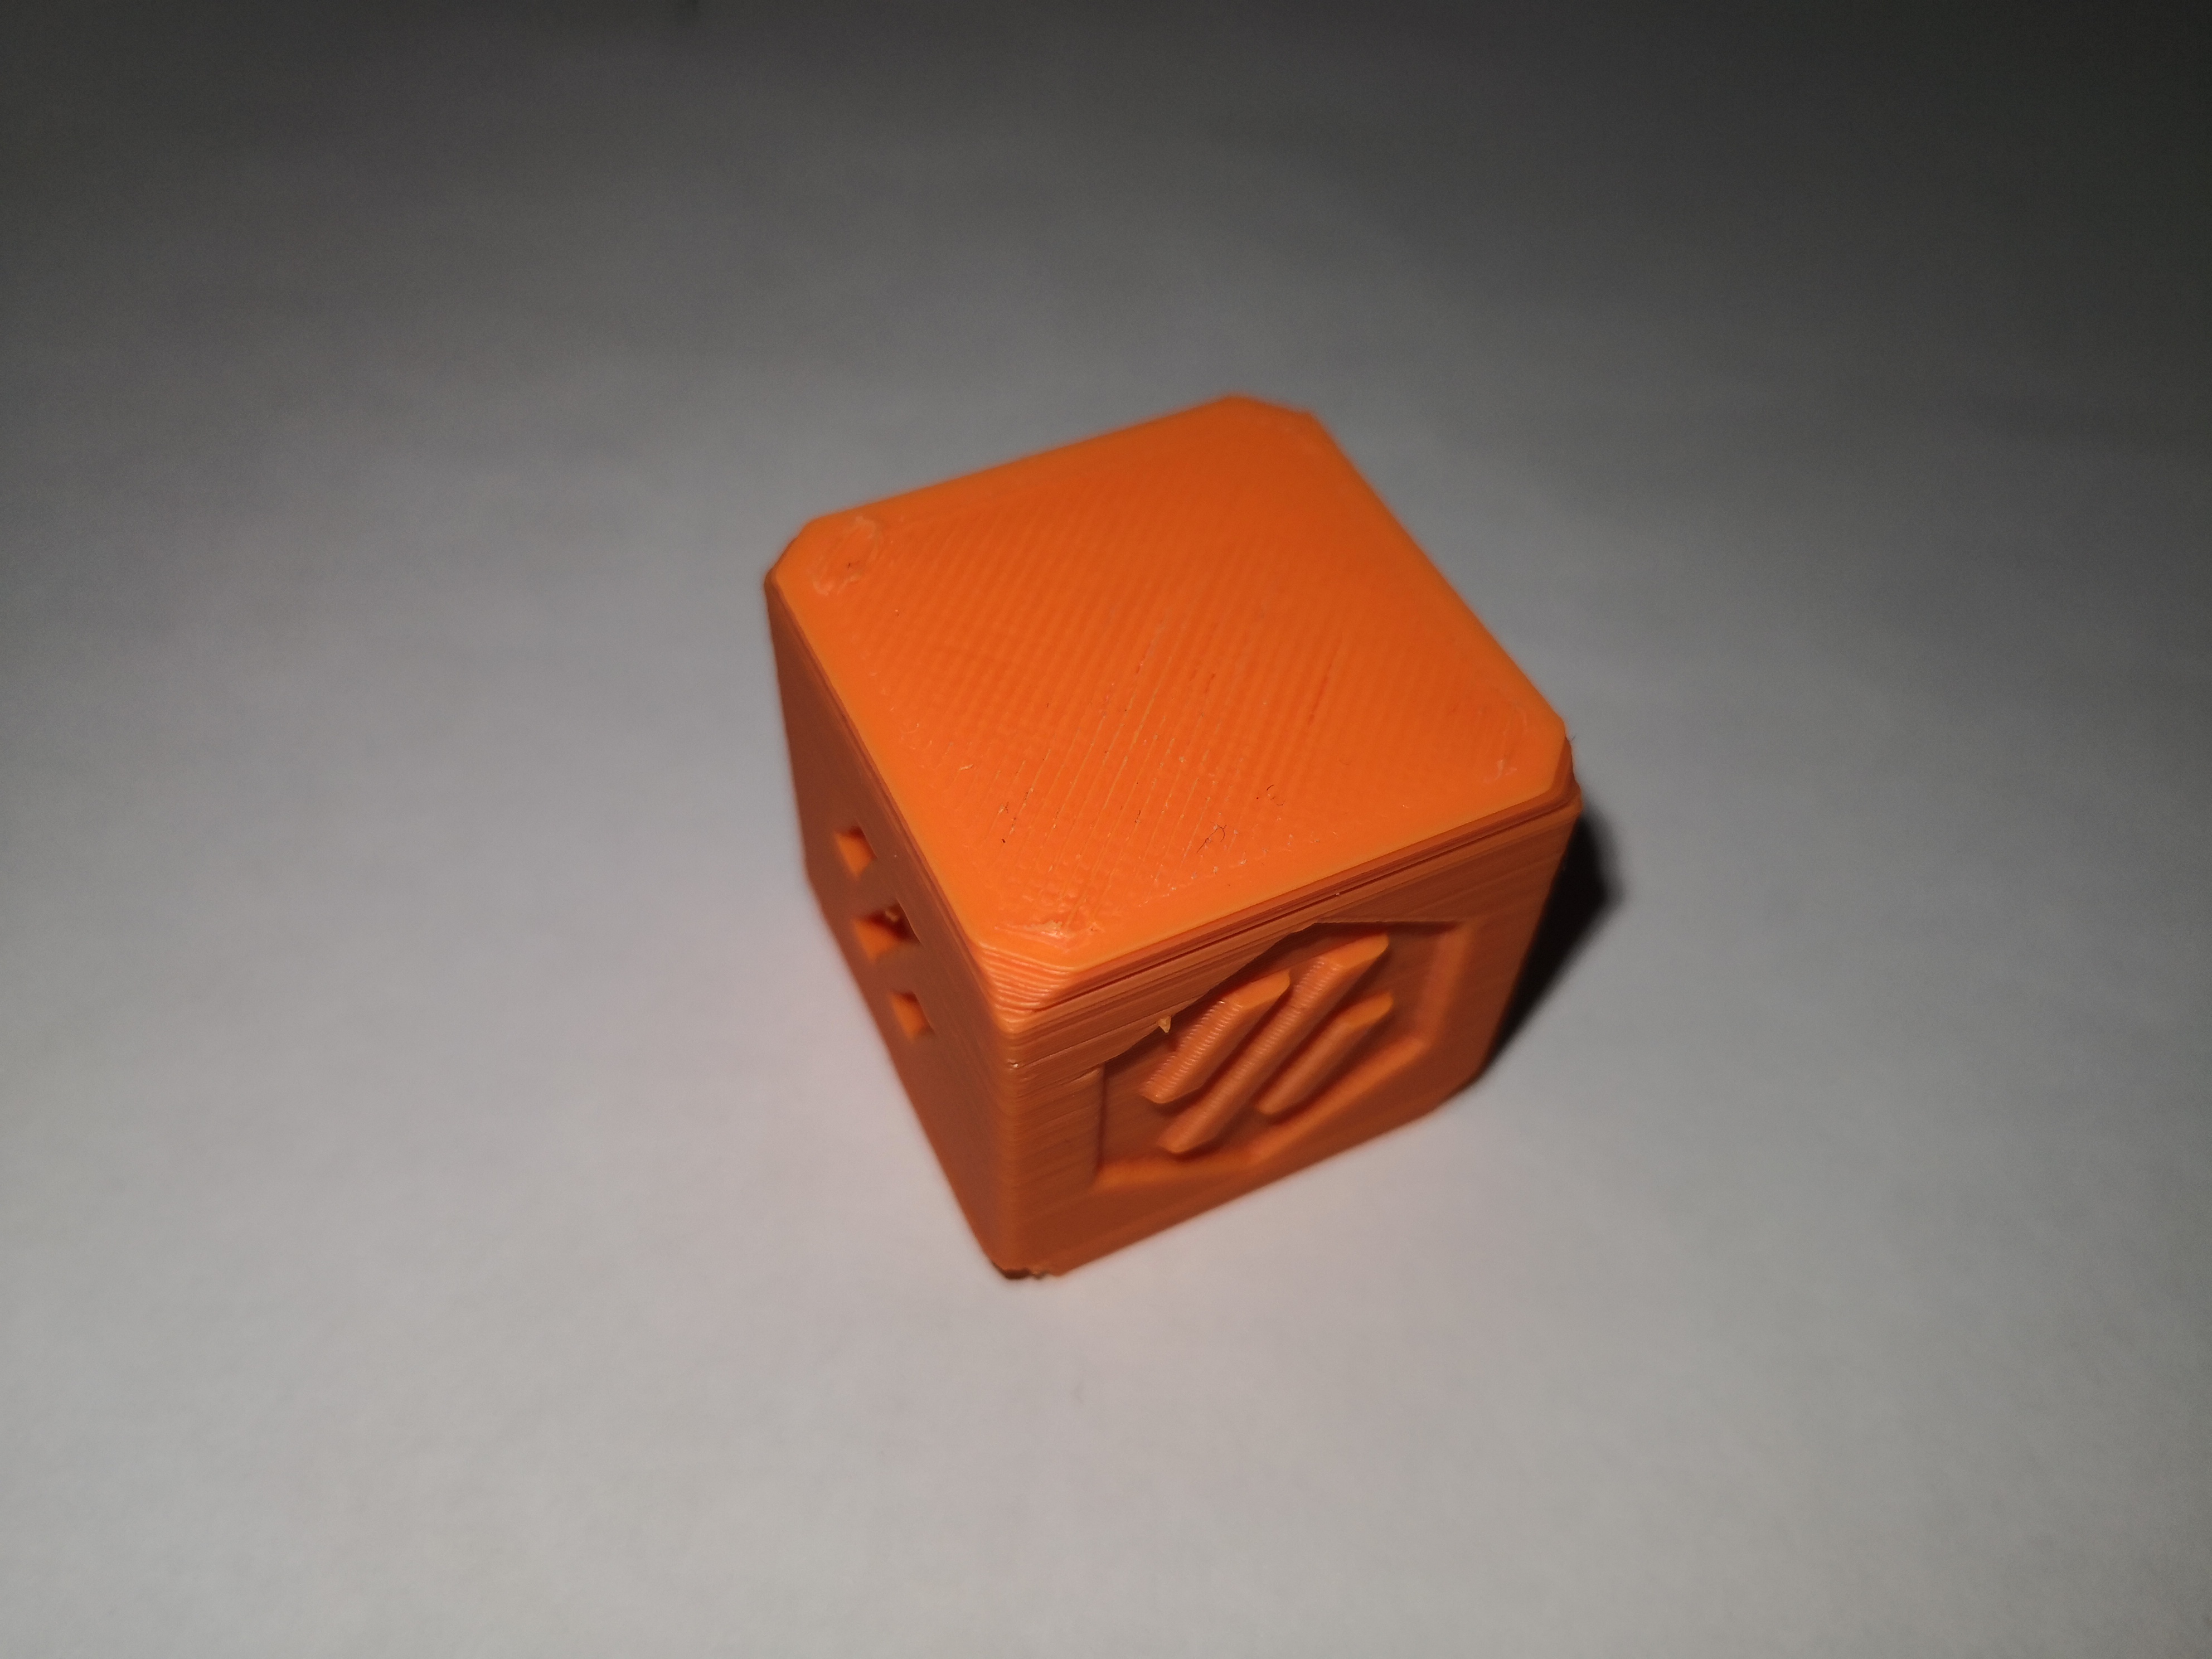
Yeah a few. The first and last 5 layers or so is not great. The sides is also bumpy, suspect my belts must be tightened a bit more.

HOVu3ch.jpg
O8m9sVe.jpg
hxzw7kf.jpg
D2APLA5.jpg
 
Still tuning the printer, still have chatter on on of the sides.
Reading through the Voron discord, looks like the common culprits are belt tension and grub screw that gets loose.
Lol, so mad at myself for not putting loctite on the grubs as per the manual.

So next I will be going through all of them...sigh.

But other than that I'm extremely happy with the build, was allot of sweat and tears...but soo worth it.

I also met the minimum requirements to get my Voron 2.1 serial, I'm number V2.148 🎉🎊
 
@Arphaxad_23 how much did this cost in the end? Trying to decide between lazy Cetus 3D or building something with linear rails myself.
 
@Arphaxad_23 how much did this cost in the end? Trying to decide between lazy Cetus 3D or building something with linear rails myself.

Hi!
Okay, I see a fair bit of interest in the cost.
Will try my best to do a cost reconciliation this week and share it.
 
Okay, today was the pinnacle of procrastination at work...
Decided to do some spreadsheet fun and calculated the cost of this machine.

Here is the link complete with prices for all items and links to the respective suppliers.
Voron 2.1 Cost Reconciliation

So to summarize, I basically started to build the Voron 2.1 on 30 January 2019 and finished 15 April 2019 (or at least have a workable printer).
That's about 75 days, some was spent to get the i3 clone to print abs reliably and some weeks I was doing basically nothing as I waited for parts to arrive.
And the times I was building I was only spending evenings after work, some days less than an hour and other all most to midnight.
The time it took to source the item is difficult to say, I started last year to source components for a hypercube build. After which I decided to change my plan and build the Voron instead.
But that being said, most items was bought over the past four months.

Without accounting for my labour hours, the Voron 2.1 roughly worked out around R 21 129.49. The only item not included in this list is the E3D hotend assembly.
All other items I included pricing for, although some stuff I had already laying around.

Overall I'm happy. I love building stuff with my hands and seeing a finished end result.
This whole project turned into something that kept my mind busy and away from real life that pinched a little too hard at the beginning of the year.
 
Thanks for the effort put into the cost reconciliation. I can't imagine what brand name rails would cost... Looks like the lazy Cetus will be what I go with for now. This and the other open source printers I'll keep in mind for the future.
 
@Arphaxad_23 Thank you for the effort in putting that list together. I was actually doing the same and boy is it time consuming. Thank you very much! And I am super excited to start to get my parts together and happy for you that yours are working.

I have zero electronic skills...I can change a plug and wing a ton of things if needed. So I am sure I will be able to do it. Think it will cost quite a bit of youtubing though...
Will keep you posted.

Would love to see some sample prints at different speeds when you got it all worked out ;)

Awesome! Only a pleasure, like I said I enjoy this process allot...Happy to share and help where I can.

The one thing on my list to get is a MIC6 plate for the bed...Cant believe it but this 10mm 7075 alu plate is still out by 0.2mm on two corners (after I milled it "true")
So maybe in the future if there are enough interest we can order from America and share in shipping
 
Here is a spreadsheet to keep track of the parts to be printed.
voron 2.1 parts printed tracker (Not mine, the voron guys made it)

Oh boy! I forgot to add the cost for the filament used to print the parts...but wasn't that much.
Think it was one and a half rolls black ABS+ and half a roll of the peak green ABS+
 
Thank you very much for the list, makes buying the remaining few items I need a lot easier too!

Not entirely sure that the cast aluminium plate specified in the voron build is any better than yours, the manufacturing specification there calls for .015" for 'flatness'. This translates to 0.381 mm. This aluminium plate is actually a part of the build that bothers me. Aluminium cannot easily be ground flat like steel on a surface grinder (the aluminium melts itself into the grinding wheel) which means a fly cutter is used, afaik, to machine it flat. For this type of machining 0.2mm deviation would probably be acceptable, especially on the sides/corners of the plate where there would be an interrupted cut.

It may make sense to buy a larger plate, have it machined, then cut it down to size to circumvent this. This would probably be the case in the mic-6 type tooling plate specified for the voron build, that is, unless you end up with a piece from the side or corner of the larger plate it was cut from.

Quality float glass is a lot 'flatter' than that. Float glass obviously does not have the thermal coefficient of aluminium and would take more time to heat up AND requires a decent heat spreader attached to it to ensure even heating. It also presents more of a challenge in mounting but the voron setup, being a fixed print bed solution, lends itself to many more mounting options. Usually a thinner sheet of aluminium is used for the heat spreader under glass print beds, but given its thickness, it's likely that the aluminium would warp, creating cold/hot spots on the glass print bed it is attached to.

So, at least in my amateur opinion, if the heat spreader problem can be solved (graphite?) glass would make for a much more readily available solution. Note that I am being speculative here, mostly because the courier shipping cost of mic-6 aluminium plate is easily double that of the plate itself, pushing the total cost for this part alone over R1500. :cautious:
 
Last edited:
Hi all, been a while since my last update. I kinda got distracted to change my Ender 3 firmware, but I have worked a bit on the Voron.
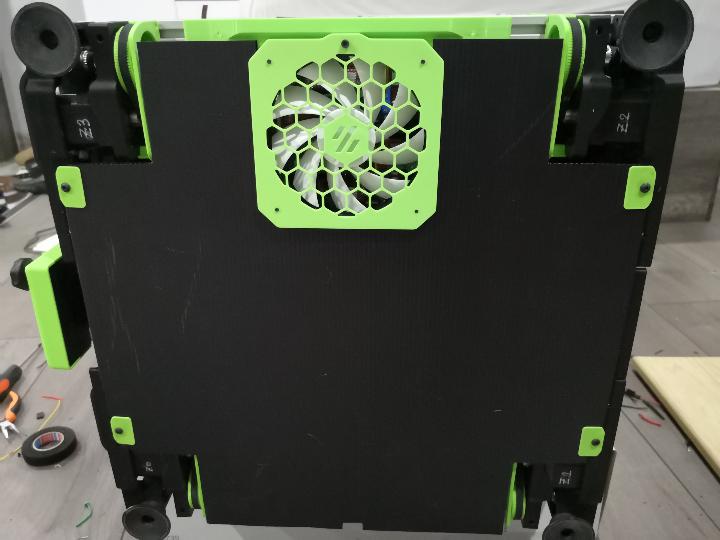
The cable management was a mess in the basement compartment...At that stage I was too excited to get the printer going.
Here is the cable management completed :D
bbGOzSg.jpg


Here is the cover for the base compartment
1pfrbXr.jpg


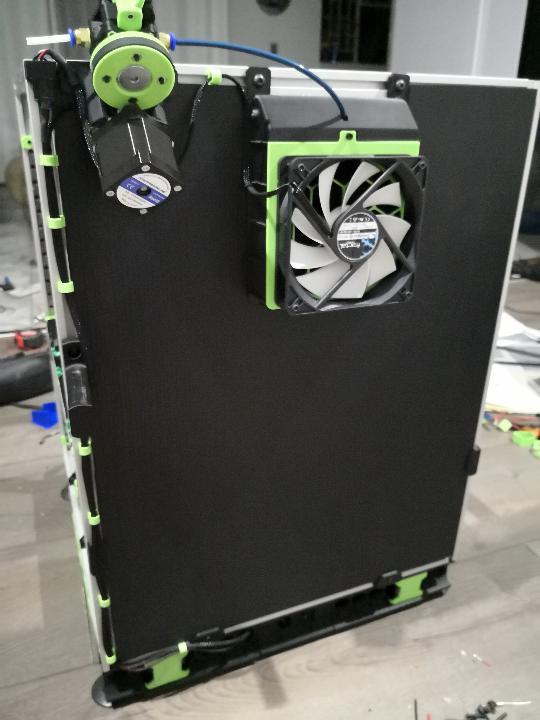
The rear of the printer was also a mess and here its a bit more tidy.
(The rear has a fan and the extruder which must be wired to the base compartment...and I since installed a fan grill as well)
Dua7gnc.jpg


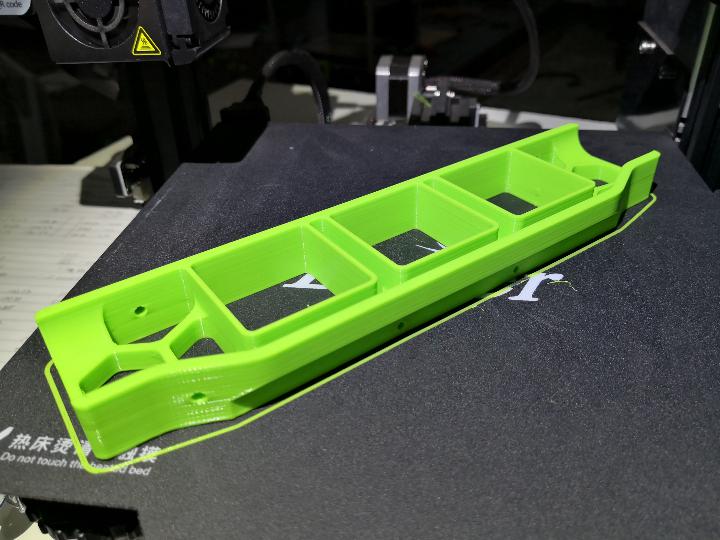
Think there is one part left (which is printing now) and that is the last side skirt for the base compartment.
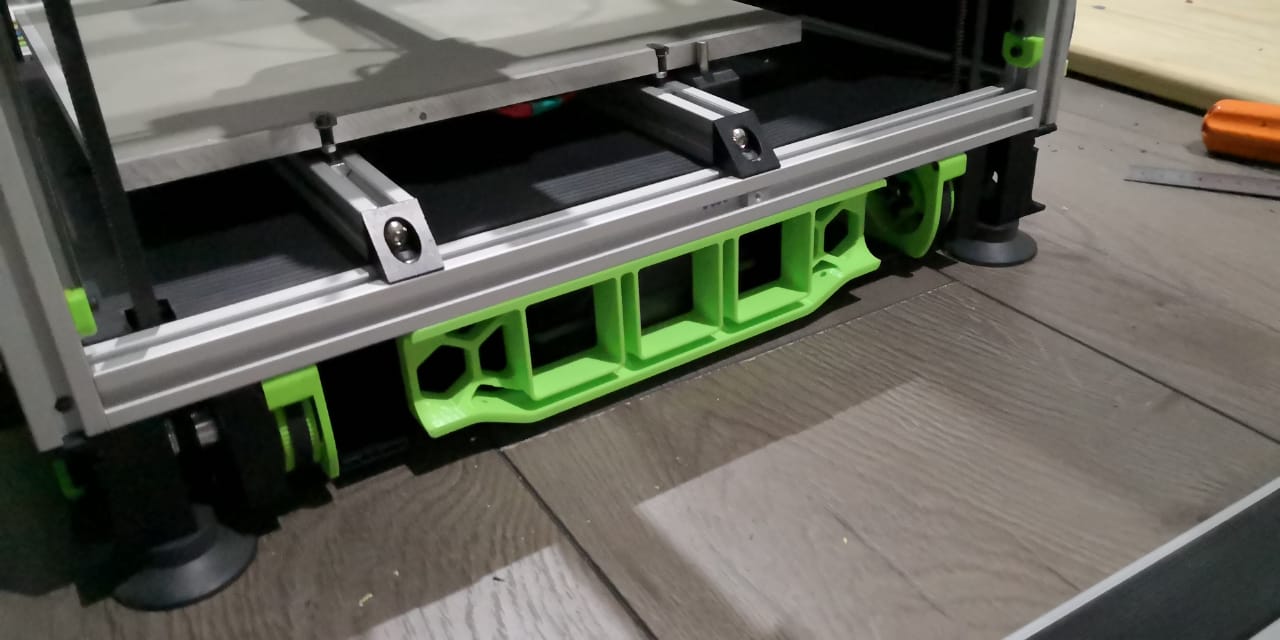
I printed these side skirts sommer in PLA.
6Yh20W8.jpg
nwOuyKQ.jpg
cljNBOB.jpg


@Drav3n_ZA I suggest you put the 2020 profiles that holds the alu plate from left to right as opposed to back to front. Reason being its easier to adjust the bed...was bloody difficult to adjust the two back screws (see pic above with the side skirt)
Quick tip that I found that works a little better.
 
Thank you very much for the list, makes buying the remaining few items I need a lot easier too!

Not entirely sure that the cast aluminium plate specified in the voron build is any better than yours, the manufacturing specification there calls for .015" for 'flatness'. This translates to 0.381 mm. This aluminium plate is actually a part of the build that bothers me. Aluminium cannot easily be ground flat like steel on a surface grinder (the aluminium melts itself into the grinding wheel) which means a fly cutter is used, afaik, to machine it flat. For this type of machining 0.2mm deviation would probably be acceptable, especially on the sides/corners of the plate where there would be an interrupted cut.

It may make sense to buy a larger plate, have it machined, then cut it down to size to circumvent this. This would probably be the case in the mic-6 type tooling plate specified for the voron build, that is, unless you end up with a piece from the side or corner of the larger plate it was cut from.

Quality float glass is a lot 'flatter' than that. Float glass obviously does not have the thermal coefficient of aluminium and would take more time to heat up AND requires a decent heat spreader attached to it to ensure even heating. It also presents more of a challenge in mounting but the voron setup, being a fixed print bed solution, lends itself to many more mounting options. Usually a thinner sheet of aluminium is used for the heat spreader under glass print beds, but given its thickness, it's likely that the aluminium would warp, creating cold/hot spots on the glass print bed it is attached to.

So, at least in my amateur opinion, if the heat spreader problem can be solved (graphite?) glass would make for a much more readily available solution. Note that I am being speculative here, mostly because the courier shipping cost of mic-6 aluminium plate is easily double that of the plate itself, pushing the total cost for this part alone over R1500. :cautious:

I think we are trying to split hairs here.
I do admit that even the plate I have installed is 0.1mm lower on two opposing corners..but it was not a major issue to just adjust the bed to get decent first layers on the corners.
But lets be honest, the times I needed a full ~400mm is very minimal...and I could all ways just use the other two corners.
I'll maybe explore the glass in the future, it would be quite easy mind you. Remove glass...do the quad leveling with the induction sensor...put the glass back and just set your FSR off-set accordingly. Non of this mesh leveling nonsense.
 

Users who are viewing this thread

Latest posts

Back
Top Bottom